How to Freeze Fresh Green Beans From the Garden

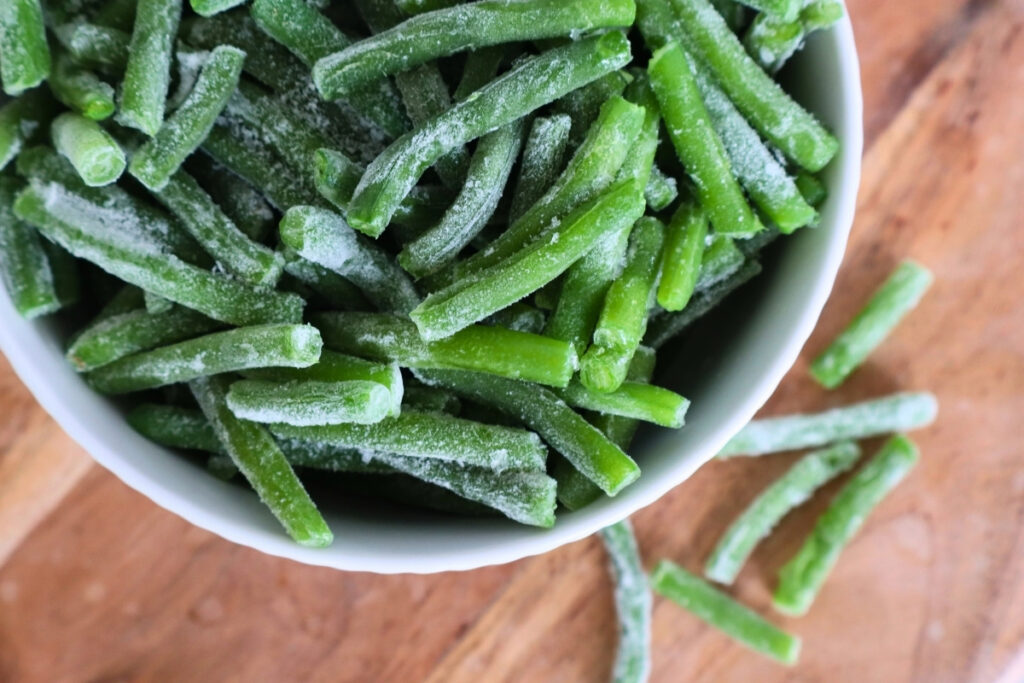
When the garden starts giving us more green beans than we can eat fresh, I like to put some away for later. Freezing green beans is a simple way to preserve the garden harvest so we can enjoy them long after the growing season is over.
Note: This post may contain affiliate links. Please see our disclosure policy.
Green beans are one of those crops that always get a space in our garden. They are so delicious when they’re freshly picked and steamed with a healthy dose of butter! Unfortunately, we cannot eat them that way year-round, so the next best option is to preserve them by freezing them while their young and tender.
Freezing green beans is a simple way to preserve the harvest. I especially love that I don’t need to have a certain amount of green beans like when I’m canning them. Whether it’s a lot of beans or a little, freezing works great for both situations.
I usually prepare frozen green beans the same way I do when they’re fresh—by simply boiling them. They make a quick, simple side veggie to round out a meal. But for something a little different, they’re delicious roasted in the oven like fries, sprinkled with some nutritional yeast, salt, pepper, and a drizzle of olive oil. Yum! They are also a staple in my homemade vegetable soup. There are so many ways to enjoy frozen green beans throughout the year, so be sure to freeze plenty!

Can You Freeze Fresh Green Beans?
Yes, fresh green beans freeze well and are a great way to preserve a garden harvest. Blanching the beans before freezing helps maintain their color, flavor, and texture. Once they are chilled and drained, they can go directly into freezer bags without the need to flash freeze them first.
Why You’ll Love This Method
Simple: Just blanch, cool, drain, bag, and freeze.
Great for garden harvests: A simple way to preserve green beans when the garden is producing faster than you can eat them.
No flash freezing needed: Once the beans are cooled and drained, they can go straight into freezer bags.
Freeze portions that you’ll use: Package the beans in amounts that work for your family.
What You’ll Need
- Fresh green beans—yellow or purple work too
- Large stockpot orblancher(steamer pot with lid)
- Slotted spoon or scoop
- Cutting board and knife, optional
- Large bowls
- Ice, optional
- Freezer bags or freezer-safe containers
How to Freeze Fresh Green Beans from the Garden
1. Wash and Prepare the Green Beans
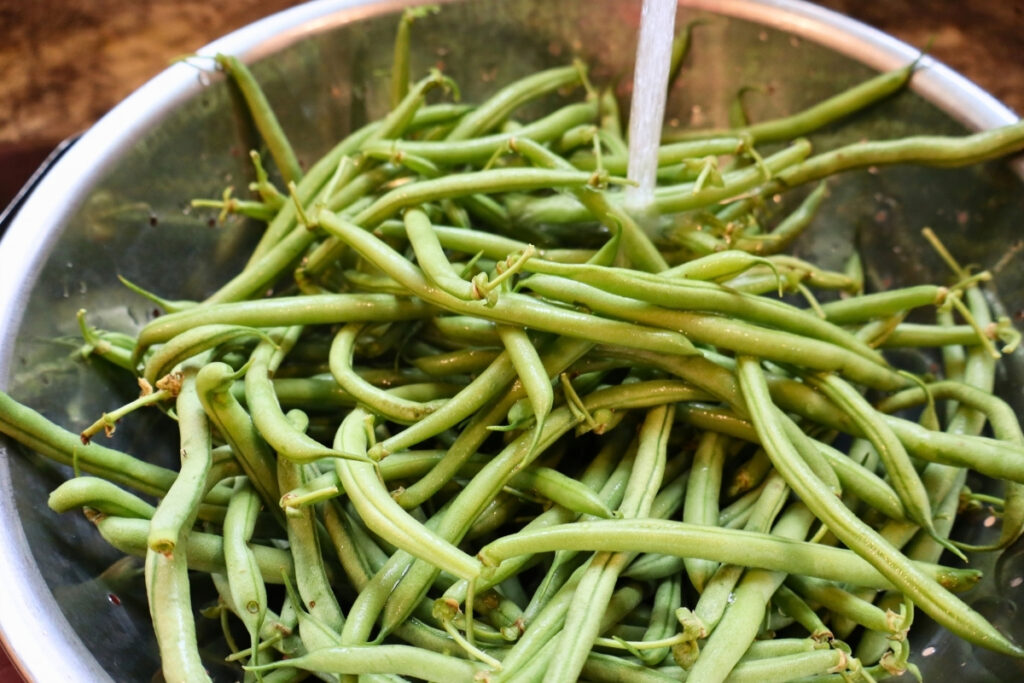
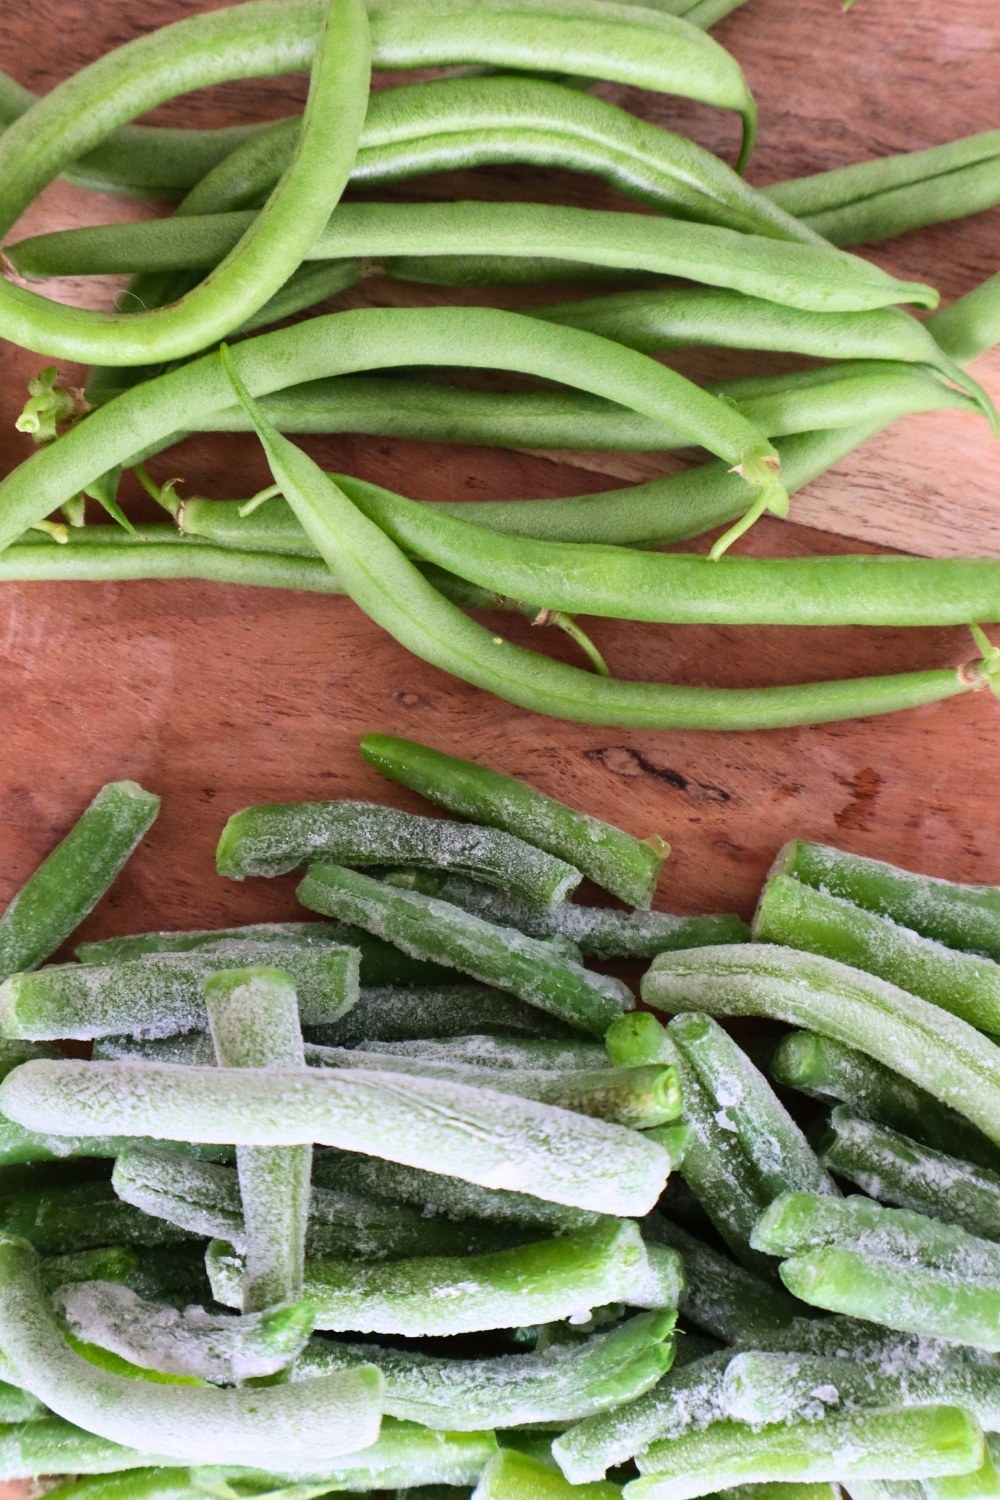
Wash the green beans and remove the ends. You can simply pinch the ends off with your fingers and snap the beans into whatever size pieces you like. I usually snap mine in half.
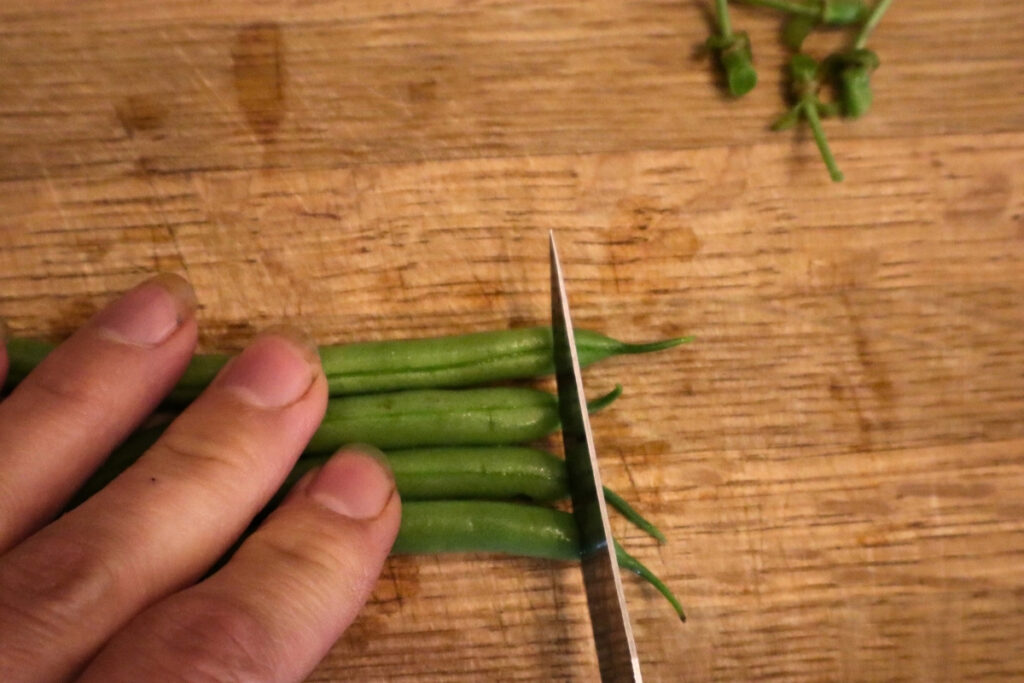
If you prefer more uniform pieces, use a cutting board and paring knife to cut off the ends and then cut the beans into your desired size.
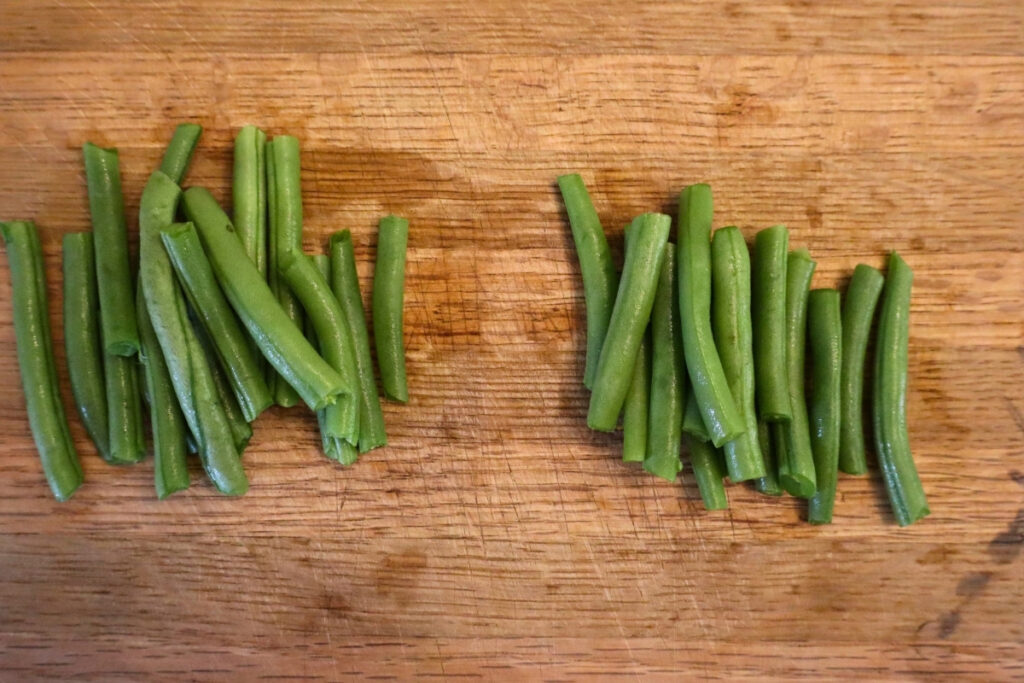
Pictured above is snapped beans using my fingers to pinch the ends on the left and cut beans on the right.
2. Prepare the Boiling Water and Cold-Water Bath
If using a stockpot, fill it about halfway with water and bring it to a boil. If you’re using a blancher, fill the pot with water according to the manufacturer’s instructions and bring it to a boil.
While you’re waiting for the water to boil, prepare the cold-water bath. Fill large bowls with cold water and add ice. You can skip the ice, but it will help the beans cool faster.
3. Blanch the Green Beans
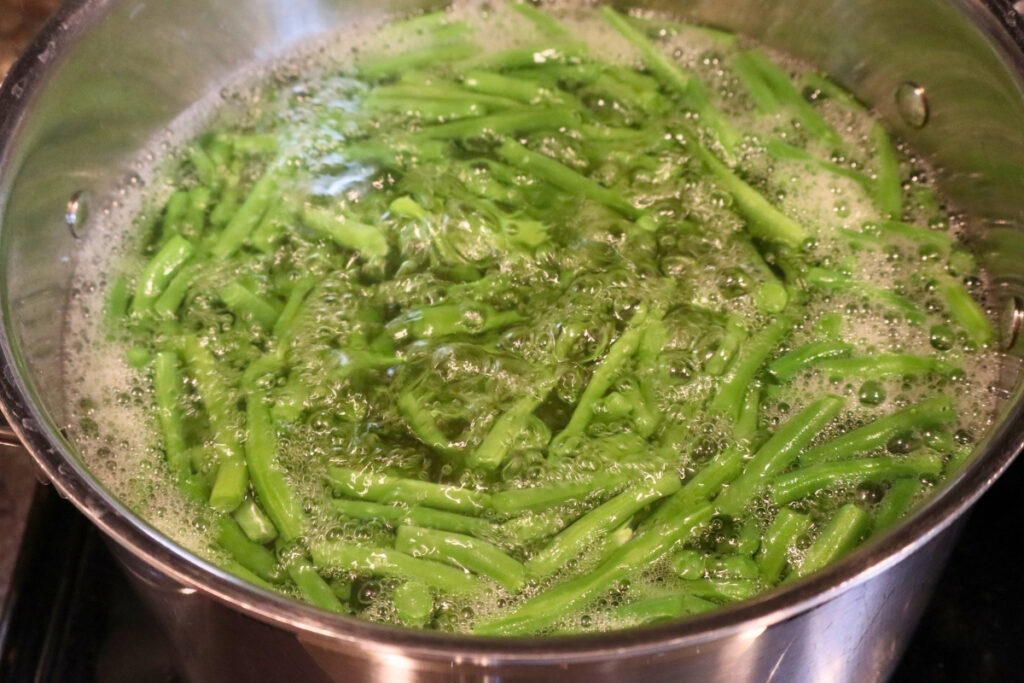
Once the water is boiling, add the green beans. The amount you can blanch at one time will depend on the size of your pot, but you don’t want the beans piled above the water.
Allow the water to return to a boil—as soon as it starts boiling again, remove the beans right away. You don’t want to cook the beans through—you’re simply blanching them before cooling them quickly.
If you’re using a stockpot, use a slotted spoon or scoop to remove the beans. If you’re using a blancher with a basket, carefully lift the basket using hot pads and allow the water to drain.
4. Cool the Green Beans
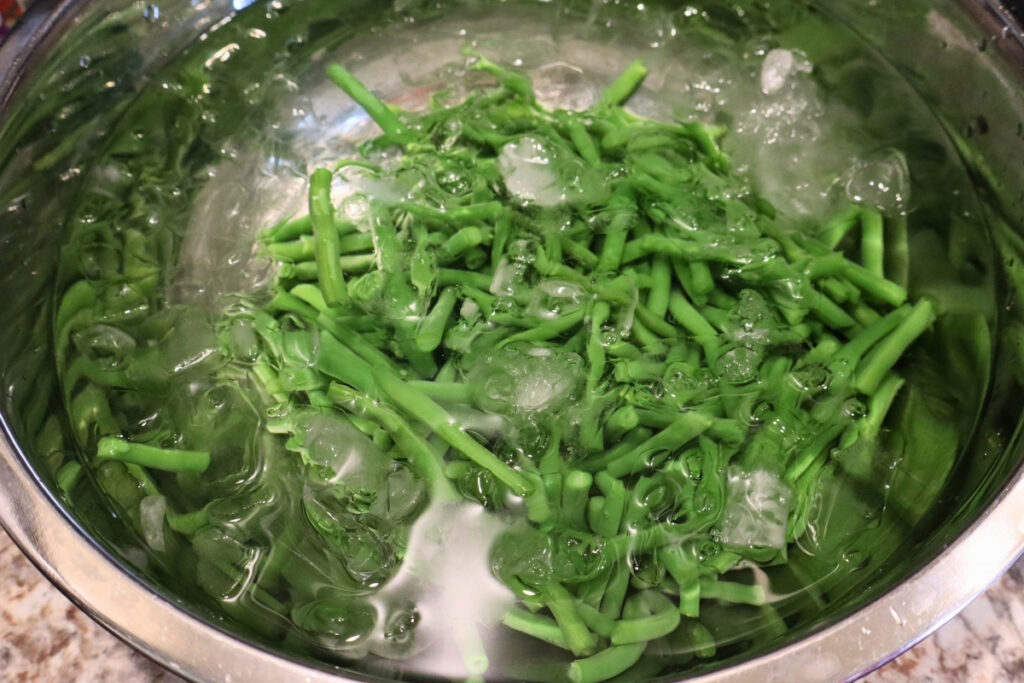
Immediately place the hot green beans into the cold-water bath and let them cool completely. You may need to change the cold water a couple of times to keep it cold enough.
The beans should be completely cold to the touch before you remove them from the water.
5. Drain and Set Aside
Drain the beans or remove the beans from the water and place them in another bowl until you’re ready to package them.
Continue blanching and cooling the beans in batches until all of your green beans have been processed.
6. Package and Freeze
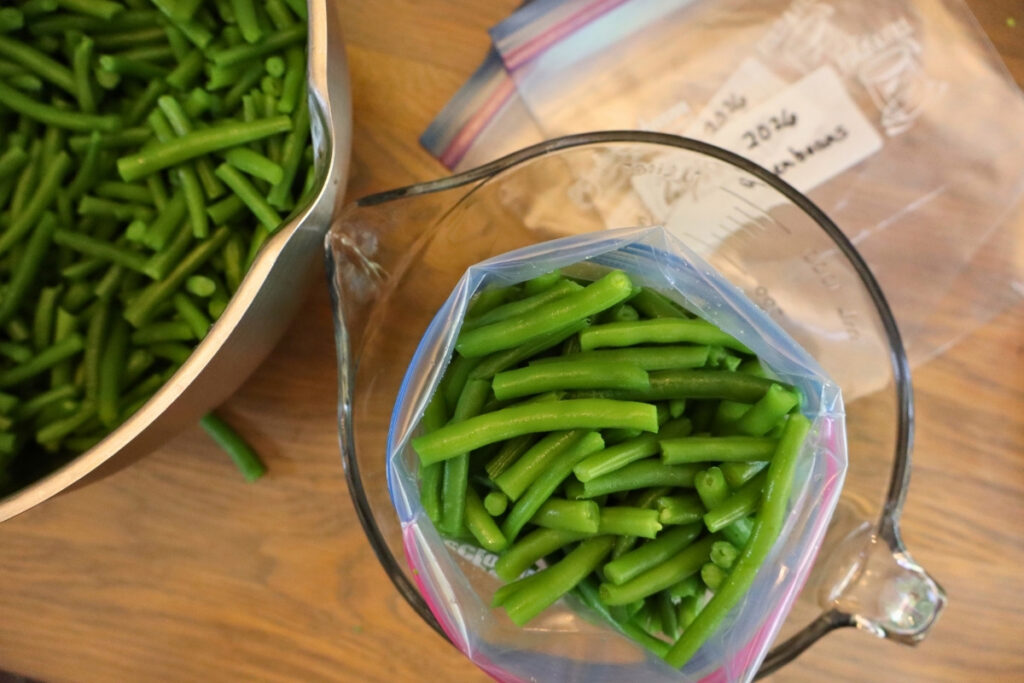
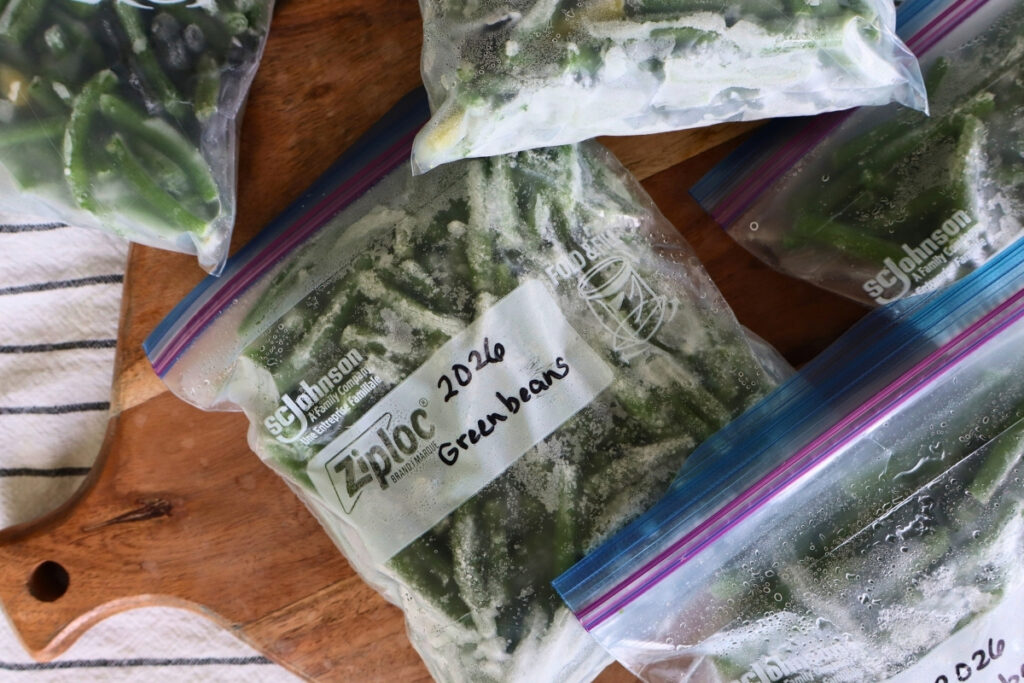
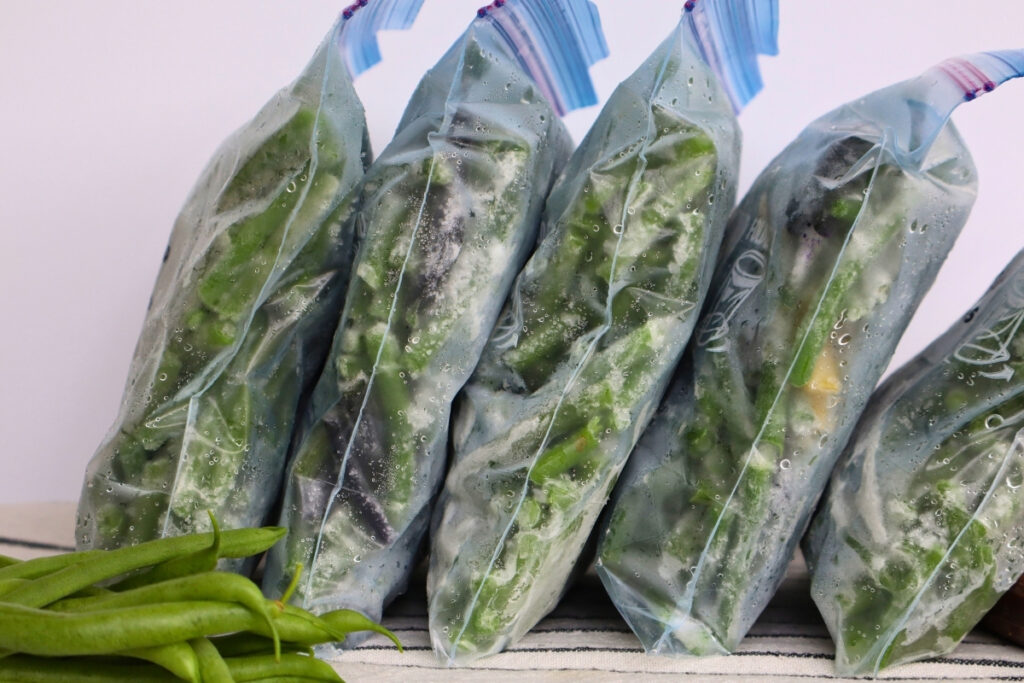
Once all of the green beans have been blanched, cooled, and drained, package them in freezer bags, freezer-safe containers, or vacuum-seal bags.
There is no need to flash freeze the green beans in a single layer first. Simply fill your bags or containers with the amount that works best for your family, remove as much air as possible, and seal.
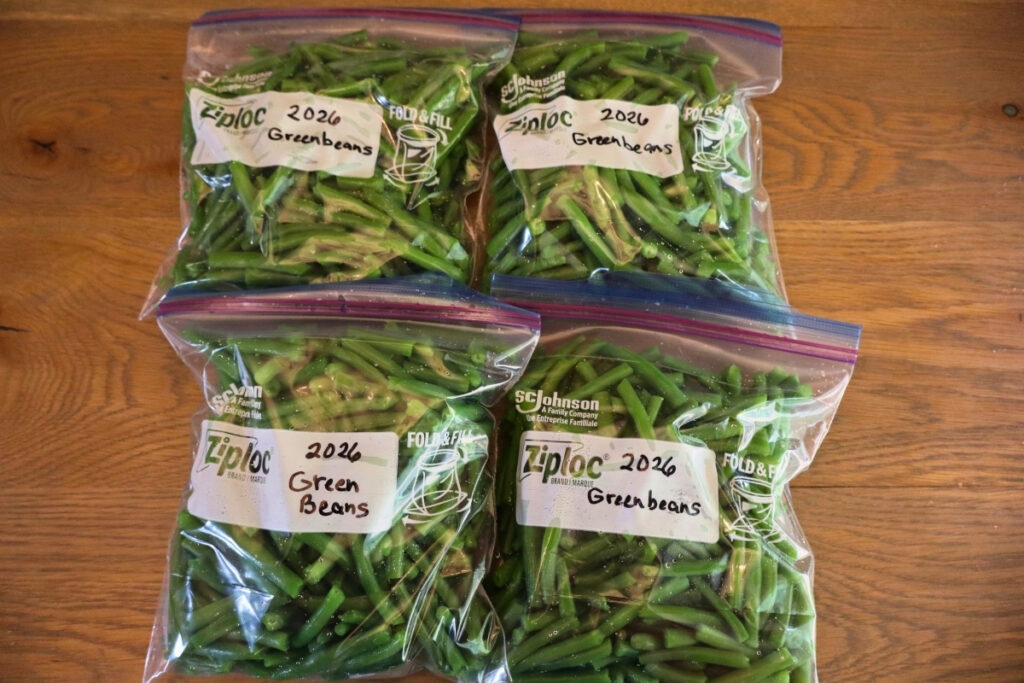
Label and date the packages, then place them into the freezer.
How to Use Frozen Green Beans
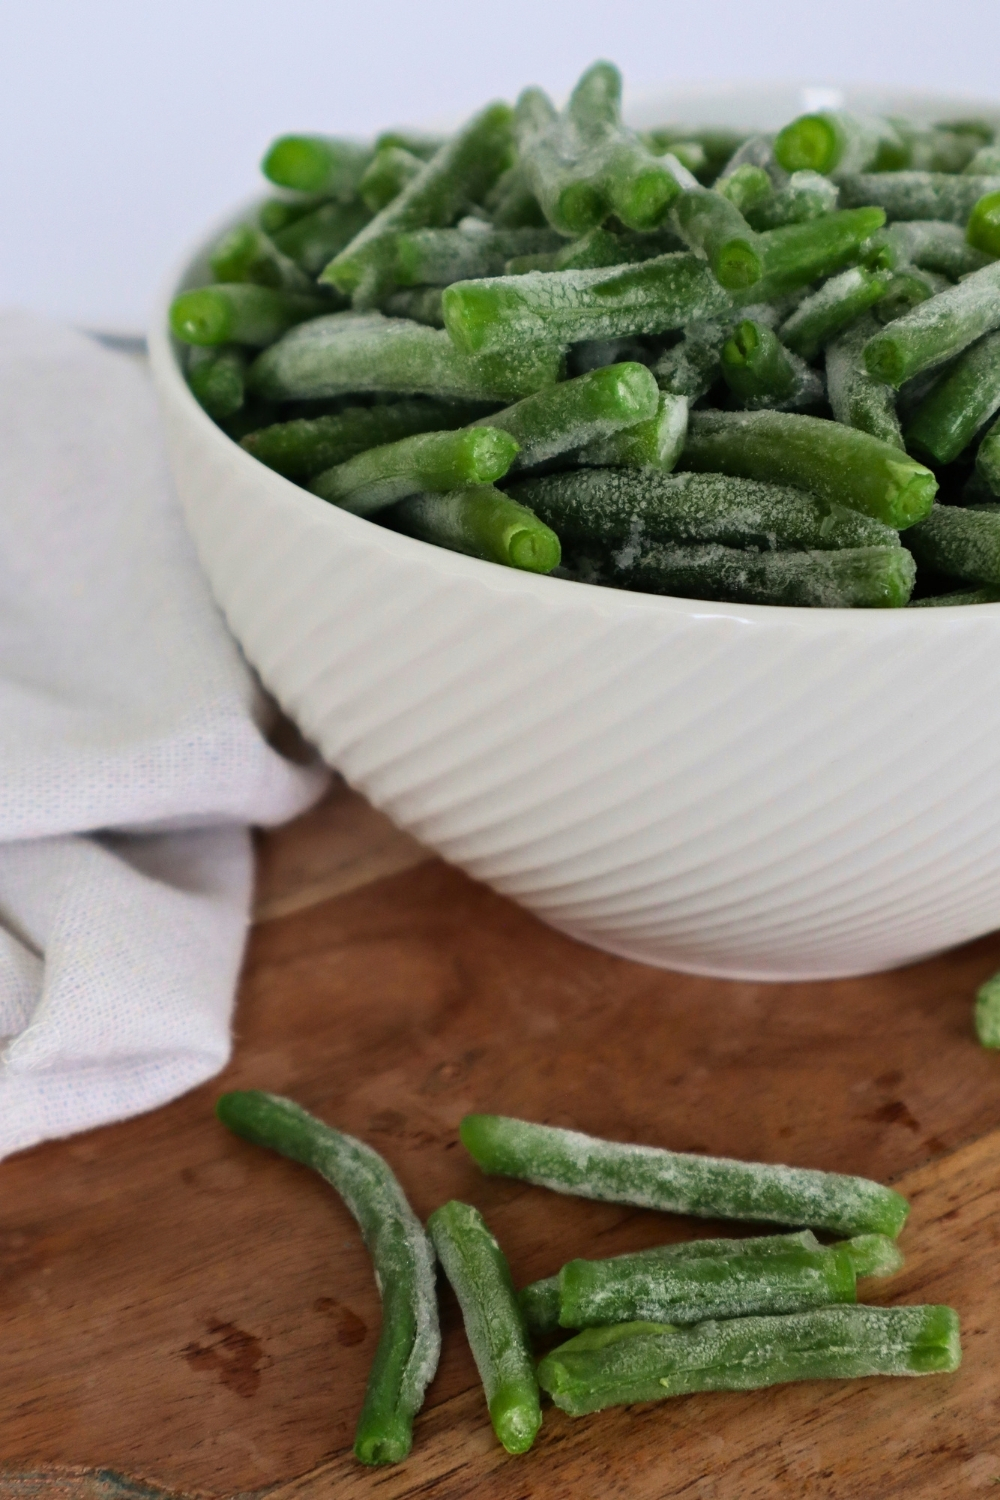
Frozen green beans are easy to use in the same dishes where you would normally use fresh green beans. For most recipes, you can add them right out of the freezer without thawing first.
Use your frozen green beans in:
- Soups
- Stews
- Casseroles
- Skillet meals and stir-fries
- As a simple side dish
If you’re cooking them on their own, simmer, steam, or sauté them until heated through and tender to your liking.
More Ways to Preserve Your Garden Harvest
- How to Freeze Sweet Corn
- How to Freeze Sweet Peppers
- How to Freeze Fresh Blueberries
- How to Freeze Strawberries
How to Freeze Fresh Green Beans From the Garden
Equipment
- Large stockpot or blancher (steamer pot with lid)
- Slotted spoon or scoop
- Cutting board and paring knife, optional
- Large Bowls
- Freezer bags, freezer-safe containers, or vacuum-seal bags
Materials
- Fresh green beans
- Water
- Ice optional
Instructions
Wash and prepare the green beans.
- Wash the beans and remove the ends. Pinch the ends off with your fingers and break the beans into your desired size or use a cutting board and paring knife to cut off the ends and make more uniform pieces.
Prepare the boiling water.
- If using a stockpot, fill it about halfway with water and bring it to a boil. If using a blancher, fill the pot according to the manufacturer's instructions and bring the water to a boil.
Prepare the cold water bath.
- While the water is heating, fill a large bowl with cold water. Add ice if desired to help cool the beans faster.
Blanch the green beans.
- Once the water is boiling, add green beans—the beans should remain under the water rather than being piled above the water. Let the water return to a boil, then remove the beans right away.
Cool the beans.
- If using a stockpot, remove the beans with a slotted spoon or scoop. If using a blancher with a basket, carefully lift the basket with hot pads and allow the water to drain. Immediately place the beans into the cold water bath.
Chill completely.
- Let the beans cool until they are cold to the touch. You may need to change the cold water once or twice. Ice can help speed up the cooling process but isn't necessary.
Drain.
- Drain the beans well or remove them from the water and place them in another bowl until you're ready to package them. Continue blanching and cooling the beans in batches until all the beans are finished.
Package.
- Fill freezer bags, freezer-safe containers, or vacuum-seal bags with the portion sizes of green beans you want to freeze. Remove as much air as possible and seal. There is no need to flash freeze the green beans in a single layer first.
Label and freeze.
- Label and date each package and place directly into the freezer.
Notes
Frequently Asked Questions
Do you have to flash freeze green beans before freezing them?
No. There is no need to flash freeze green beans before putting them into freezer bags. Once the blanched beans have been completely cooled and drained, simply package them in labeled freezer bags and place them directly in the freezer.
Do you have to use ice when blanching green beans?
No. Ice helps cool the green beans quickly, but it isn’t necessary. Cold water will work fine, although you may need to change the water once or twice until the beans are completely cool.
How long do frozen green beans last?
For the best quality, use frozen green beans within about 8 to 12 months. They can remain safe to eat longer when kept continuously frozen, but their quality may decline over time.
Can you freeze fresh green beans without blanching them?
Yes, but it is not recommended. Blanching the green beans before freezing helps preserve their color, flavor, and texture. It also helps keep them tasting fresher while they are stored in the freezer.