Easy Gluten-Free Chili with Beef Bone Broth

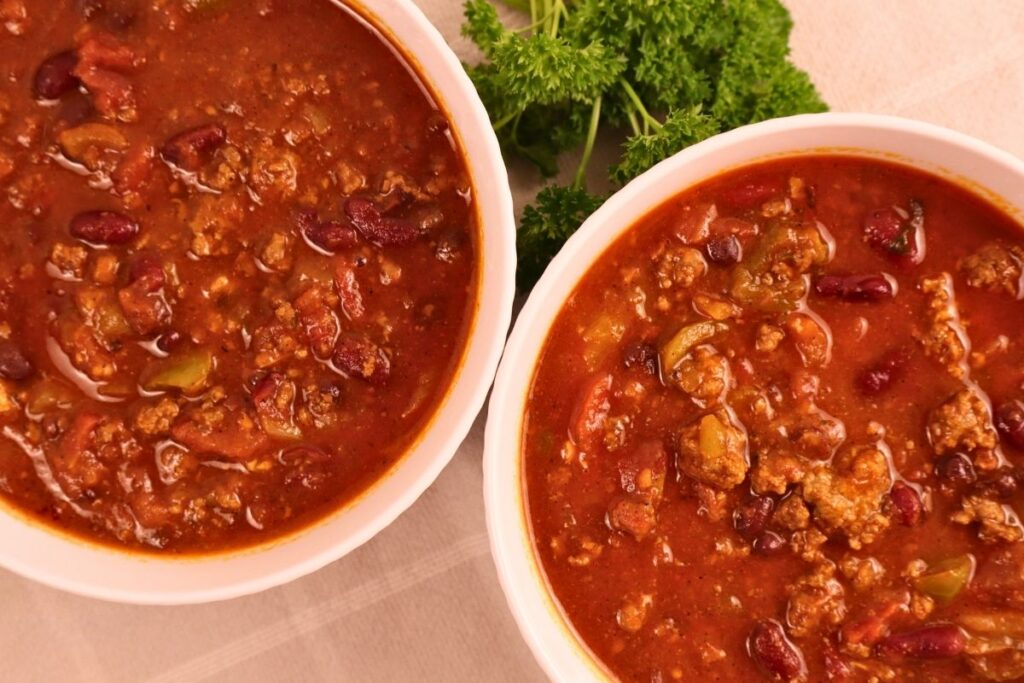
Nothing beats a warm bowl of gluten-free chili simmered on the stovetop, especially when it’s made from scratch with simple, wholesome ingredients. This hearty recipe is made with rich homemade beef bone broth, homemade taco seasoning, and no refined sugar, creating a flavorful family meal that’s perfect for cozy dinners, meal prep, or freezing for later.
Note: This post may contain affiliate links. Please see our disclosure policy.
There’s something about the aroma coming from a pot of chili that’s been simmering away on the stovetop that gives all the feelings of a cozy comforting home. Smells are powerful and can evoke so many memories and feelings. For me, chili certainly gives all the cozy feelings.

There’s nothing like sharing a pot of chili with those you love, and one of the best parts is that it’s easy to make and relatively hands-off, so you have even more time to spend with people instead of standing in the kitchen. It’s a win-win! Delicious food and still plenty of time to spend with your people.

Table of Contents
Why You’ll Love This Gluten-Free Chili
Made from scratch- No seasoning packets with unnecessary ingredients.
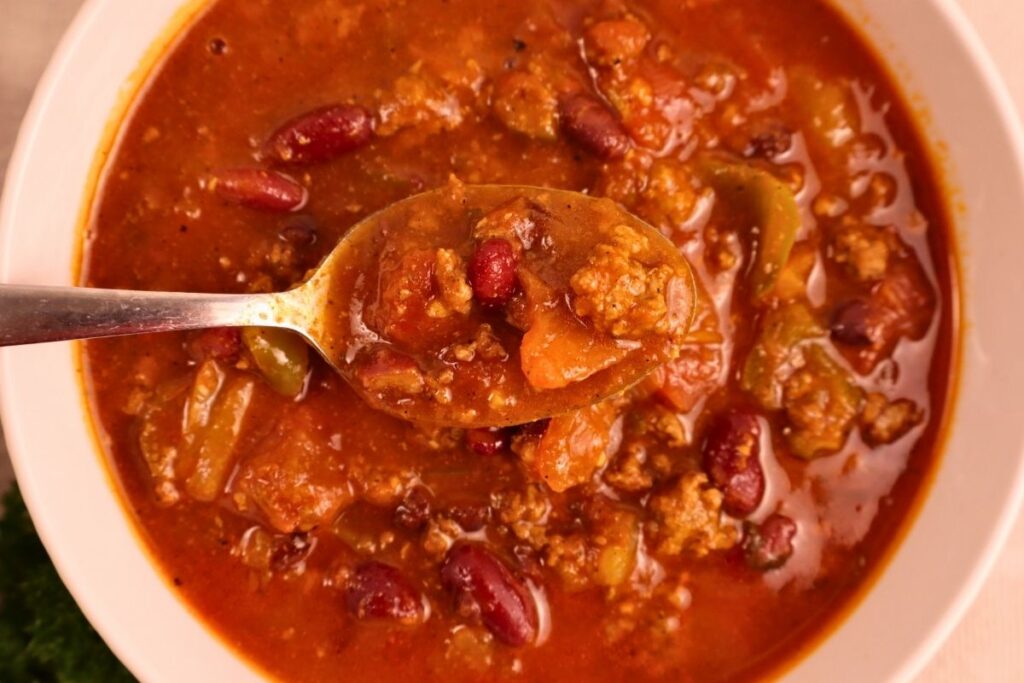
Rich and flavorful-A rich tomato base, homemade taco seasoning, and homemade beef bone broth give this chili a deeper, more complex flavor.
Naturally gluten-free-No special substitutions needed.
Easy weeknight meal-Simple prep and minimal dirty dishes.
Freezer friendly-This chili freezes great, making it perfect for batch cooking.
Makes a large batch- This recipe as written feeds a crowd or provides a couple nights meals for a family. The leftovers are delicious in baked gluten-free chili mac.
Ingredients You’ll Need
This gluten-free chili gets its rich flavor from simple pantry staples and fresh ingredients — here’s what you’ll need, plus a few swaps in case you need them.
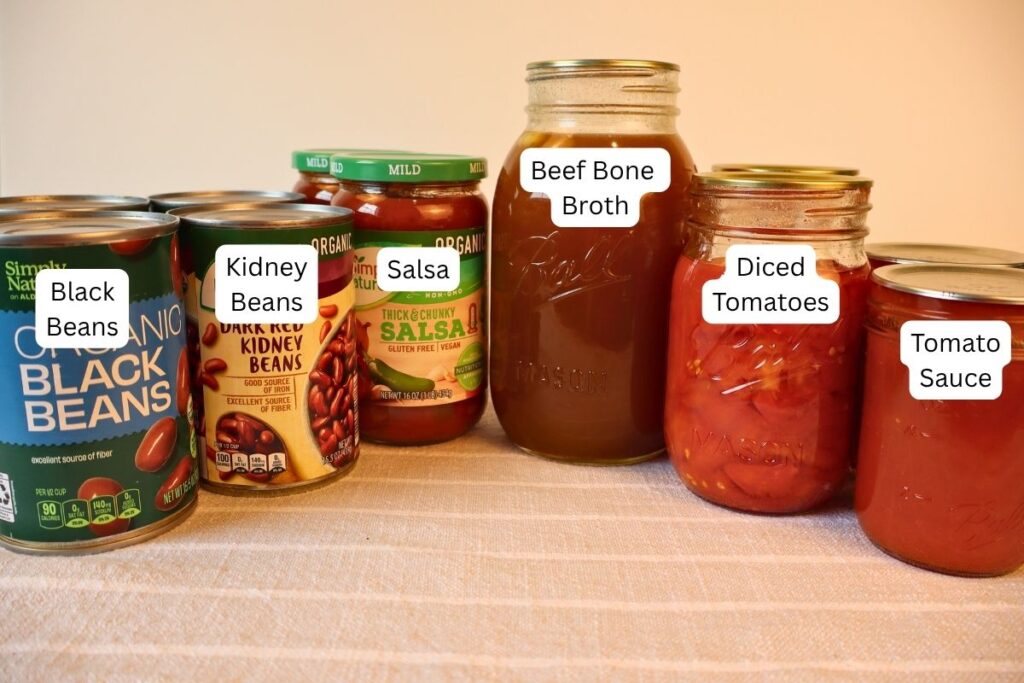
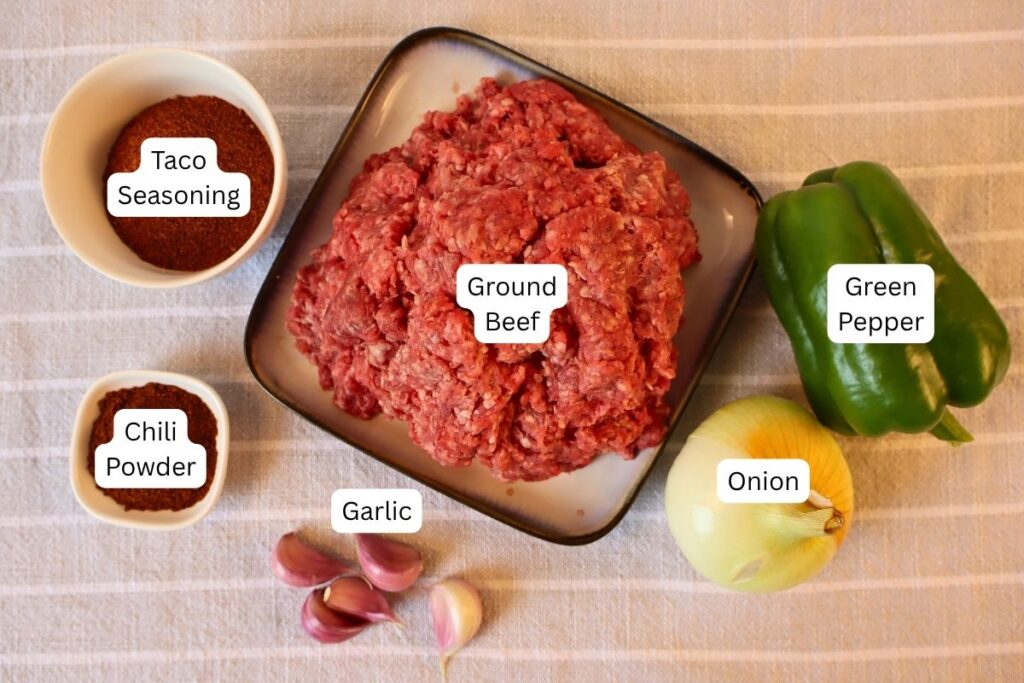
Ground beef
Ground beef makes this chili hearty, filling, and full of rich flavor. I recommend using 85/15 ground beef for a good balance of flavor and texture. If using 80/20 ground beef, you may need to drain off excess grease after browning before adding it to the chili.
Beef bone broth
Bone broth adds richness and a deeper flavor, not to mention added nutrients and minerals. You can use regular beef broth if you don’t have bone broth on hand.
If you’ve never made your own bone broth, check out my ultimate bone broth guide.
Beans
Black beans and kidney beans are what I love in this chili, but you could use any kind of bean you have on hand instead.
Tomatoes
Diced tomatoes and tomato sauce help create that rich, classic chili flavor.
Salsa
I use mild salsa to keep this chili family friendly, but you could also use medium or hot salsa instead.
Green pepper
Adds flavor and texture. You can use a red bell pepper instead if that’s what you have on hand. If you don’t have a fresh pepper, no worries, you can use 1 cup of frozen diced peppers instead.
Onion
Adds flavor and a little texture to every bite.
Garlic
A few cloves of fresh garlic add delicious flavor to every bite.
Homemade taco seasoning
My homemade taco seasoning adds rich, savory flavor using simple pantry spices without the fillers found in many store-bought seasoning packets. I highly recommend using it in this recipe for the best flavor.
Chili powder
For a little more of that classic chili flavor.
How to Make Gluten-Free Chili
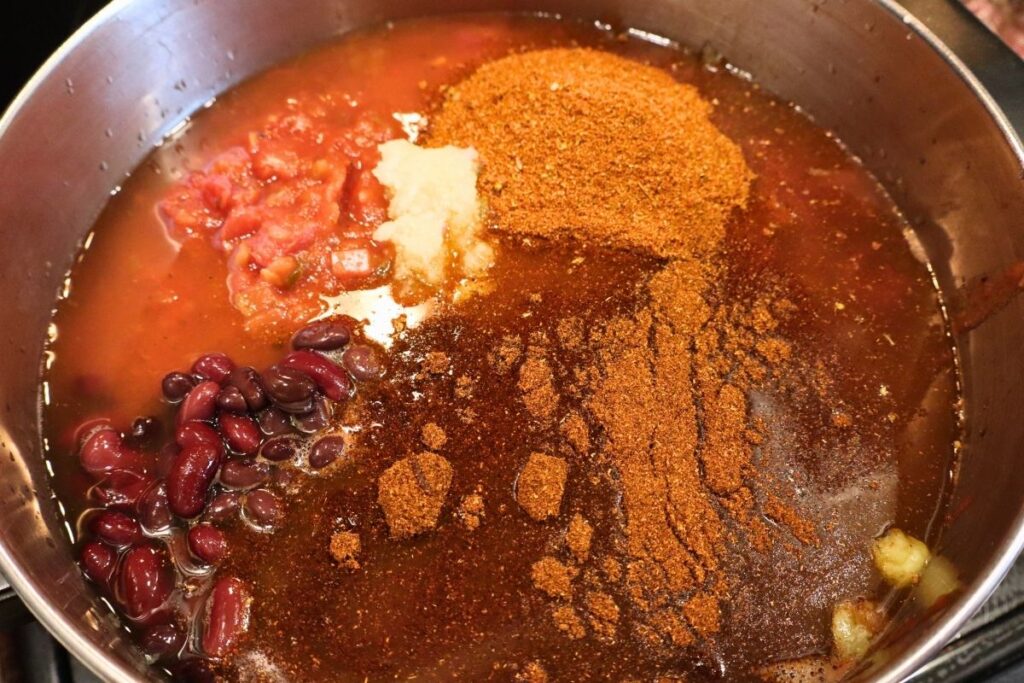
1.Grab a large stockpot (you’ll need one that’s a minimum of 8 quarts). Add the diced tomatoes (undrained), tomato sauce, beef bone broth, salsa, black beans, kidney beans (both drained and rinsed), along with minced garlic, homemade taco seasoning, and chili powder into the stockpot. Stir to combine and place over medium-high heat, bringing it to a gentle boil.
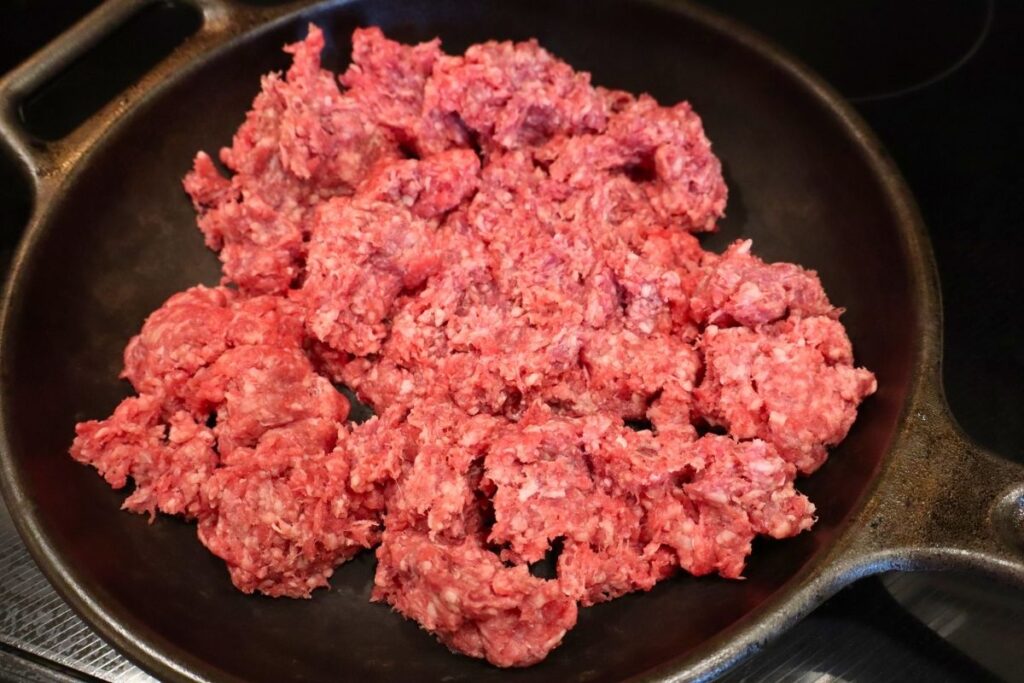
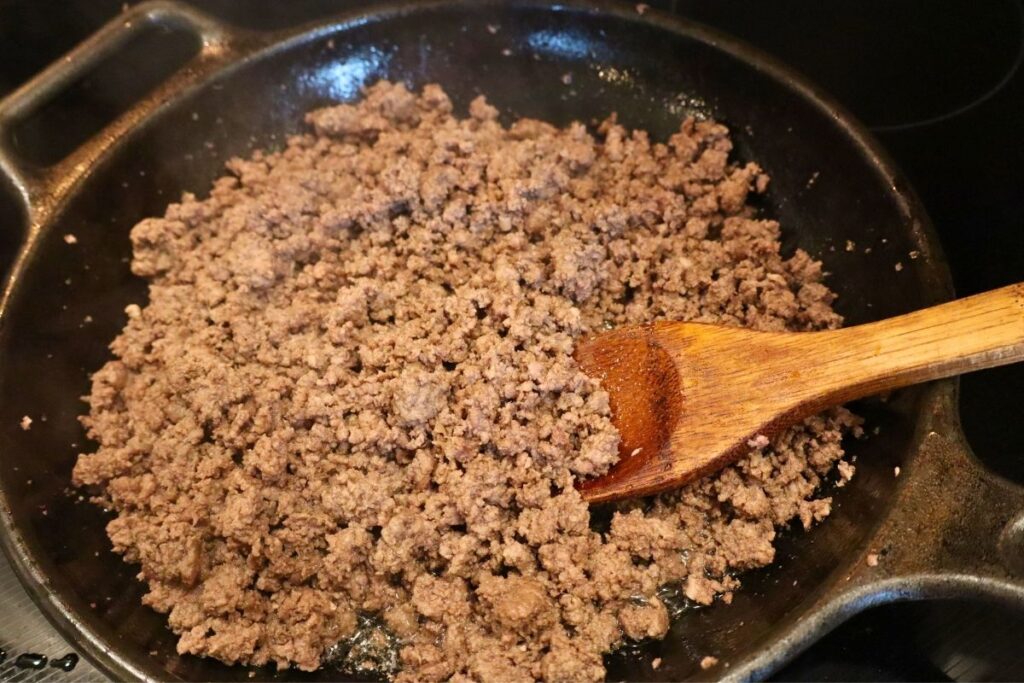
2. While the beans and tomato mixture are starting to simmer, grab a large skillet and start cooking the ground beef over medium-high heat. As it’s cooking break up the hamburger into small crumbles and cook until it’s no longer pink. Once cooked through, I like to brown it just a bit further for extra flavor—just a few more minutes should do the trick. Drain off any excess grease if needed.
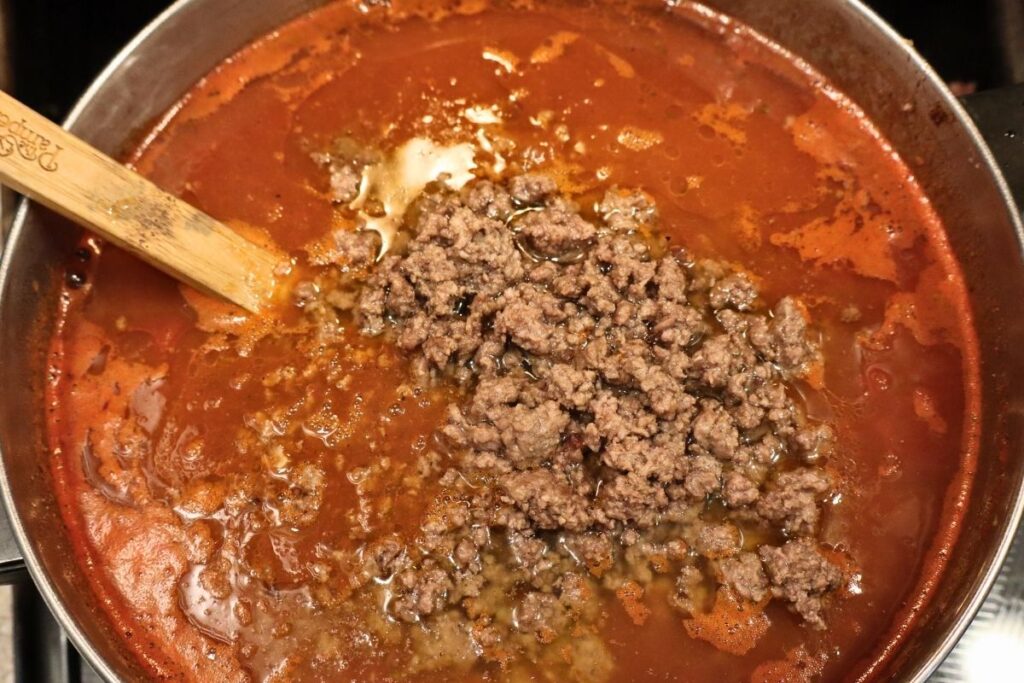
3. Add the cooked ground beef to the chili pot with all the other ingredients.
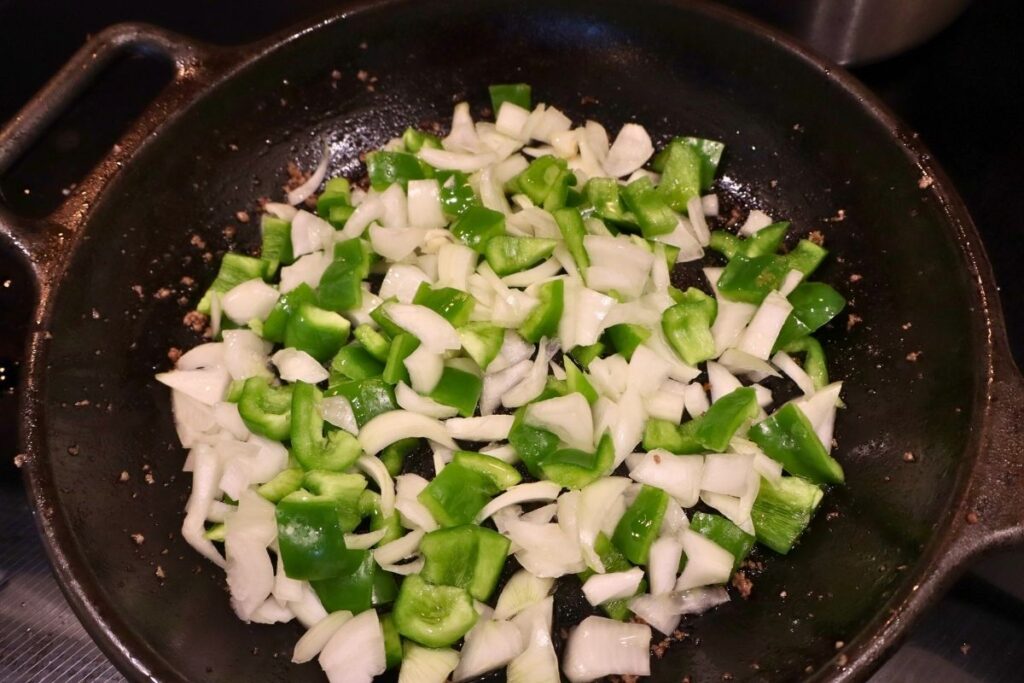
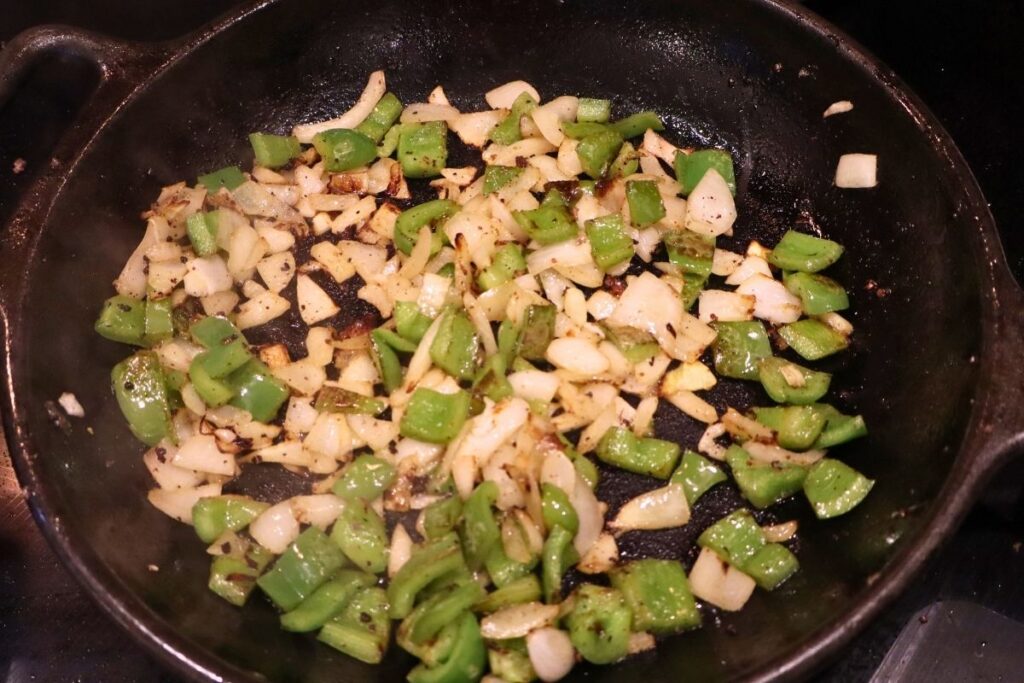
4. In that same skillet, add the oil and diced peppers and onions and sauté for about 5 minutes or until they’re slightly softened.
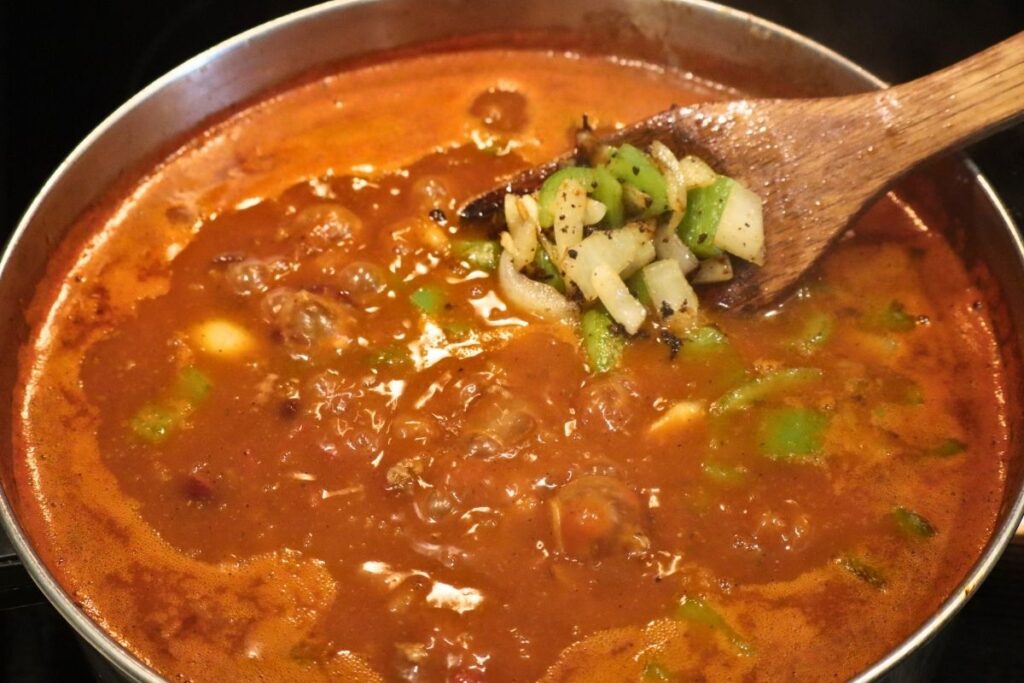
5. Add the peppers and onions to the pot of chili. Reduce the heat to medium-low to maintain a gentle simmer and place a lid on the stockpot.
6. Continue to simmer for at least 30 more minutes, for a total of about 1-hour since adding all the beans and tomatoes to the stockpot. While the chili is delicious at the 1-hour mark, I think the flavor is even better with 1½ to 2 hours of simmering if you have extra time.
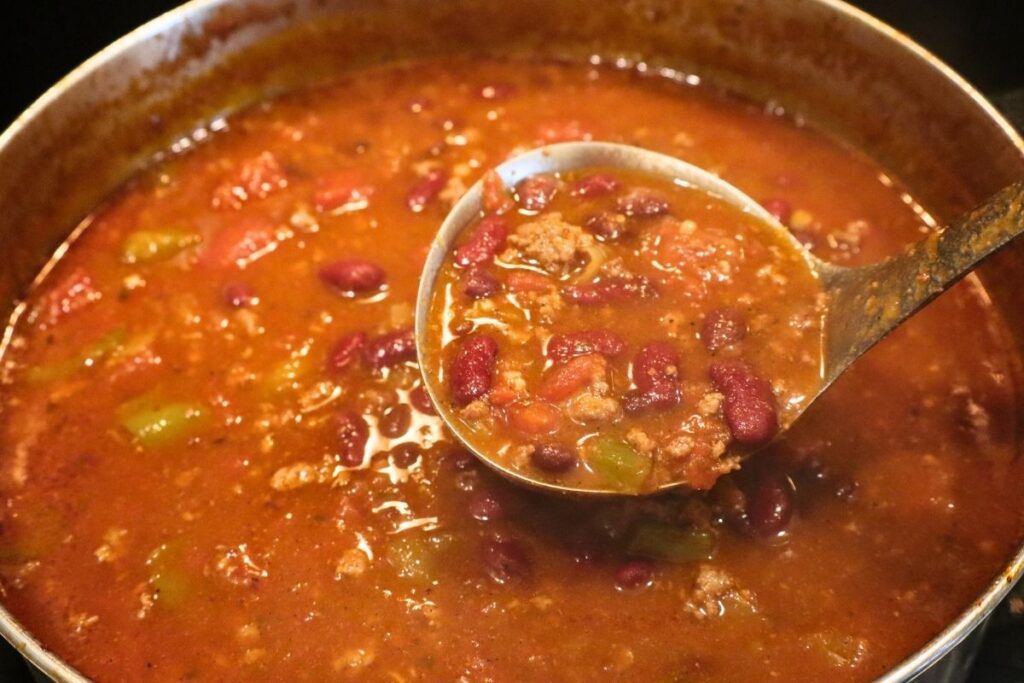
7. Serve with your favorite toppings (see What to Serve with Chili Section Below) or enjoy it all by itself!
What Makes This Chili Different
Chili recipes can seem so similar that one might wonder how can they possibly taste that different? I don’t know how, but I’m always amazed at how different they are despite using very similar ingredients. Here’s a couple things that make this chili recipe standout.
Made with Homemade Bone Broth
Most chili recipes use store-bought broth or water. Homemade bone broth adds richness and depth to the chili. It also adds more nutrients, making this a very nourishing meal.
Here is my beef bone broth recipe if you’d like to see how I make it.
If you’ve never made your own bone broth, check out my ultimate bone broth guide.
Made with Homemade Taco Seasoning
This chili recipe uses my homemade taco seasoning. Using a homemade taco seasoning saves money and lets you control the ingredients without any added fillers. Go ahead and mix up a batch to use in this chili and keep the rest on hand for this chicken taco soup recipe as well.
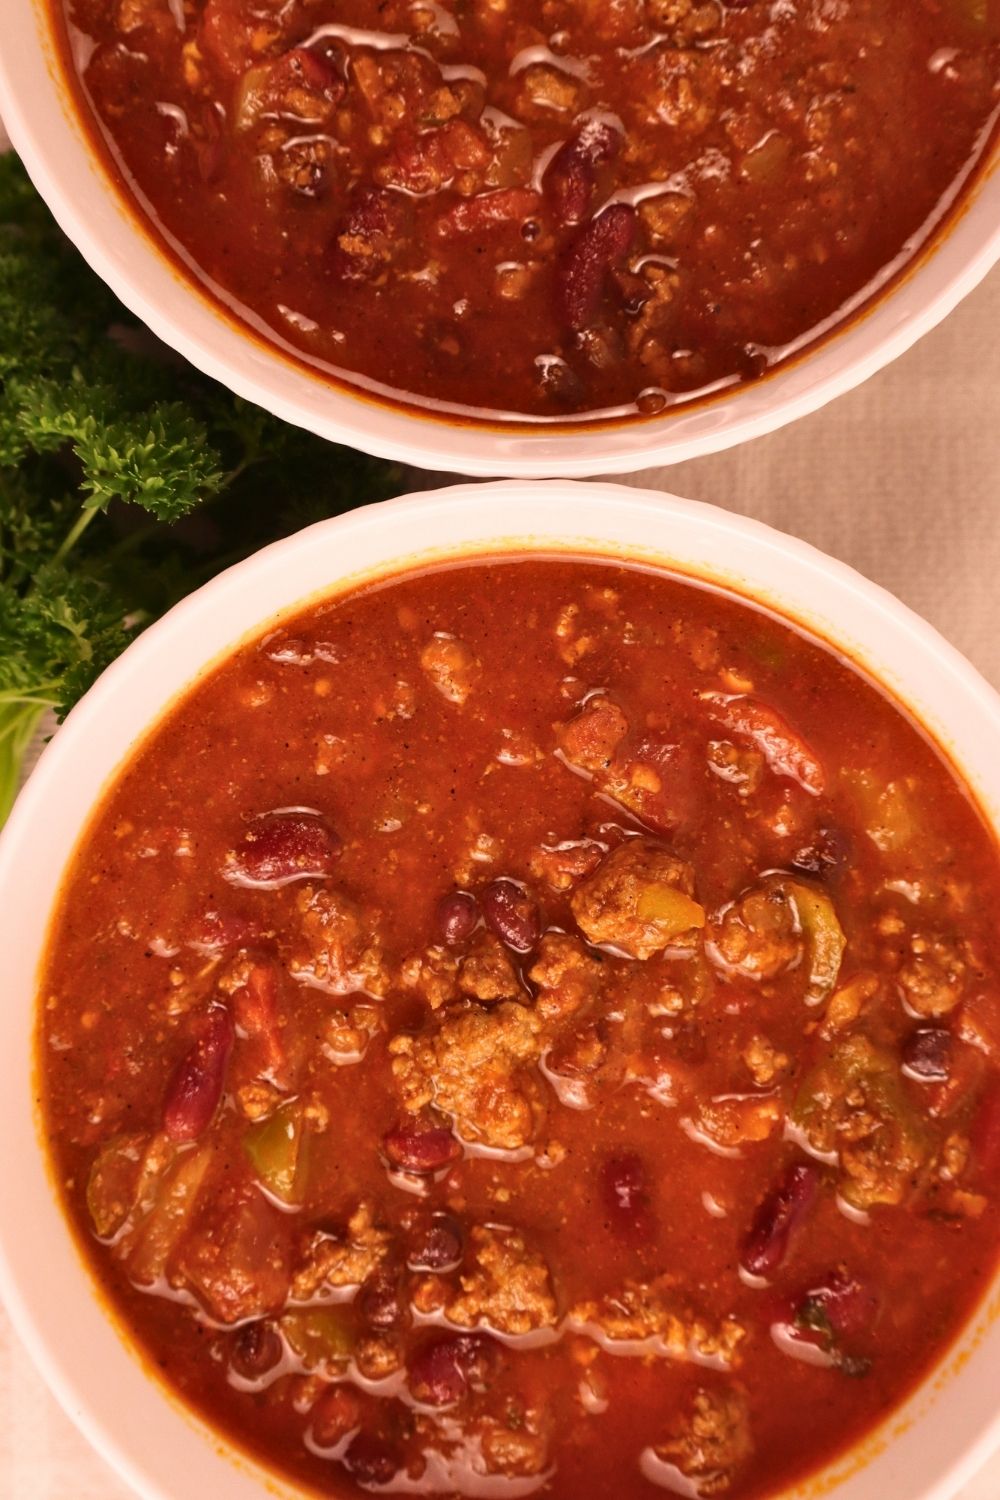
How to Thicken Chili
If you find your chili on the thin side, or you just enjoy a thick, hearty bowl, here are a few ways to thicken it up.
- Simmer it uncovered a bit longer to help evaporate some of the liquid.
- Mash some of the beans against the side of the pot.
- Add extra cooked beans and mash or blend them, then add them to the pot.
- Add a tablespoon or two of tomato paste.
Tips for the Best Chili
Brown the Beef for More Flavor
Once the ground beef is cooked through and there’s no more pink, continue browning the beef for a few more minutes. This develops a deeper flavor in the beef and makes the whole pot of chili taste even better.
Let the Chili Simmer
While you can eat this in about an hour, the flavor only gets better the longer it simmers. For the best flavor simmer over low heat for a couple hours if you have time.
Make it Ahead
The flavor gets even better on day 2, so if you can make it a day ahead of when you plan to serve it, the flavor will be even more amazing. It really is a great make ahead meal.
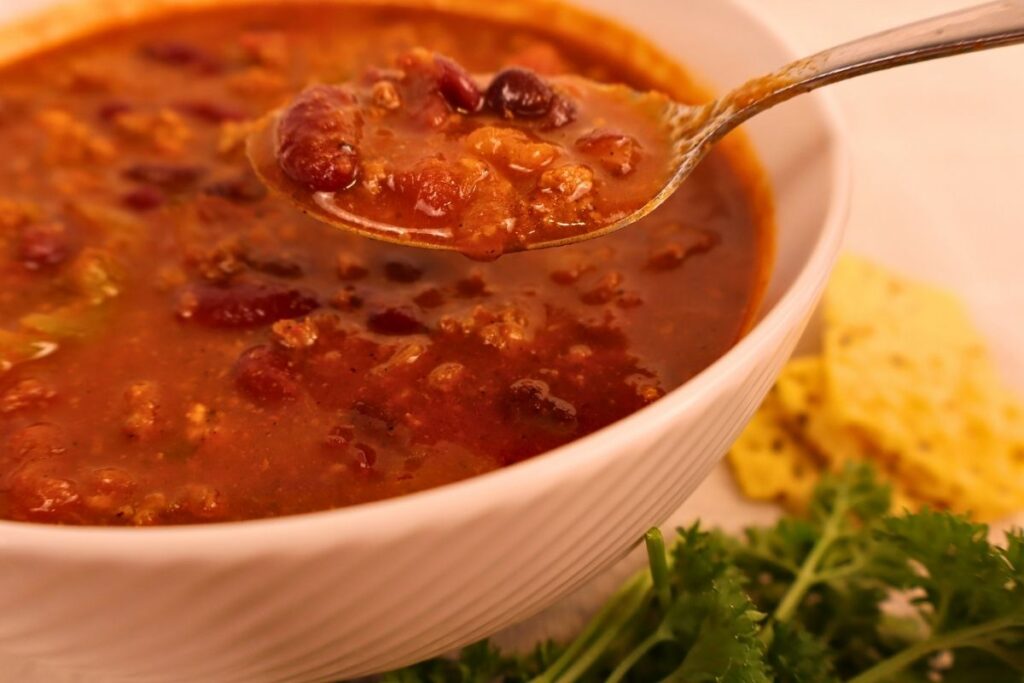
How to Store Gluten-Free Chili
To store in the refrigerator:
- Store in an airtight container for up to 5 days
To store in the freezer:
- Cool chili, place in freezer-safe containers leaving room for expansion
- Freeze for up to 6 months
What to Serve with Gluten-Free Chili
This hearty chili is a meal on its own, but it’s even better when paired with a few simple sides.
Some of my favorite options include:
- Gluten-free cornbread
- Tortilla chips
- A crisp green salad
- Baked potatoes
- Steamed rice

When it’s time to serve, let everyone customize their own bowl with their favorite toppings, such as:
- Shredded cheddar cheese
- Sour cream
- Sliced avocado
- Diced onions
- Fresh cilantro
- Sliced jalapeños
- Crushed gluten-free tortilla chips for extra crunch
Have leftover chili? Use up the leftovers in this delicious gluten-free chili mac.

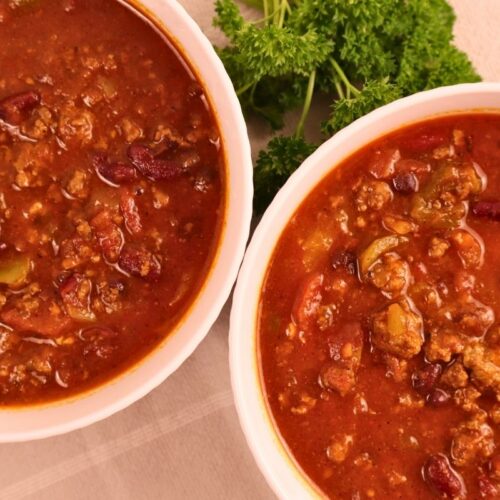
Easy Gluten-Free Chili with Beef Bone Broth
Equipment
- 8-quart stockpot or larger
- Skillet
- Garlic press (optional)
Ingredients
Ingredients
- 2 14.5-ounce cans diced tomatoes, undrained
- 1 15-ounce can tomato sauce
- 4 cups beef bone broth
- 2 16-ounce jars mild salsa
- 2 15-ounce cans black beans, rinsed and drained
- 2 15-ounce cans red kidney beans, rinsed and drained
- 5 cloves garlic minced or pressed
- 4 tablespoons homemade taco seasoning
- 1 tablespoon chili powder
- 2 pounds ground beef
- 2 tablespoons avocado oil or olive oil for sautéing peppers and onions
- 1 medium onion diced
- 1 bell pepper diced (or 1 cup frozen diced bell peppers)
Instructions
Instructions
- In a large stockpot or soup kettle, combine the diced tomatoes, tomato sauce, beef bone broth, mild salsa, black beans, kidney beans, minced garlic, homemade taco seasoning, and chili powder. Stir well and bring the mixture to a gentle boil over medium-high heat.
- While the chili base is heating, place a large skillet over medium-high heat. Add the ground beef and cook until it is no longer pink, breaking it into crumbles as it cooks. Once cooked through, continue cooking for an additional 2–3 minutes to allow the beef to brown and develop more flavor. Drain any excess grease if needed.
- Add the browned ground beef to the stockpot and stir to combine.
- Add the avocado oil or olive oil to the same skillet. Add the diced onion and diced bell pepper and sauté for 5–7 minutes, or until they begin to soften.
- Add the sautéed onions and peppers to the chili and stir.
- Reduce the heat to medium-low to maintain a gentle simmer and cover the stockpot with a lid.
- Continue simmering for an additional 30 minutes, stirring occasionally.This should put the simmer time at about 1 hour total since beginning to simmer the tomatoes, beans, seasonings etc. While it's ready to eat after about 1 hour, it's even better if you allow it to simmer for 1½ to 2 hours total. The longer simmer allows the flavors to deepen and develop.
Notes
If you liked this recipe, you might also be interested in trying this yummy chicken taco soup!
Love this chili? Try turning the leftovers into my easy gluten-free chili mac for a new twist the whole family will love.
Frequently Asked Questions
Is chili naturally gluten-free?
Yes, this chili is naturally gluten-free because it’s made with simple ingredients like ground beef, beans, tomatoes, and spices. If you’re cooking for someone with celiac disease or a gluten sensitivity, always check the labels on your broth, salsa, canned goods, and seasonings to ensure they’re certified gluten-free.
Can I use regular beef broth instead of beef bone broth?
Yes. While homemade beef bone broth gives this chili a richer, deeper flavor, regular beef broth works well if that’s what you have on hand.
Can I make this chili ahead of time?
Absolutely! In fact, chili often tastes even better the next day after the flavors have had time to meld together. Store it in an airtight container in the refrigerator and reheat before serving.
How do I thicken homemade chili?
If your chili is thinner than you’d like, continue simmering it uncovered until some of the liquid evaporates. You can also mash a few of the beans against the side of the pot and stir them back into the chili for a naturally thicker consistency or add a spoonful of tomato paste.
Can I freeze gluten-free chili?
Yes! Let the chili cool completely before transferring it to freezer-safe containers or bags, leaving room for expansion. Freeze for up to 6 months and thaw overnight in the refrigerator before reheating.
Can I make this chili in a slow cooker?
Yes. Brown the ground beef and sauté the peppers and onions first, then add to your slow cooker along with the remaining ingredients. Cook on low for 6 to 8 hours or on high for 3 to 4 hours.
What are the best toppings for gluten-free chili?
Try topping your chili with shredded cheese, sour cream, diced avocado, diced onions, fresh cilantro, tortilla chips, or sliced jalapeños for extra flavor and texture.
What should I serve with gluten-free chili?
This chili pairs well with gluten-free cornbread, a side salad, baked potatoes, tortilla chips, or fresh fruit for a complete meal.