Easy Baked Gluten-Free Chili Mac

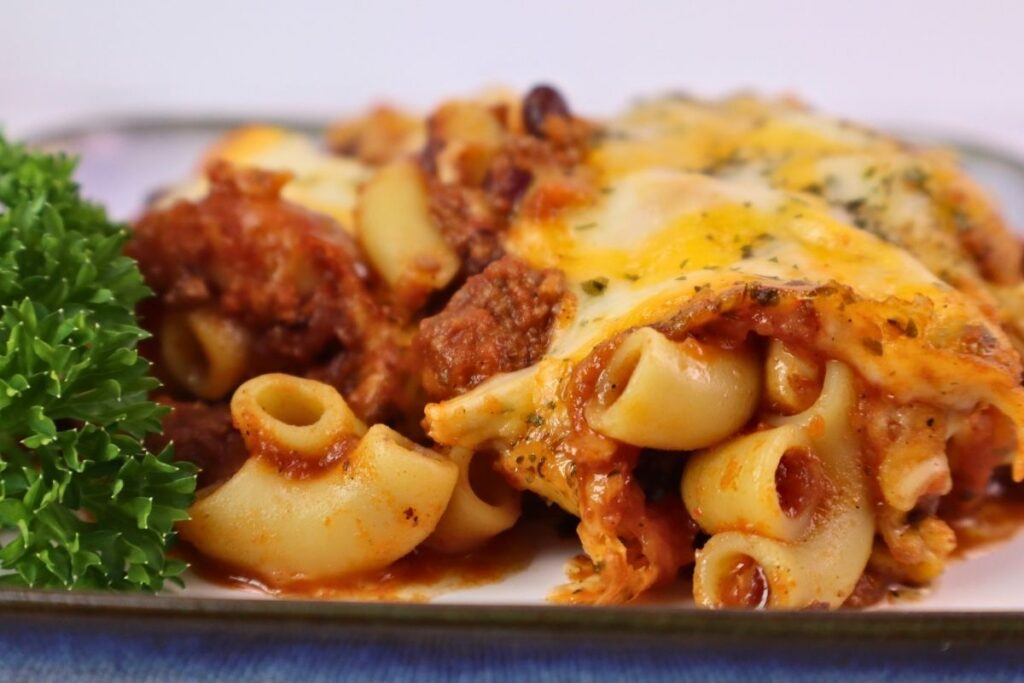
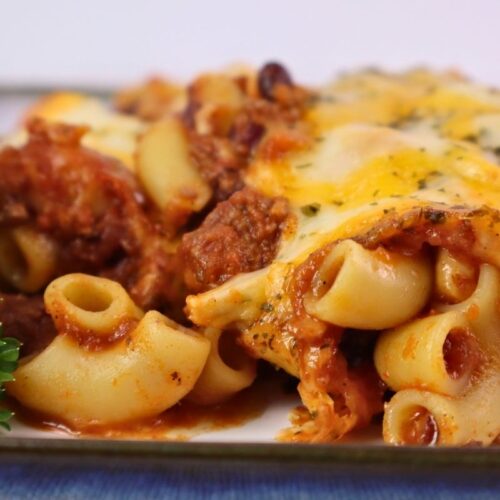
This easy baked gluten-free chili mac is the perfect combination of hearty chili, tender chickpea pasta, and melty cheese baked until hot and bubbly. It's a simple, family-friendly dinner that's perfect for busy weeknights and a delicious way to turn leftover chili into a brand-new meal. Best of all, it comes together with just a handful of ingredients and minimal prep.
Note: This post may contain affiliate links. Please see our disclosure policy.
This baked chili mac is my go-to recipe when we have leftover chili, which is typical when I make my large batch chili recipe. I love any recipe that I can make and then eat off of for days, and that is typically what happens when I make chili. Night one we eat a bowl of chili with a side of cornbread. On night two there's still plenty of leftovers to make this gluten-free chili mac, which often feeds my family for two more meals with little effort or added ingredients.
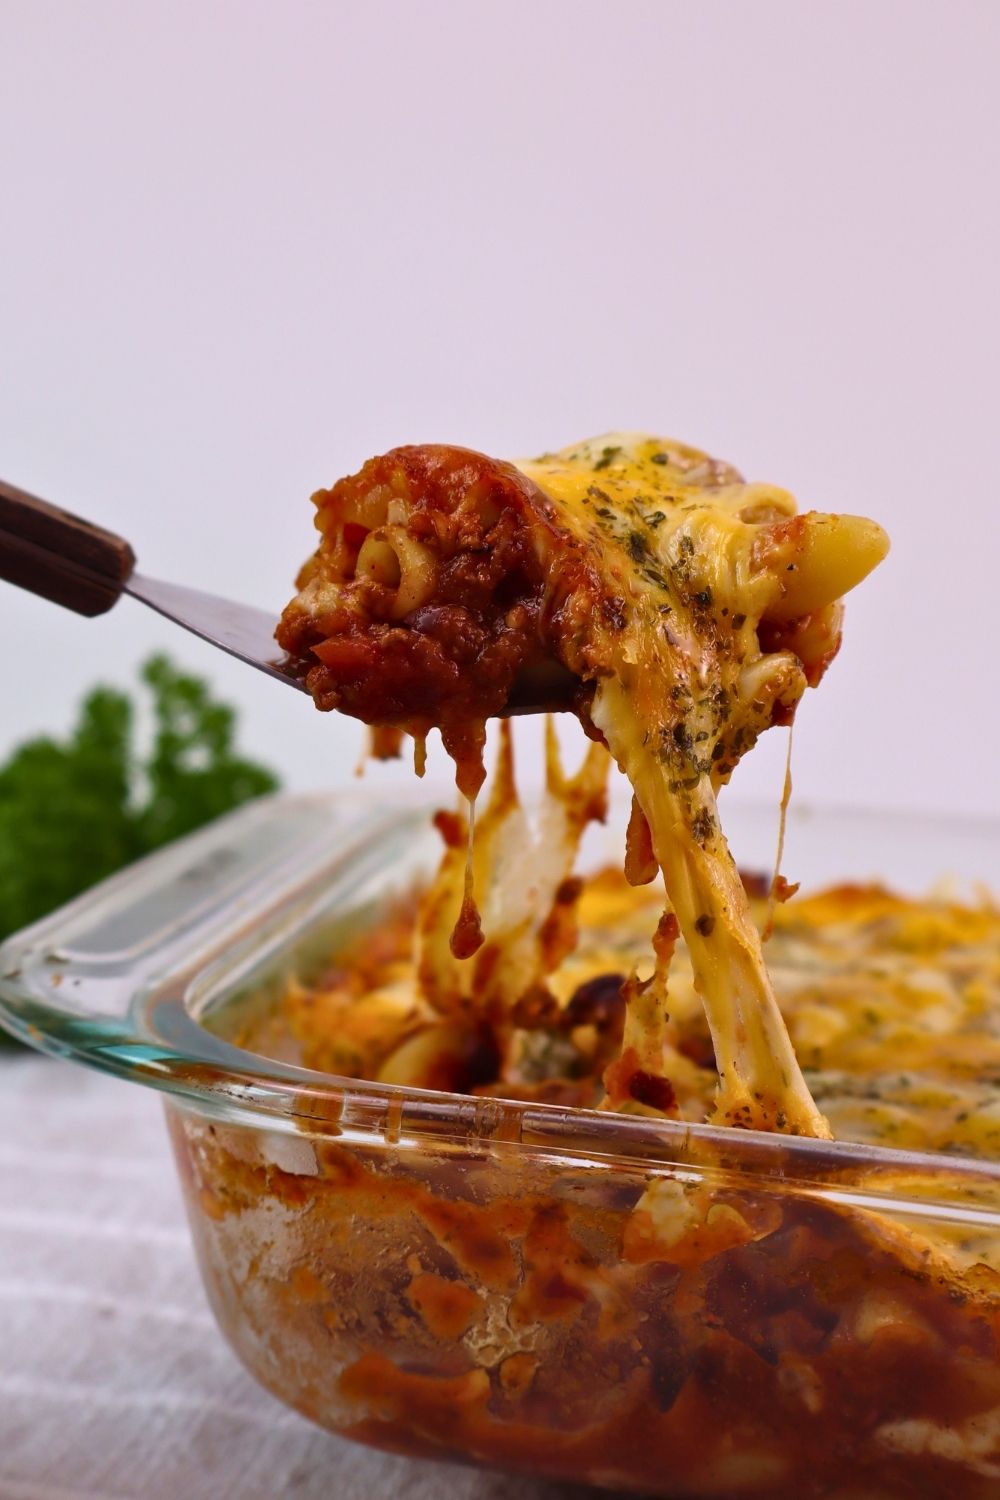
This easy chili mac is perfect for busy nights, when you just need to get dinner on the table with a small amount of effort and time. Add a simple side of steamed broccoli or a fresh side salad with homemade ranch dressing, and you have a well-rounded, simple meal!
Table of Contents
Why You'll Love This Gluten-Free Chili Mac
A cozy twist on classic comfort food – This baked chili mac combines hearty chili, tender pasta, and plenty of melted cheese for a satisfying meal the whole family will love.
A simple way to use leftover chili – Turn yesterday’s chili into a completely new dinner with just a few extra ingredients.
Naturally gluten-free and protein-rich – Made with chickpea pasta, flavorful chili, and cheese, this meal is a filling option that doesn’t sacrifice the comfort food flavors you love.
Easy weeknight dinner – With minimal prep and simple ingredients, this baked chili mac is perfect for busy nights when you need a quick meal everyone will enjoy.
Easy to customize – Use your favorite chili, switch up the cheese, or add your favorite toppings to make it your own.
What You'll Need to Make Gluten-Free Chili Mac
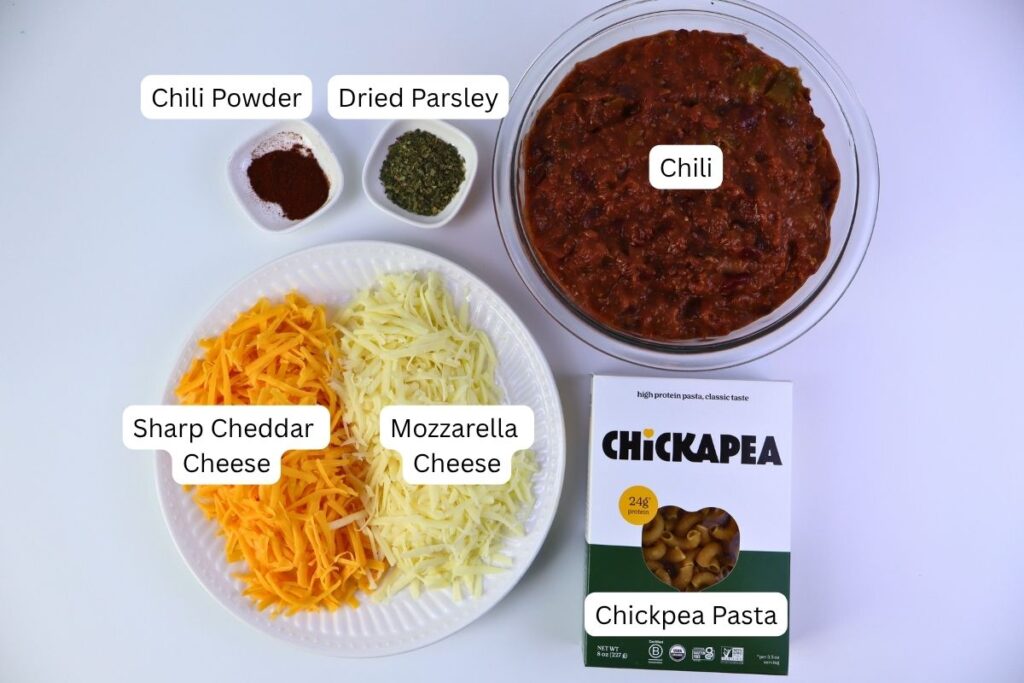
Gluten-free chickpea elbow pasta – Chickpea pasta works especially well in this baked casserole because it holds its texture without becoming mushy and adds extra protein. I really like the brand Chickapea.
Prepared chili – Use leftover homemade chili or your favorite prepared chili. A thicker chili works best.
Mozzarella cheese – Adds a creamy, melty cheese layer to the casserole. Pre-shredded or freshly grated works, but I'd highly recommend that you freshly grate a block of cheese. It melts so much nicer, and I find that it's worth the effort.
Sharp cheddar cheese – Brings a bold, cheesy flavor that pairs perfectly with the chili. Again, freshly grating your own block makes a noticeable difference in how nicely it melts.
Chili powder – Adds a little extra seasoning to help the chili flavor shine after adding the pasta and cheese.
Dried parsley – Adds a little color to the cheesy topping.
How to Make Gluten-Free Chili Mac
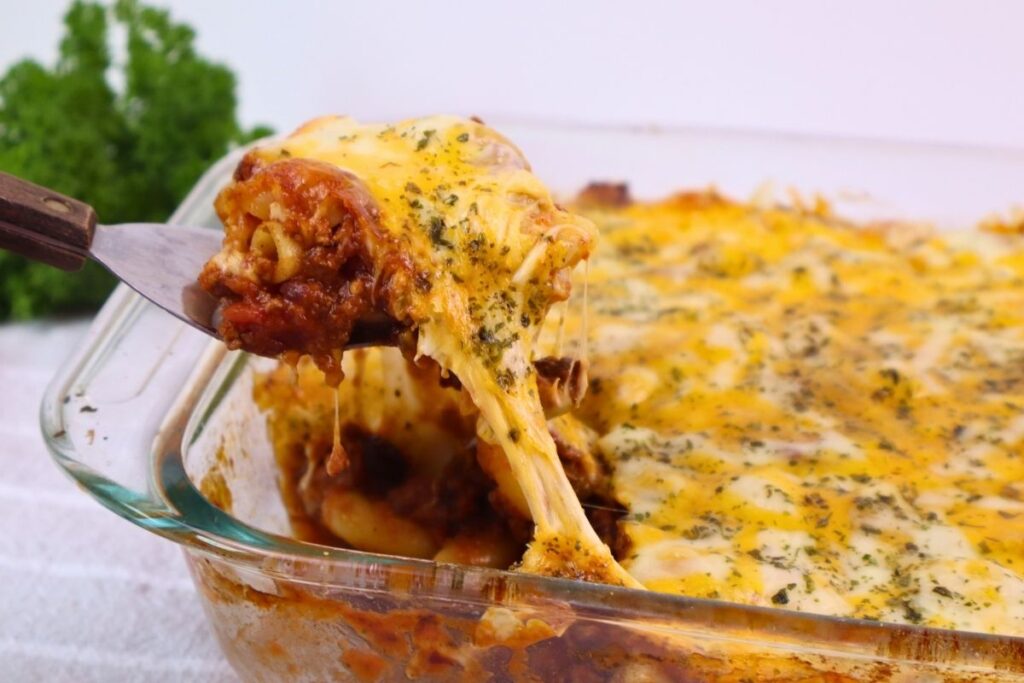
This easy baked chili mac casserole couldn't be easier for putting a nourishing homemade dinner on the table.
Start by preheating the oven to 350° F.
Cook the gluten-free pasta according to the package instructions. Cook the pasta until its al dente—you want it on the firmer side since it's still going to bake in the oven, which helps prevent it from becoming mushy.
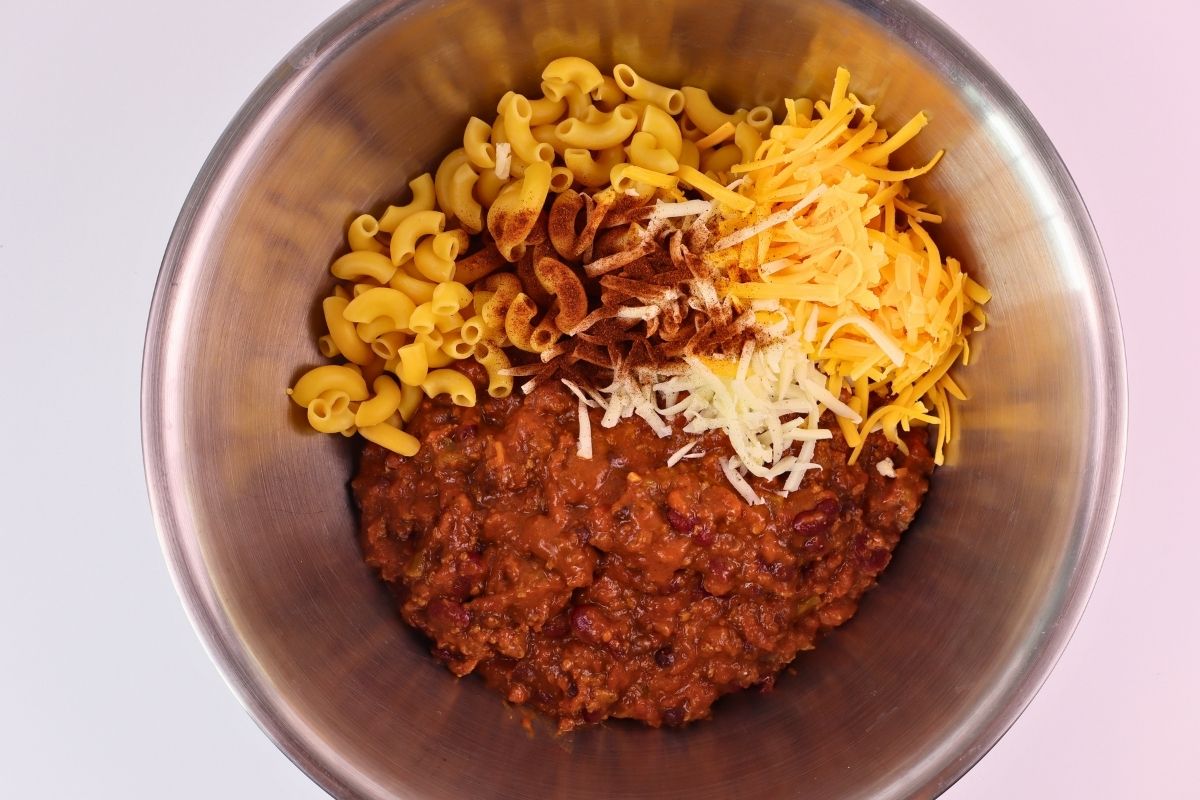
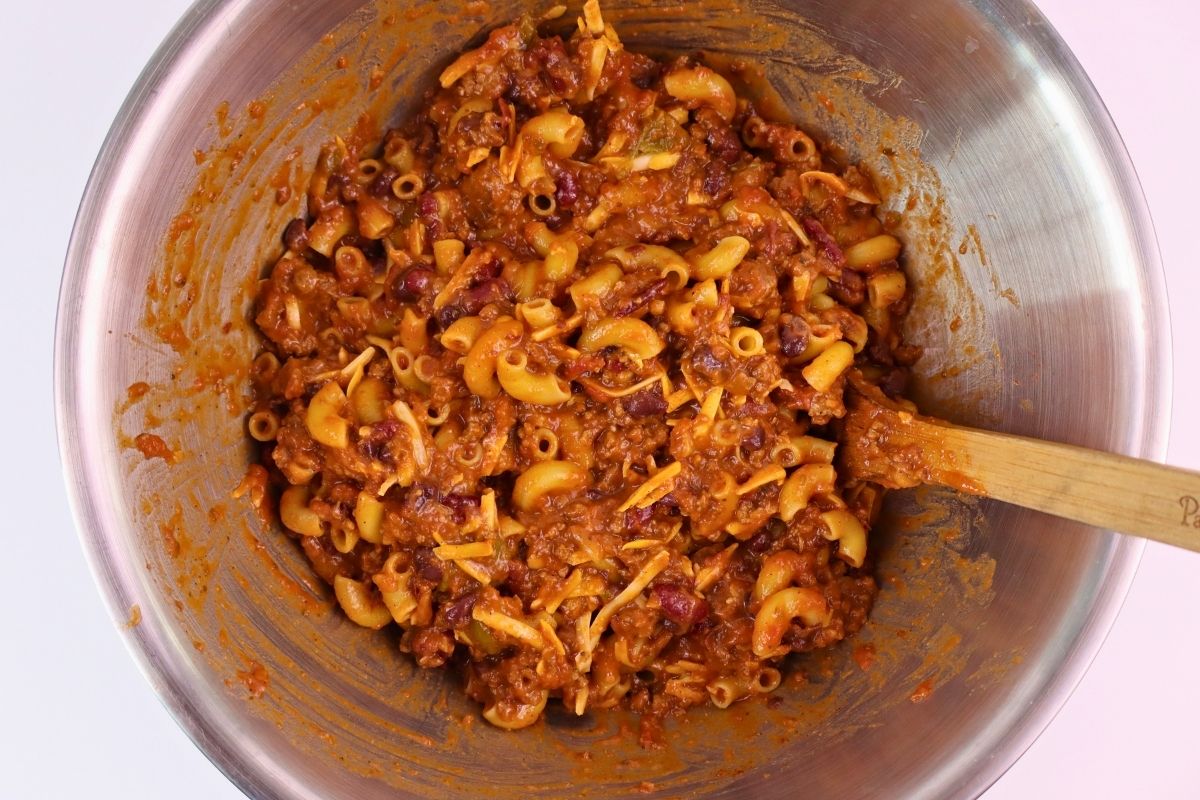
In a large mixing bowl, combine the cooked pasta, chili, ½ cup of shredded mozzarella, ½ cup of shredded cheddar, and chili powder. (You can add the chili straight from the fridge or warmed, it doesn't matter.) Stir until combined.
Note: If your chili is thin, you may want to add a tablespoon of tomato paste to prevent the casserole from turning out watery.
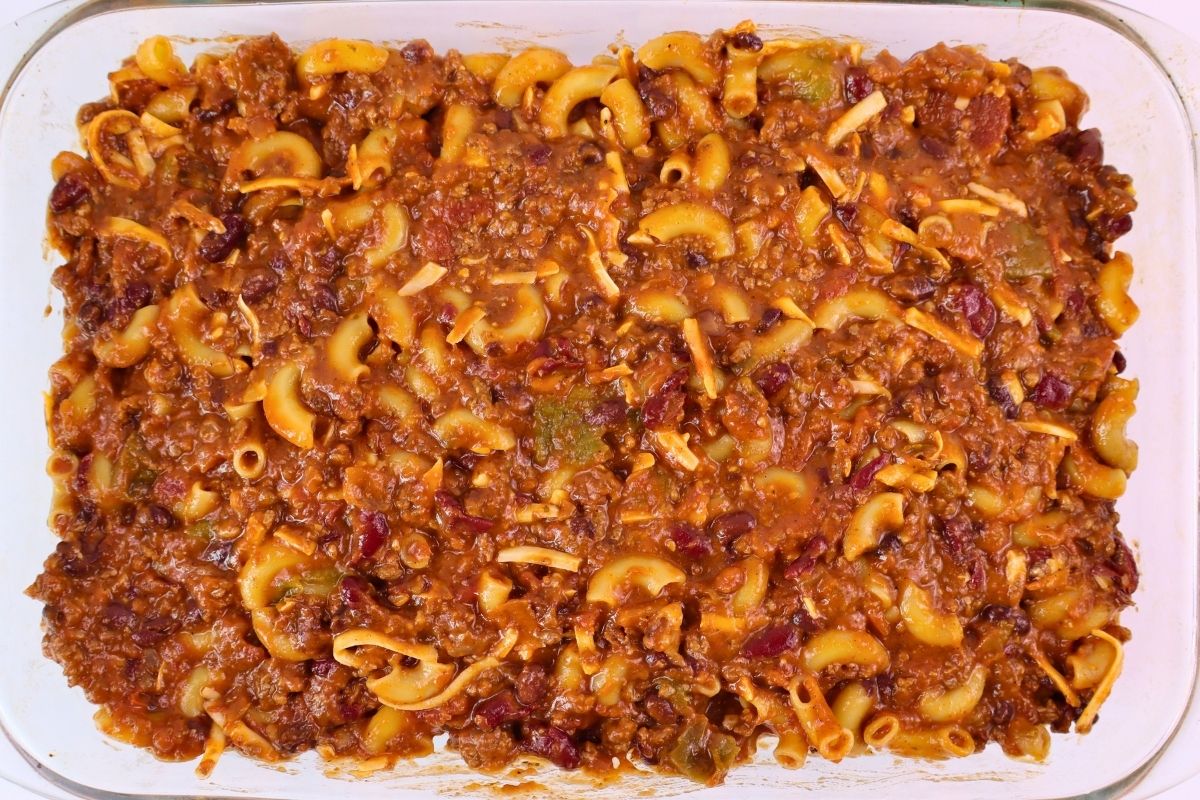
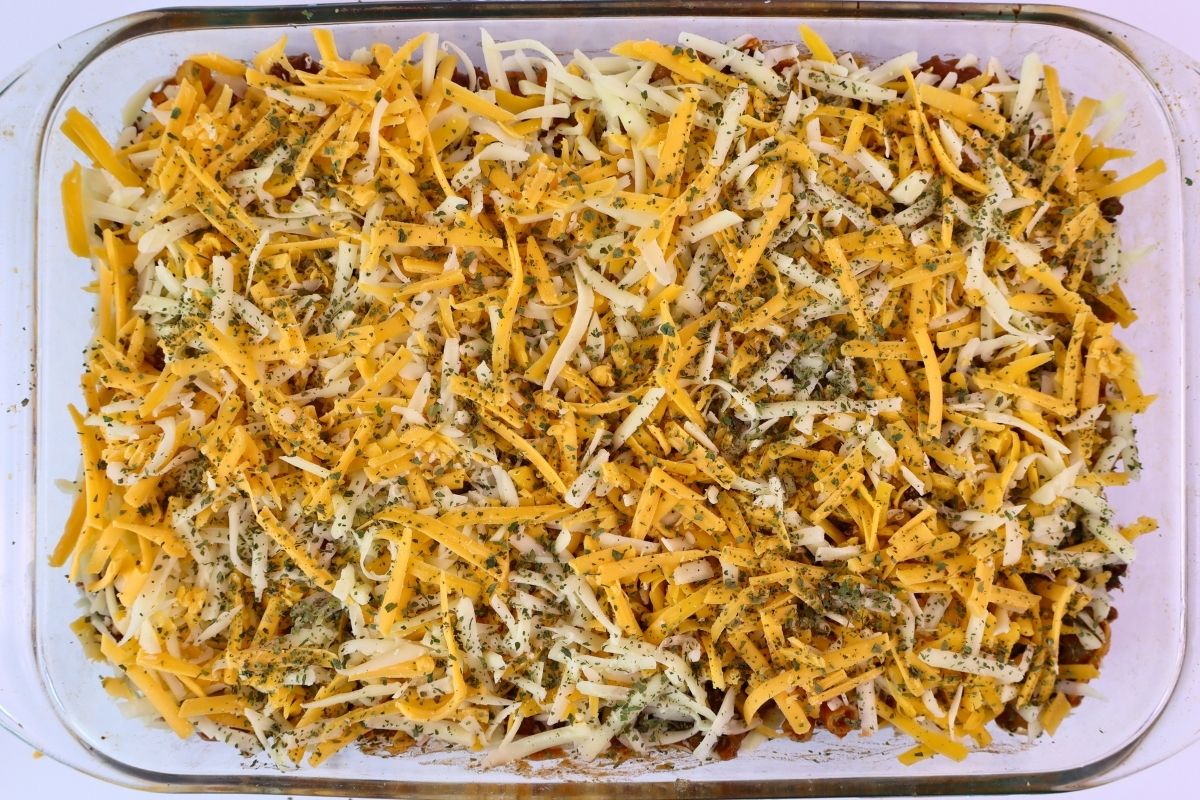
Pour the chili mac into a 9x13 dish or a similar-size casserole dish and spread it out evenly. Sprinkle the remaining shredded mozzarella and cheddar cheese evenly over the top, for a total of 3 cups. Then sprinkle on the dried parsley. Place in the preheated 350°F oven and bake uncovered for 25 to 30 minutes, until heated through and the cheese is melted.
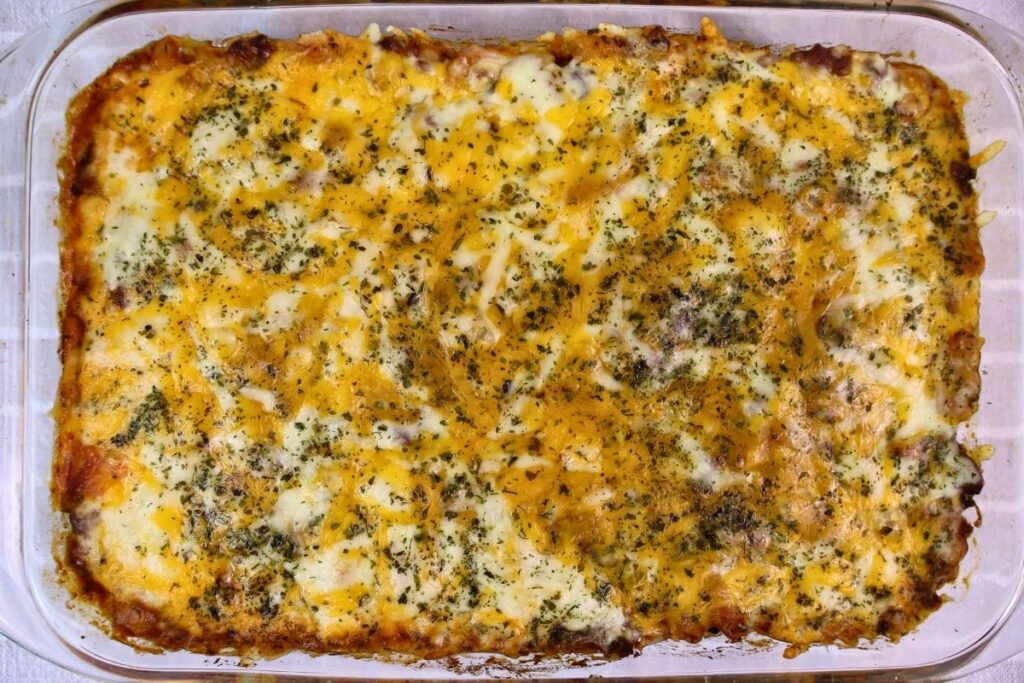
Once the casserole is finished, you can dig in right away, but it's best to let it rest for 5 to 10 minutes to let the juices absorb and allow the cheese to set up slightly.
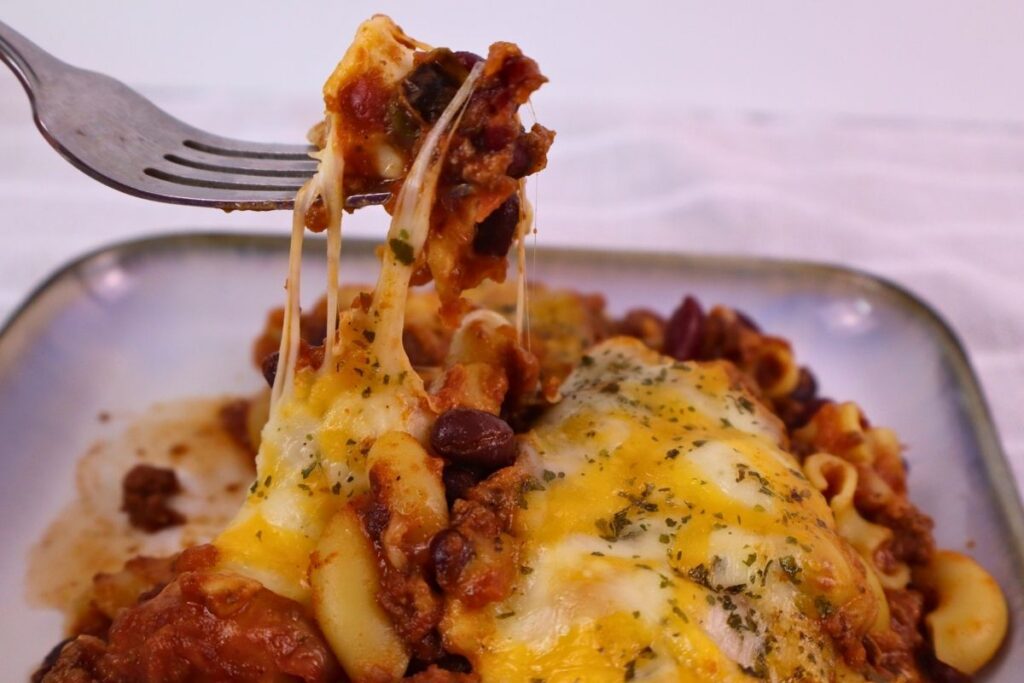
Serve with a simple side veggie and enjoy!
Tips for Making the Best Gluten-Free Chili Mac
Use a thick chili- A thicker chili works best so that the finished casserole doesn't end up watery. If your chili is on the thinner side, stir in a little tomato paste to help thicken it.
Shred your own cheese- Freshly shredded cheese melts smoother than pre-shredded cheese and gives you the best cheesy texture.
Use a sturdy gluten-free pasta- Chickpea pasta is a great choice for this recipe because it holds up well. Boil the pasta until al dente, being careful not to overcook, so it doesn’t become mushy when baked.
Boost the chili flavor- Pasta and cheese can dilute the chili's flavor, so stir in a little extra chili powder before baking.
Let it rest before serving- Allowing the chili mac to sit for a few minutes after baking helps it setup and makes it easier to serve.
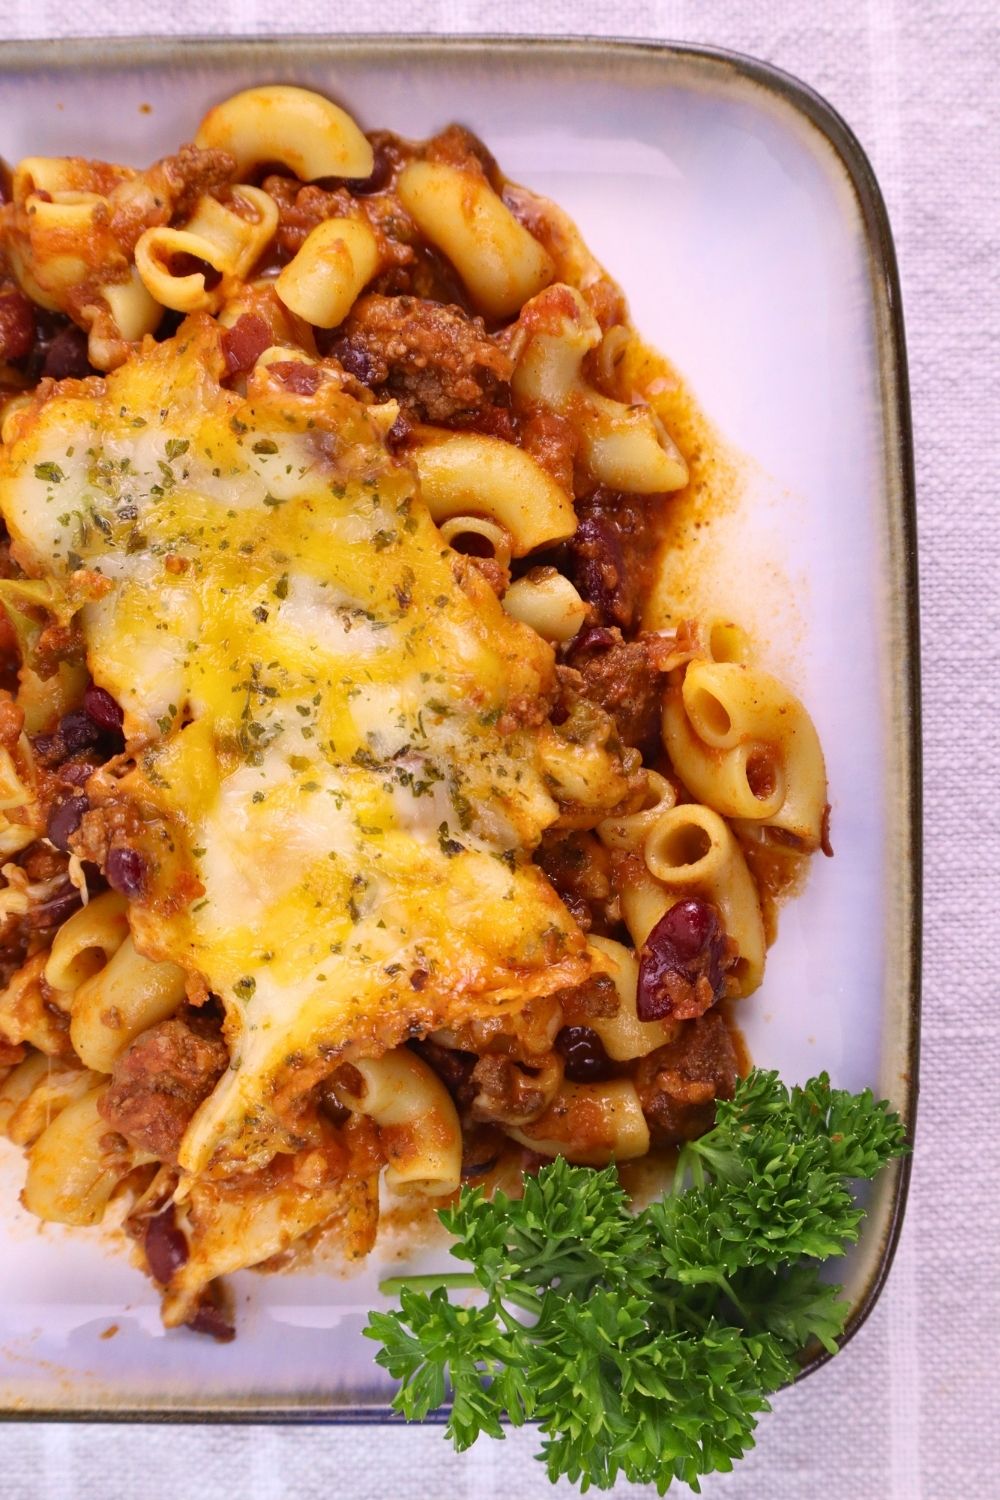
What to Serve with Gluten-Free Chili Mac
This cheesy chili mac is a hearty meal on its own, but it also pairs well with a few simple side dishes.
- Gluten-free cornbread
- Side salad with homemade ranch dressing
- Roasted or steamed broccoli
- Roasted green beans
- Roasted brussels sprouts
- Coleslaw
- Side of fresh fruit such as fresh berries or sliced watermelon
How to Store and Reheat Gluten-Free Chili Mac
Store leftover chili mac in an airtight container in the refrigerator for up to 3 to 4 days.
To reheat, warm individual portions in the microwave. Heat until warmed through, stirring halfway if needed.
For larger portions, cover and reheat in the oven at 350°F until heated through. You may need to add a small splash of water or broth to keep the noodles from drying out.
Can You Freeze Chili Mac?
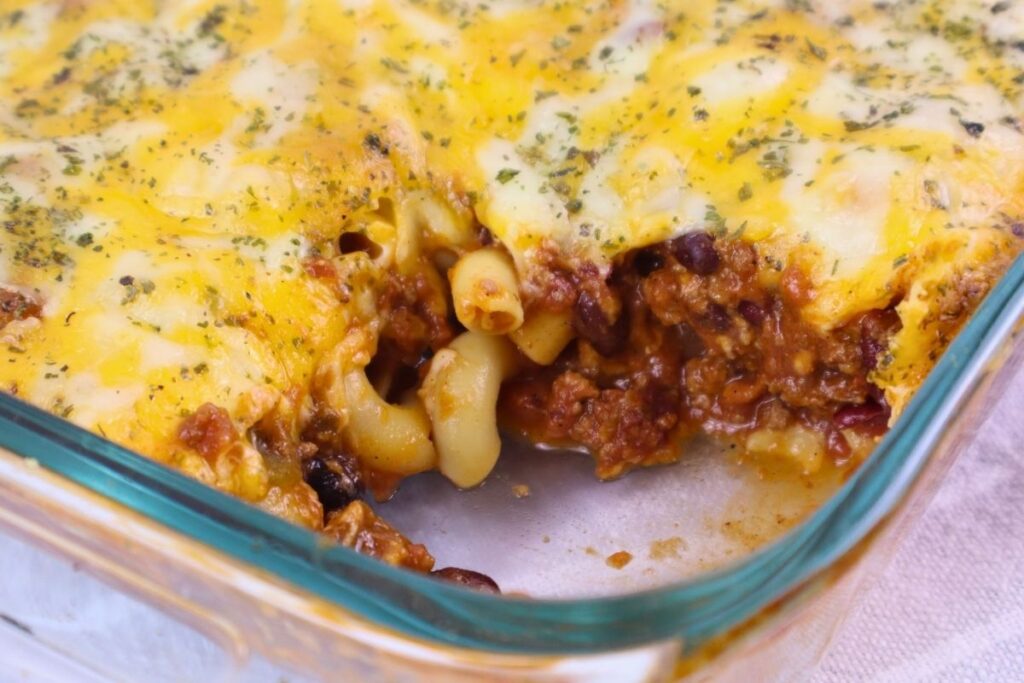
Yes! For freezing leftovers, let the chili mac cool completely, then transfer it to an airtight freezer-safe container. Freeze for up to 3 months.
To make it as a freezer meal: Assemble the casserole by mixing the cooked pasta, chili, seasonings, and cheese, then top with the remaining cheese. Cover the baking dish tightly with a layer of plastic wrap followed by aluminum foil to help prevent freezer burn. Date and label with baking instructions. Freeze for up to 3 months.
When you're ready to enjoy it, thaw the casserole overnight in the refrigerator, remove the plastic wrap and foil, bake as directed, or until heated through. Let it rest for 5 to 10 minutes before serving.
Easy Baked Gluten-Free Chili Mac
Equipment
- 9x13 Casserole dish
Ingredients
Ingredients
- 1 8-ounce box gluten-free chickpea elbow macaroni I love the brand Chickapea or use any g/f pasta you like
- 6 cups prepared chili
- 2 cups shredded mozzarella cheese divided
- 2 cups shredded sharp cheddar cheese divided
- 1 teaspoon chili powder
- 2 teaspoons dried parsley
Instructions
Instructions
- Preheat oven to 350°F.
- Cook the gluten-free chickpea elbow macaroni according to the package directions until al dente. Drain well.
- In a large mixing bowl, stir together the cooked pasta, 6 cups prepared chili (cold or warm both work well), 1 teaspoon chili powder, ½ cup shredded mozzarella cheese, and ½ cup shredded sharp cheddar cheese until evenly combined.
- Transfer the chili mac mixture to a 9×13-inch baking dish and spread it into an even layer.
- Sprinkle the remaining 1½ cups mozzarella cheese and 1½ cups sharp cheddar cheese evenly over the top.
- Sprinkle the dried parsley evenly over the cheese.
- Bake uncovered for 25–30 minutes, or until the cheese is melted, bubbly, and the casserole is heated through.
- Let the chili mac rest for 5–10 minutes after removing it from the oven before serving. This allows the cheese to set slightly and makes it easier to scoop.
Notes
- Chickpea pasta works especially well in this recipe because it holds its texture better than many gluten-free pastas when baked.
- A thicker chili works best for this casserole. If your chili is thinner, stir in about a tablespoon of tomato paste before combining it with the pasta. This helps prevent the casserole from becoming watery.
- The flavor of the chili can dilute slightly when combined with pasta and cheese. Add extra chili powder if you prefer a stronger chili flavor.
Frequently Asked Questions
Can I use store-bought chili?
Yes! This recipe works with homemade or store-bought chili. Just use a thick chili for the best texture.
Can I use a different gluten-free pasta?
Yes. Any sturdy gluten-free pasta will work, but chickpea pasta holds up especially well when baked.
Can I make chili mac ahead of time?
Yes. Assemble the casserole, cover, and refrigerate for up to 12 hours before baking.
Can I add extra toppings?
Absolutely! Try sliced green onions, black olives, sour cream, diced jalapeños, or extra shredded cheese.
Can I freeze this chili mac before baking?
Yes! This recipe makes a great freezer meal. Assemble the casserole, cover it tightly with plastic wrap and foil, and freeze for up to 3 months. When you're ready to serve it, thaw it overnight in the refrigerator, remove plastic wrap and foil, and bake as directed.