How to Freeze Sweet Corn: A Step-by-Step Preservation Guide

Every summer when sweet corn is at its peak, I like to preserve some of that fresh flavor to enjoy throughout the year.Learning how to freeze sweet corn is a simple way to preserve your summer harvestand have fresh-tasting corn ready for soups, casseroles, side dishes, and family meals all year long.
Whether you're freezing a small batch or working through a large harvest, this is the method we use to preserve sweet corn. I'll walk you through each step, from blanching and cooling the ears to cutting the kernels off the cob and packaging them for the freezer.
Note: This post may contain affiliate links. Please see our disclosure policy.
Nothing beats the taste of fresh sweet corn, especially eaten right off the cob! Unfortunately, most of us can't have fresh corn on the cob all year long, but we can preserve that sweet summer flavor by freezing sweet corn. Freezing it preserves that sweet flavor that makes it so good, and it's so delightful to pull a bag of sweet corn from the freezer in the middle of winter and experience a taste of summer.
While it can be a time-consuming task, it's not a difficult one. Actually, it's rather simple and easy. I love that this method is adaptable whether you're freezing a couple dozen ears at a time or 30 dozen or more. So, whether you grow your own and harvest it as it becomes ready or purchase a large amount at one time, this method works for it all!
Corn day has been a part of my life for as long as I can remember. It started in childhood, when my grandma would come over to help. Then, during the years when I had babies, my mother-in-law came to help me. Now, my husband and I work side by side with our kids, teaching them these same skills. It's been a joy to pass on these skills, and I hope you too can also create these memories with your friends and family.

Table of Contents
What You’ll Need to Freeze Sweet Corn
Before you begin, gather all of your supplies. Having everything ready ahead of time will make the job much easier. If you're blessed to have extra helping hands, it will be easier for everyone to jump in and help if things are sitting out ready to go.
- Fresh sweet corn
- Large kettles or stockpots and/or if you're working outside, a propane burner or turkey fryer setup
- Large bowls, basins, or a cooler to hold ice water for chilling the corn
- Plenty of ice to help cool down the corn faster—don't skip this one
- Clean tea towels or baking trays to protect countertops or tables where the blanched and cooled corn will be stacked
- Cutting board
- Sharp paring knife
- Tongs
- Large mixing bowls to place the cut corn into
- Freezer bags or freezer-safe containers
- Permanent marker or freezer labels
- A bath towelfor wiping up spills from moving all that corn in and out of water and keeping the work area dry
- Buckets to collect the husk and leftover cobs as you cut off the corn
- Corn desilker brush (optional)
- Cookie sheet or baking sheet (optional, for freezing bags flat)
- Corn creamer(optional, only needed if you'd like your corn creamed)
How to Freeze Sweet Corn Step-by-Step
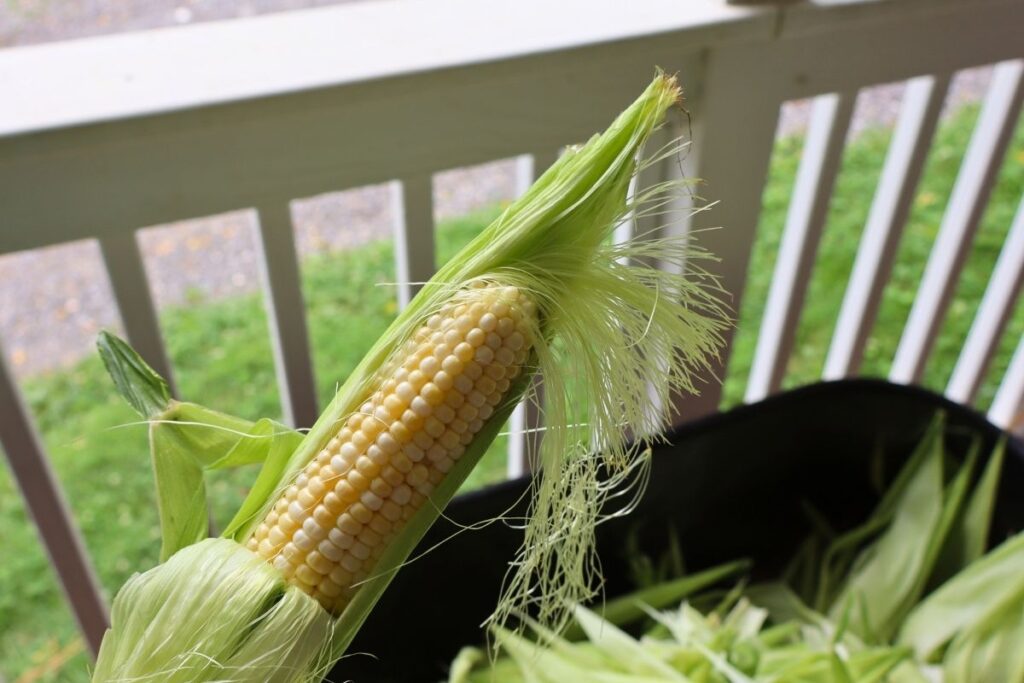
1. Husk the Corn and Remove the Silk
Remove the husk and all of the silk from the ears of corn. Continue until all of the corn you plan to freeze has been completely husked and cleaned. This is a great job to do outside!
You can remove the silk from the corn with your hands as best you can, or you can use a corn desilker brush to help. This is also a good time to keep a paring knife nearby to cut out any bad spots or worms.
If you're doing a lot of corn at once, it's handy to have a wheelbarrow to collect all of the husks.
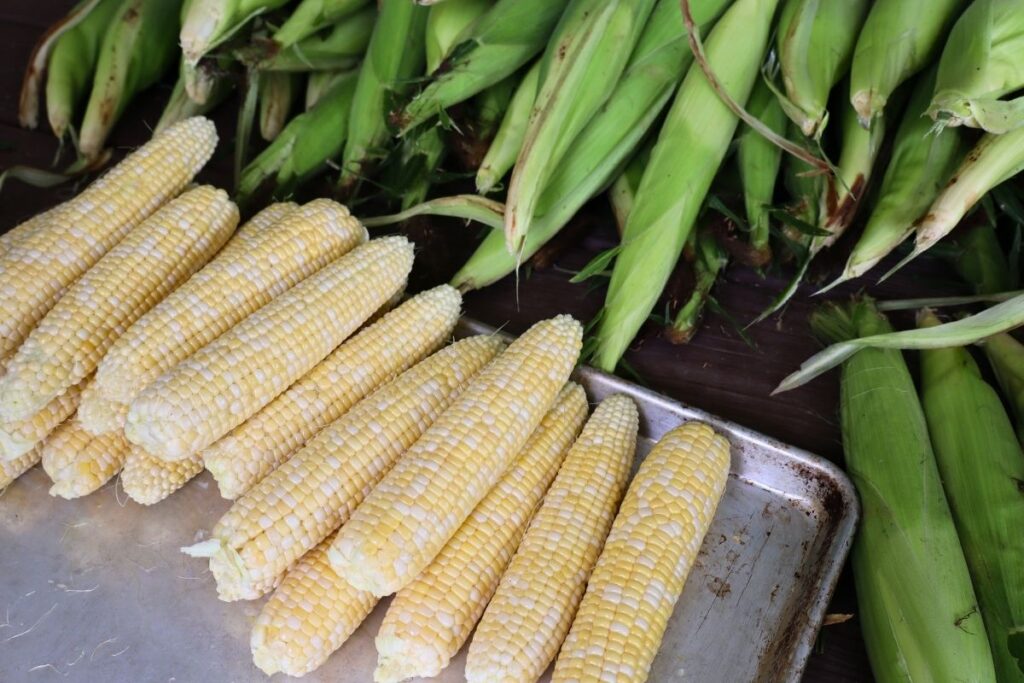
Sheet pans are a great way to transport the corn into the house.
2. Prepare the Ice Baths
Before you begin blanching the corn, prepare your ice baths so they are ready as soon as the hot corn comes out of the kettle.
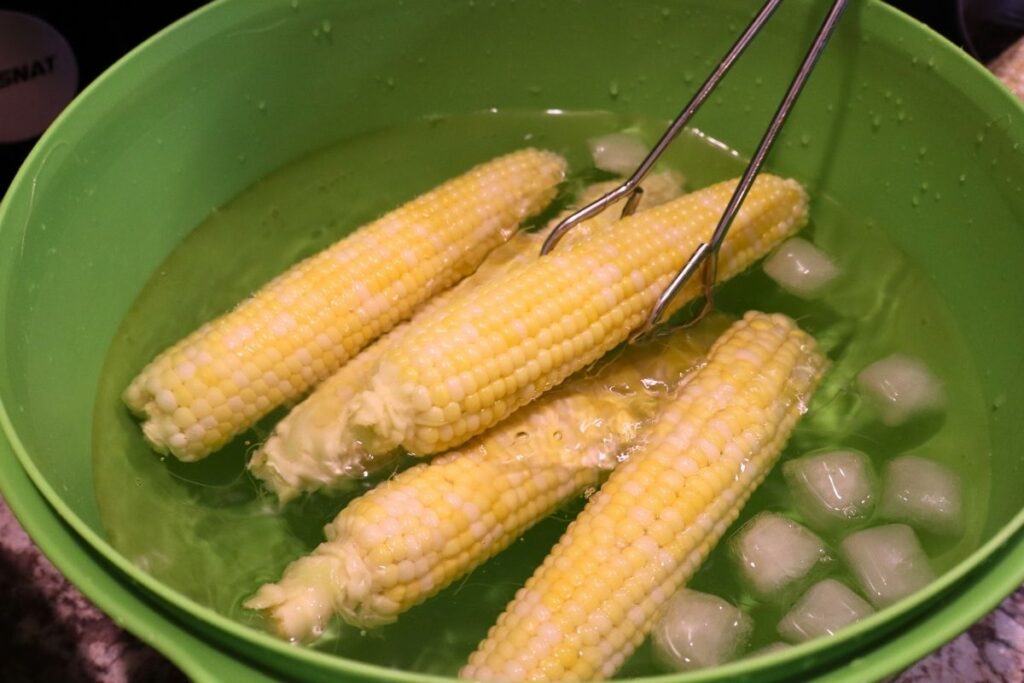
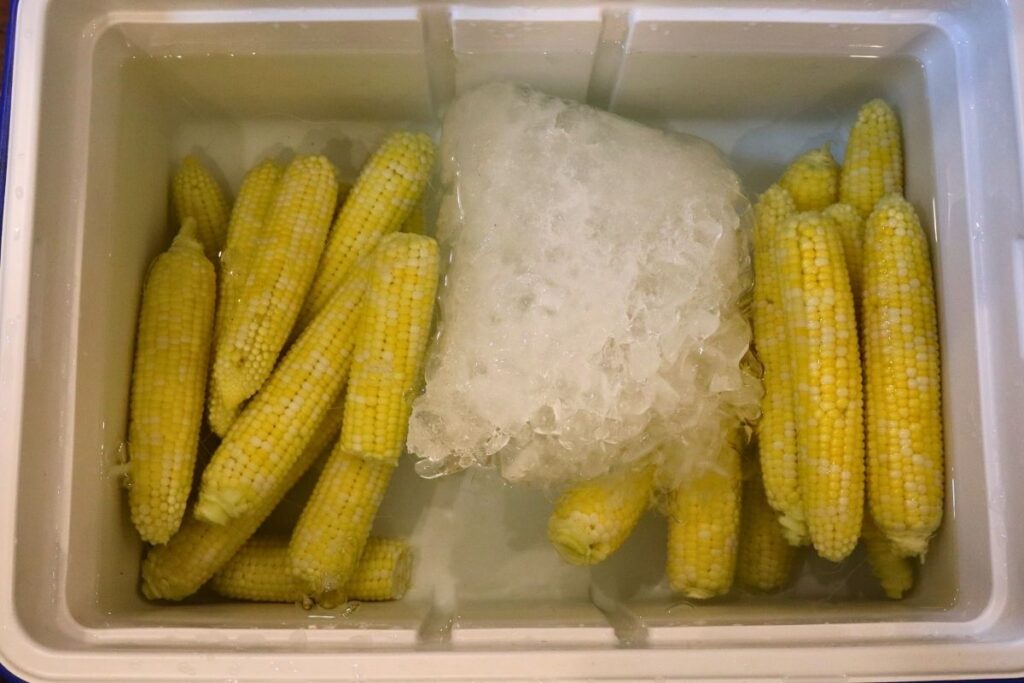
You can use large bowls or basins filled with cold water and plenty of ice. If you're processing a large amount of corn, a clean cooler filled with cold water and ice works especially well because it gives you plenty of room for multiple ears at once.
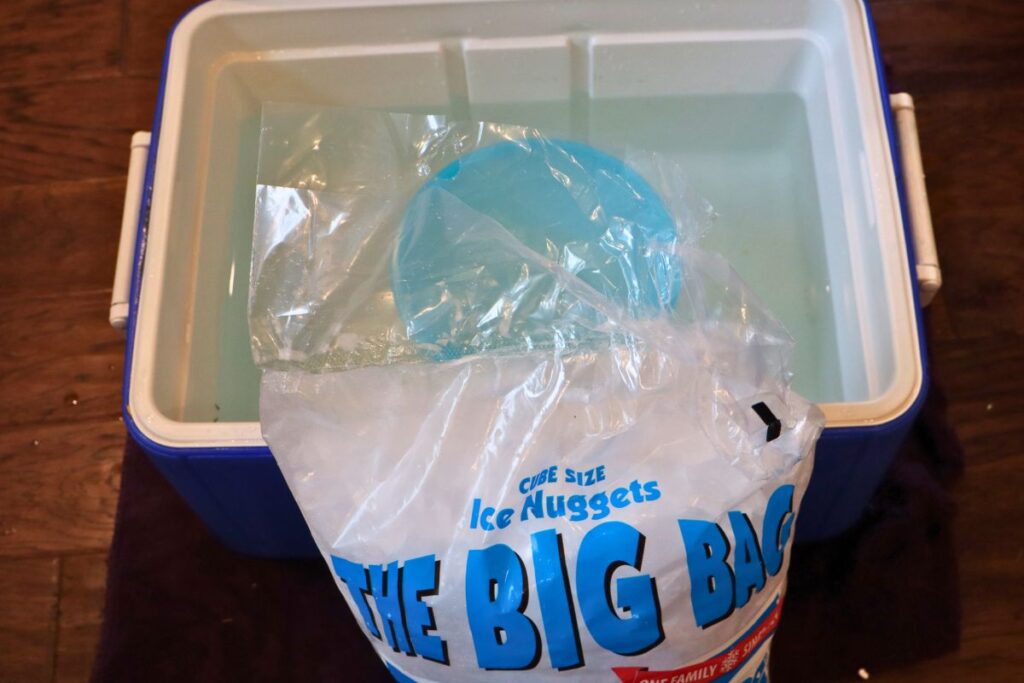
My preferred method is to use two ice-water baths. This isn't necessary, but I find it works best when processing a large batch of corn. Use the first container as the initial cooling bath for the freshly blanched, steaming-hot corn. Once the first bath has taken most of the heat out, transfer the ears to a second container of fresh ice water to finish cooling completely.
Using two baths keeps the main cooling bath colder longer and prevents the steaming-hot corn from warming all of the ice water as quickly.
3. Bring Water to a Boil
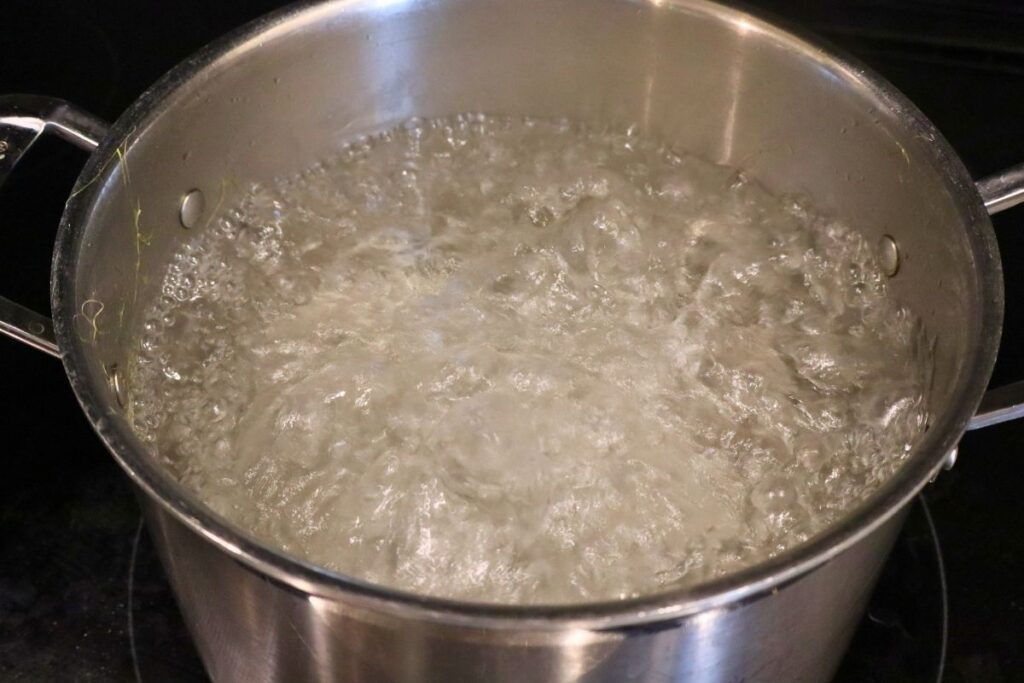
Now that all of your corn is husked and your ice baths are prepared, begin heating the water. Use as many large kettles or stockpots as you can get going at one time, especially if you're processing a large batch of corn.
Bring the water to a full, rolling boil before adding the corn.
4. Blanch the Corn
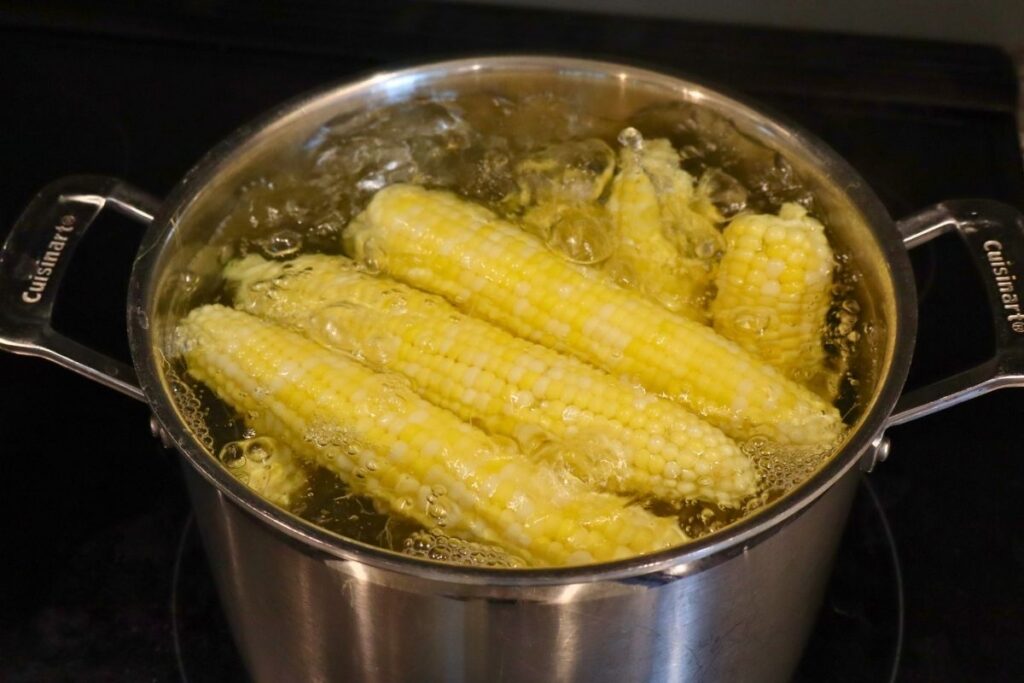
Once the water has come to a boil, carefully add the ears of corn, filling the kettle nearly full. Allow the water to come back to a good rolling boil.
As soon as the corn reaches a good rolling boil, use tongs to remove the ears from the kettle and immediately transfer them to your ice water bath.
5. Cool the Corn Completely
Let the corn cool in the ice water. As the water warms and the corn begins to cool, transfer the ears to your second container of fresh ice water.
Continue cooling the corn until the ears are completely chilled and there is no heat remaining in the cob.
As you continue blanching the corn in batches, you'll likely need to replace the ice water multiple times as the hot corn warms the water baths.
6. Continue Blanching the Corn in Batches
Once each batch of corn is completely cool, remove the ears from the ice water and place them on clean tea towels or trays.
This is where having a bath towel comes in handy to dry up any water spills from transferring the corn.
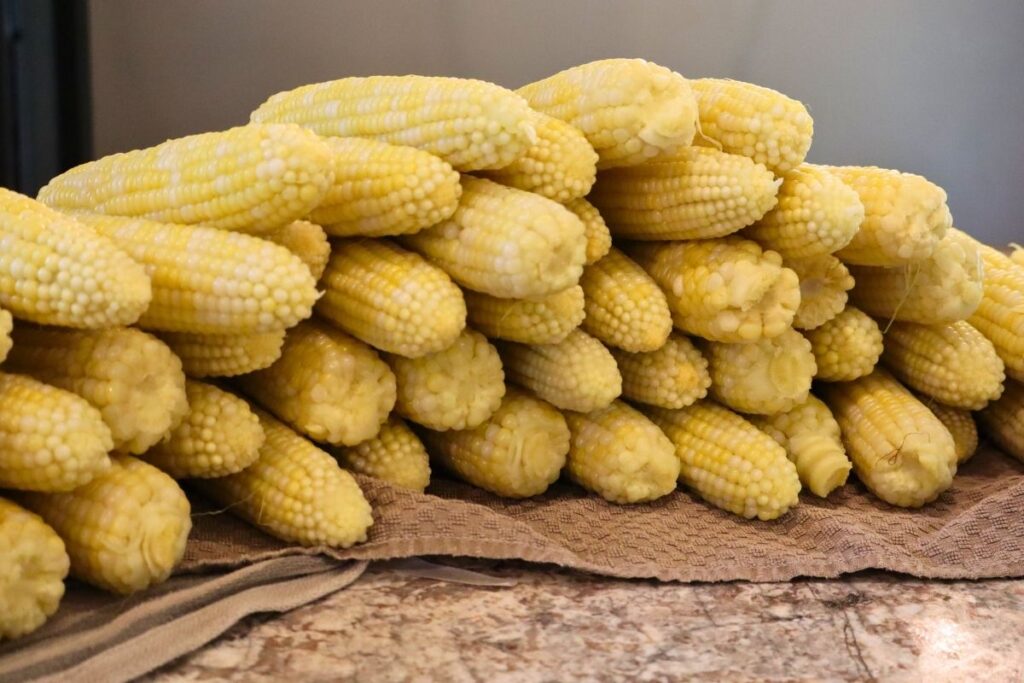
Continue blanching and cooling the corn in batches until all of the ears have been completely chilled.
You may need to replace the boiling water part way through the blanching process as it evaporates.
7. Cut the Kernels Off the Cob
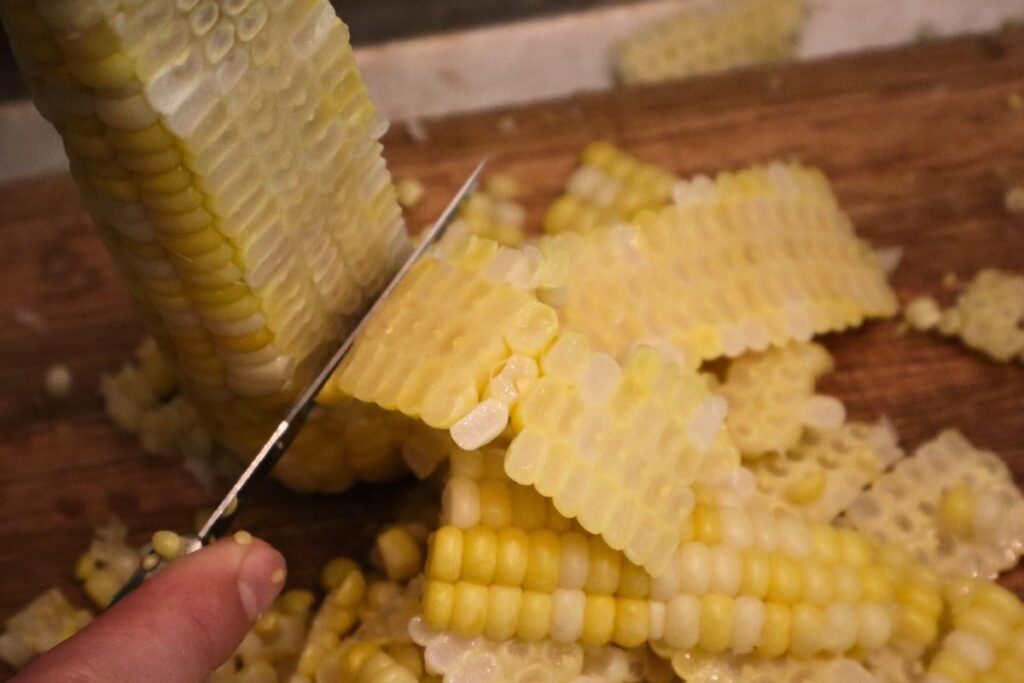
Once all of the corn is blanched and completely cold, gather a cutting board, large bowls, a sharp paring knife, and a bucket for collecting the cobs.
Cut the kernels from each cob. You can cut the kernels directly into a large bowl, or cut them onto a cutting board and transfer them to a bowl afterward.
Continue until all of the kernels have been cut off the cobs.
If desired, you can also “cream” the corn at this stage using a special tool called a creamer instead of cutting the kernels off in whole pieces. A creamer is designed to scrape and break down the kernels more finely, creating a softer, more milky texture.
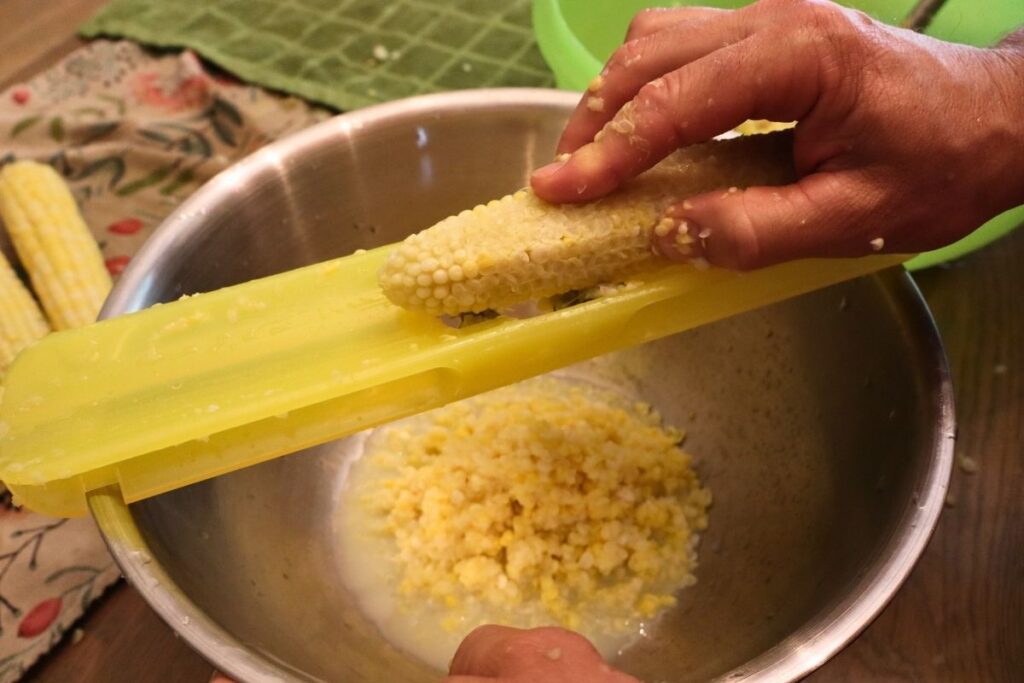
This is what I use to cream the corn.
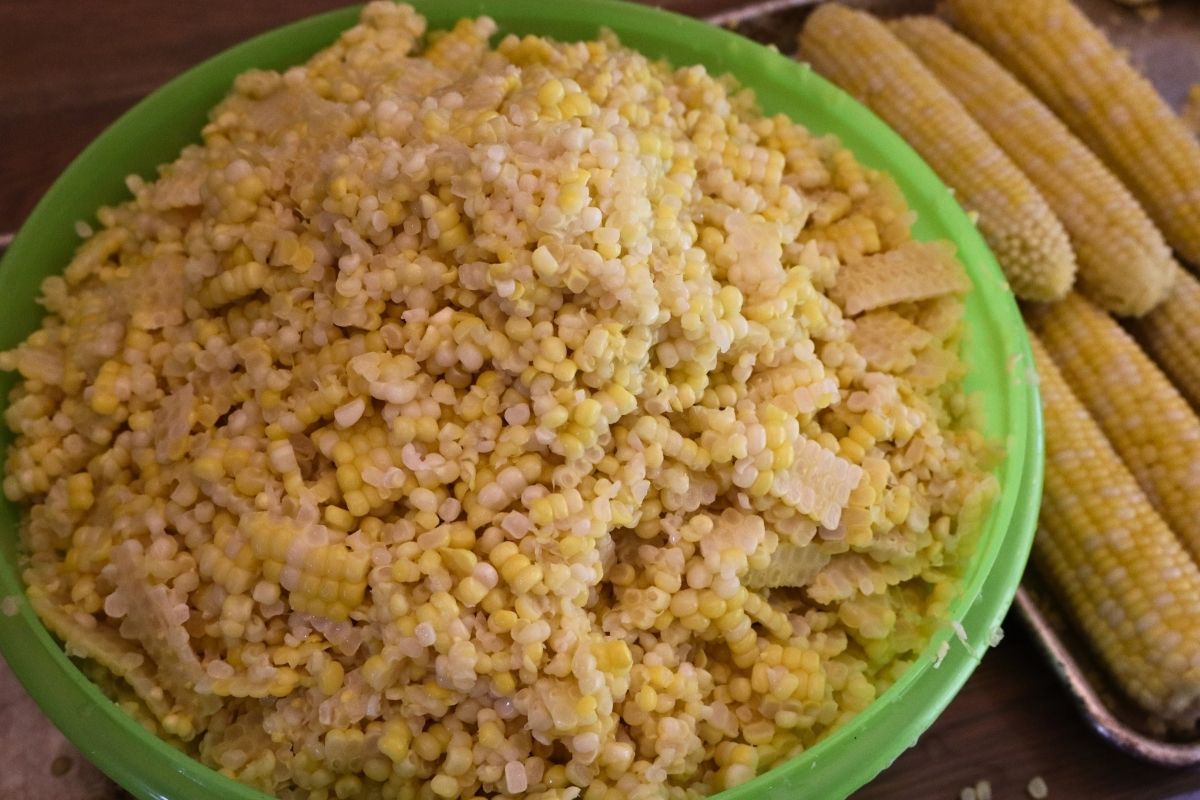
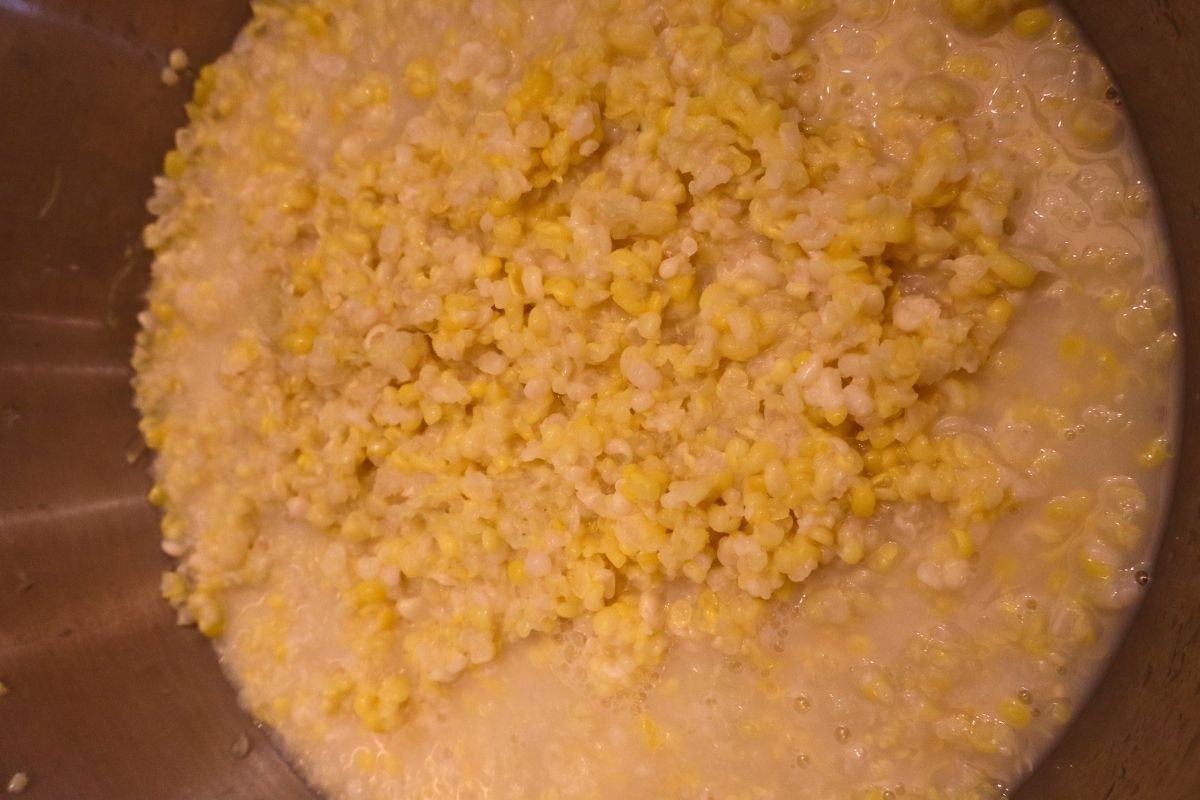
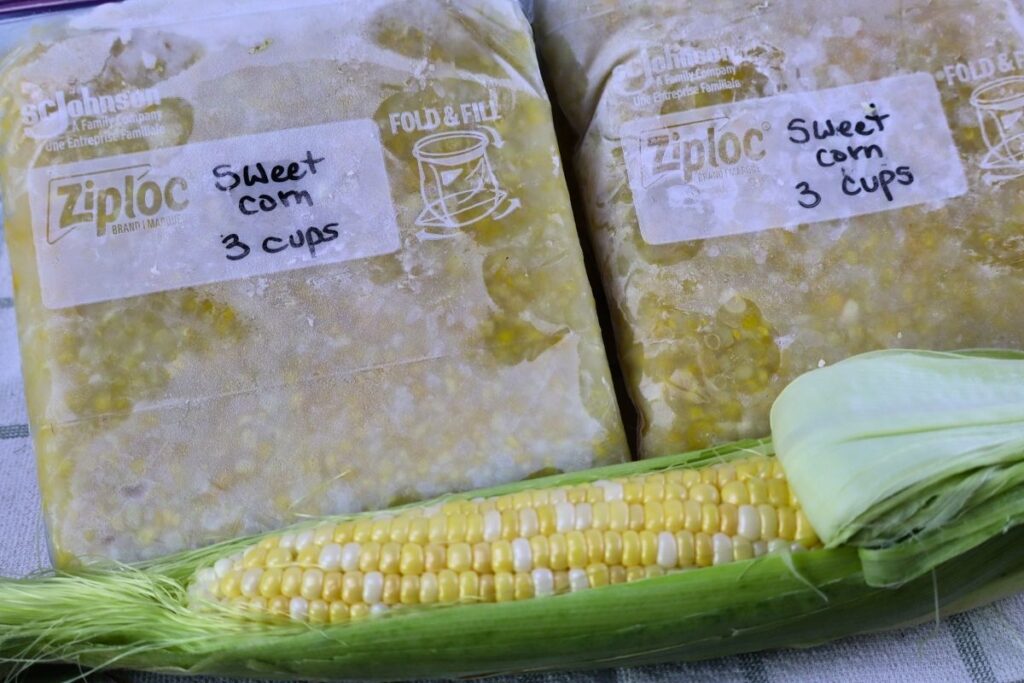
The first picture is a bowl of corn that has been cut off the cob. The second picture is a bowl of corn that has been creamed. Notice the extra milky liquid compared to the cutoff corn. Both are delicious, just different. Cutoff corn is more versatile, so I typically do most of my corn cutoff and only a few bags of creamed.
8. Portion and Package the Corn
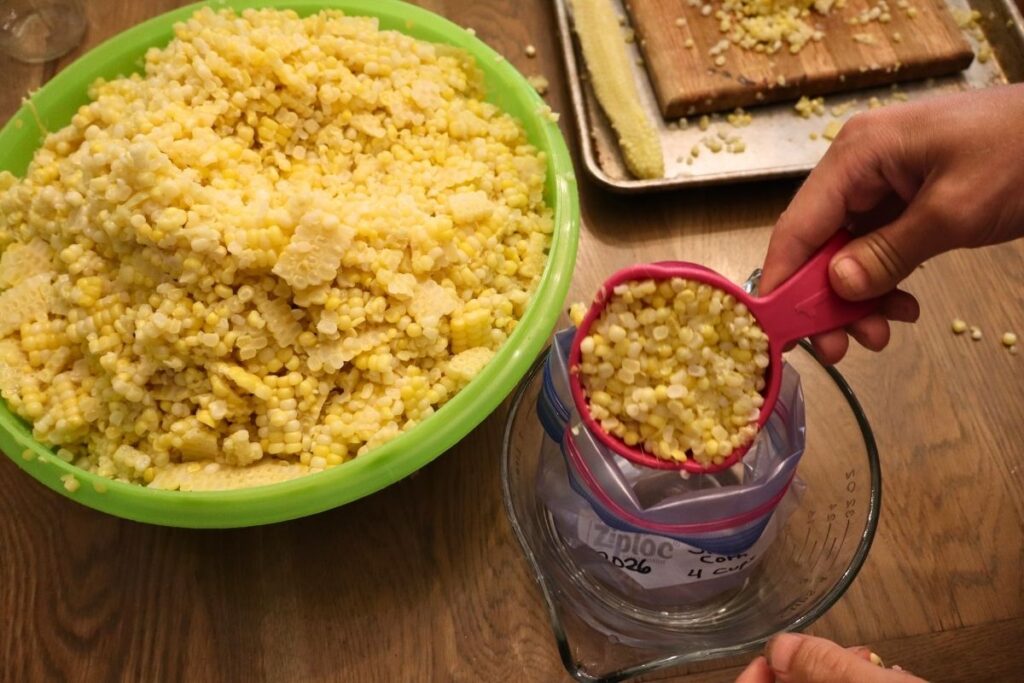
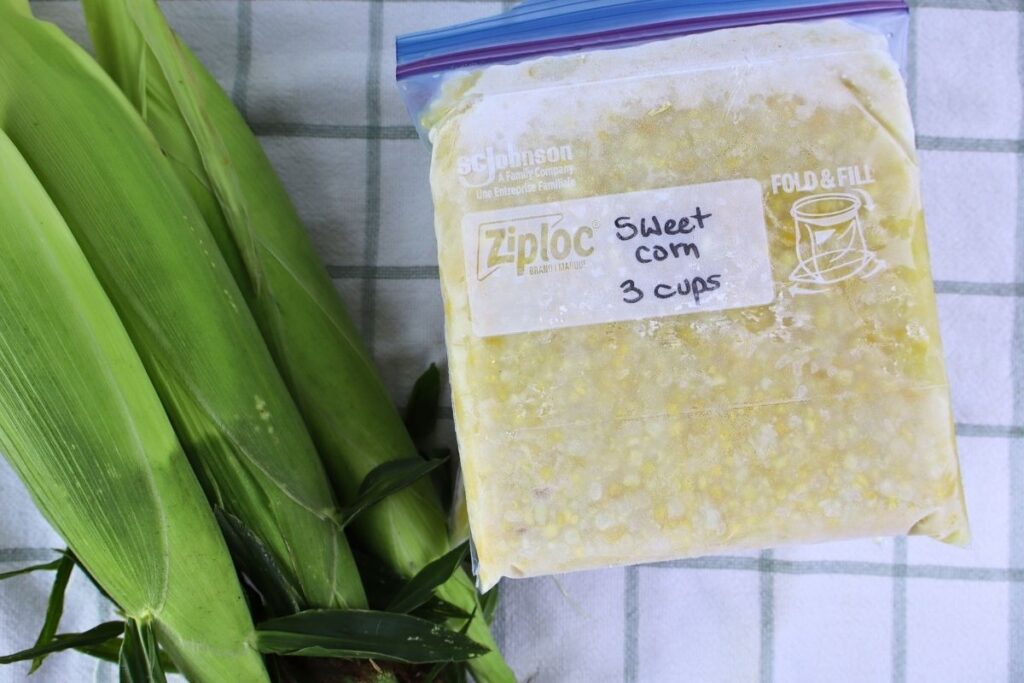
Gather your freezer bags or freezer-safe containers and label them with the date and the amount of corn you're putting inside.
Measure the corn into the portions you'll want to use later. Remove as much air as possible from freezer bags before sealing.
Tip: To make filling freezer bags easier, roll the top of the bag down and place it inside a large bowl or measuring cup. The bowl will hold the bag upright while you fill it. Once the bag is full, unroll the top, remove as much air as possible, and seal.
9. Freeze the Corn
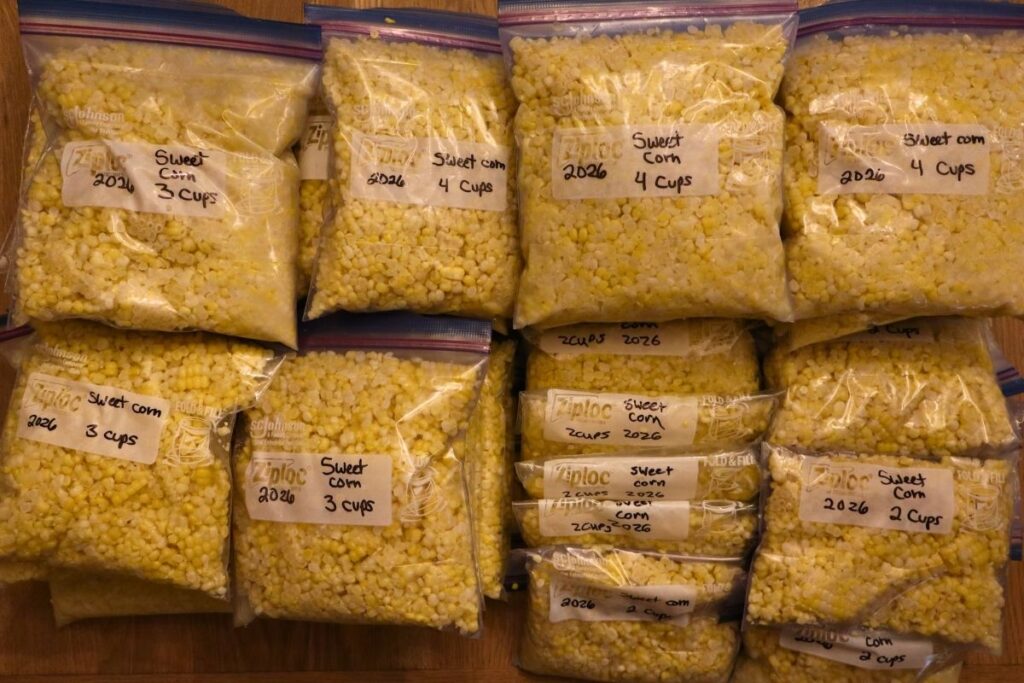
Place the filled bags or containers in the freezer and freeze until completely solid.
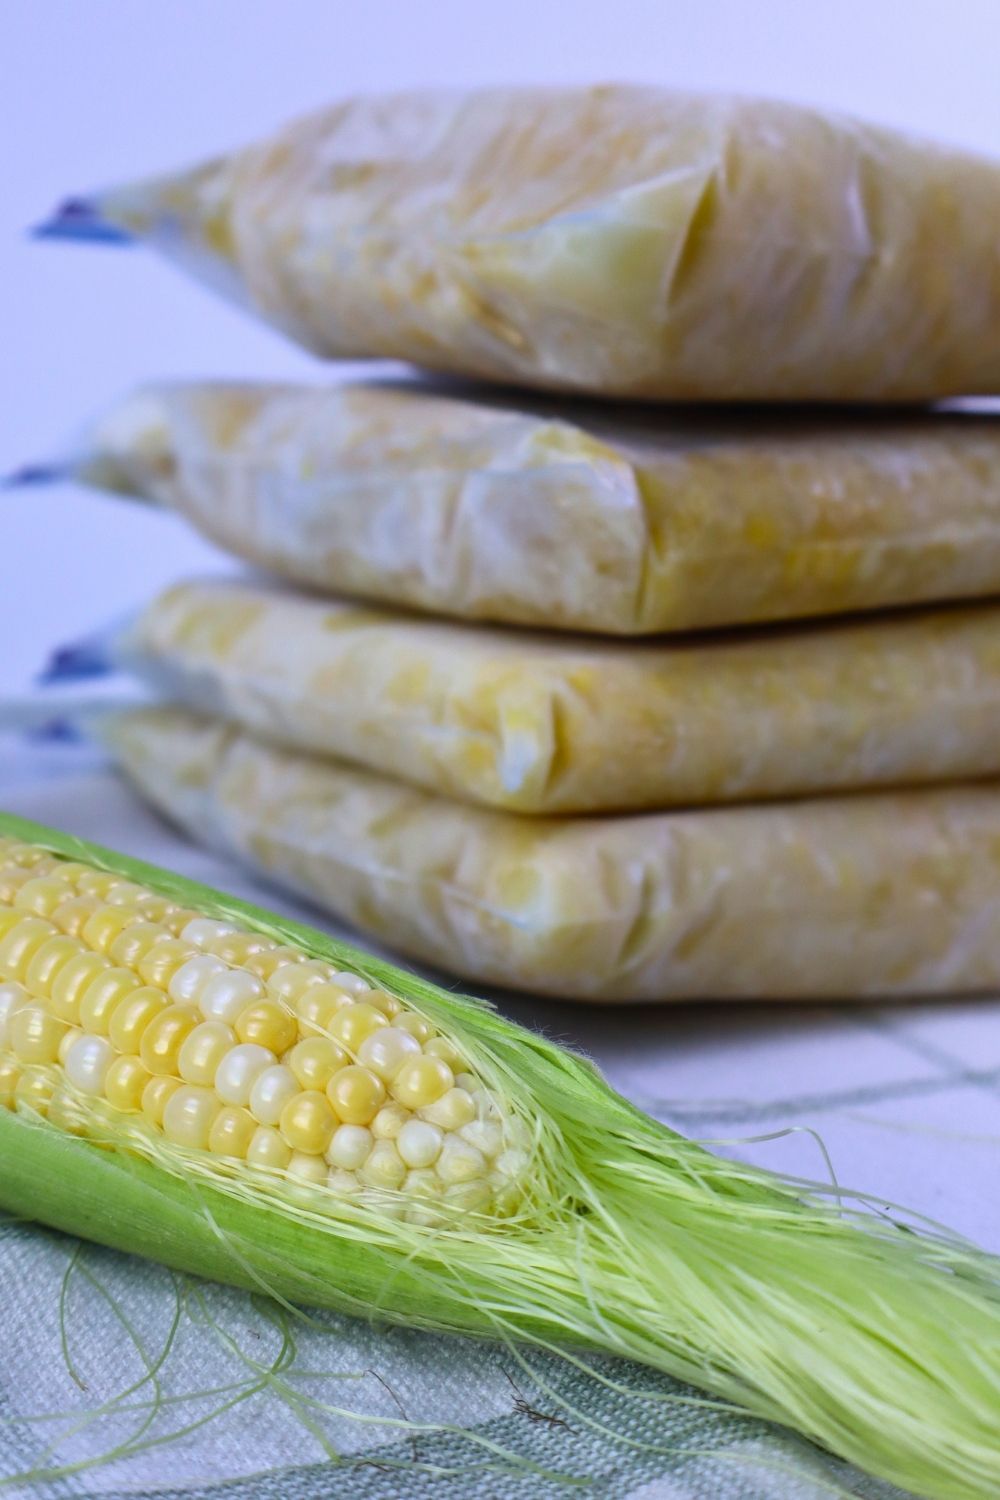
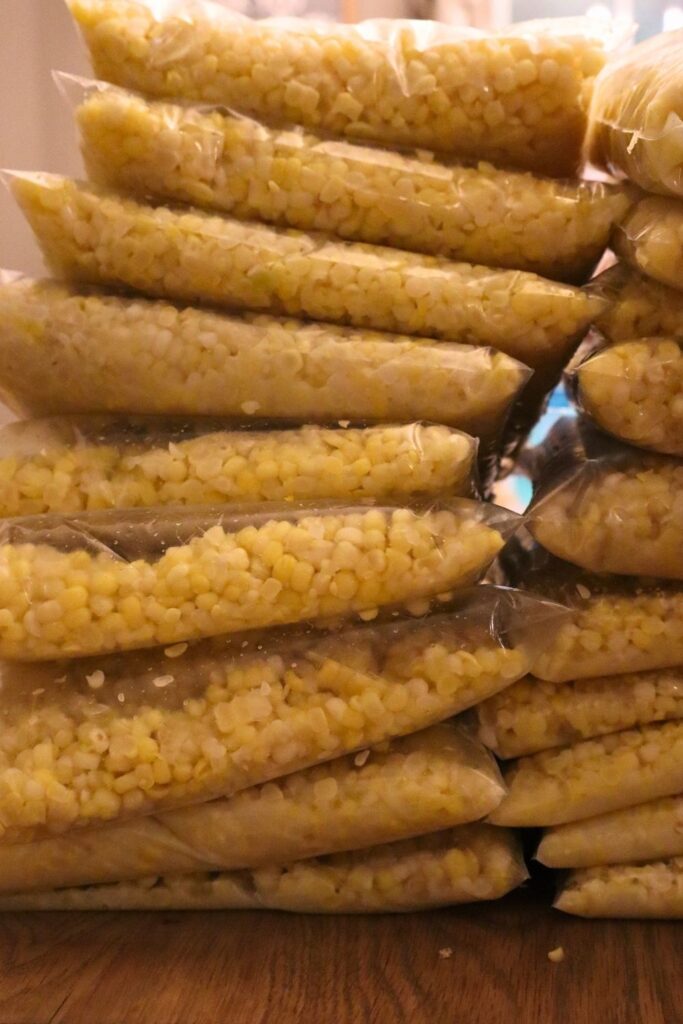
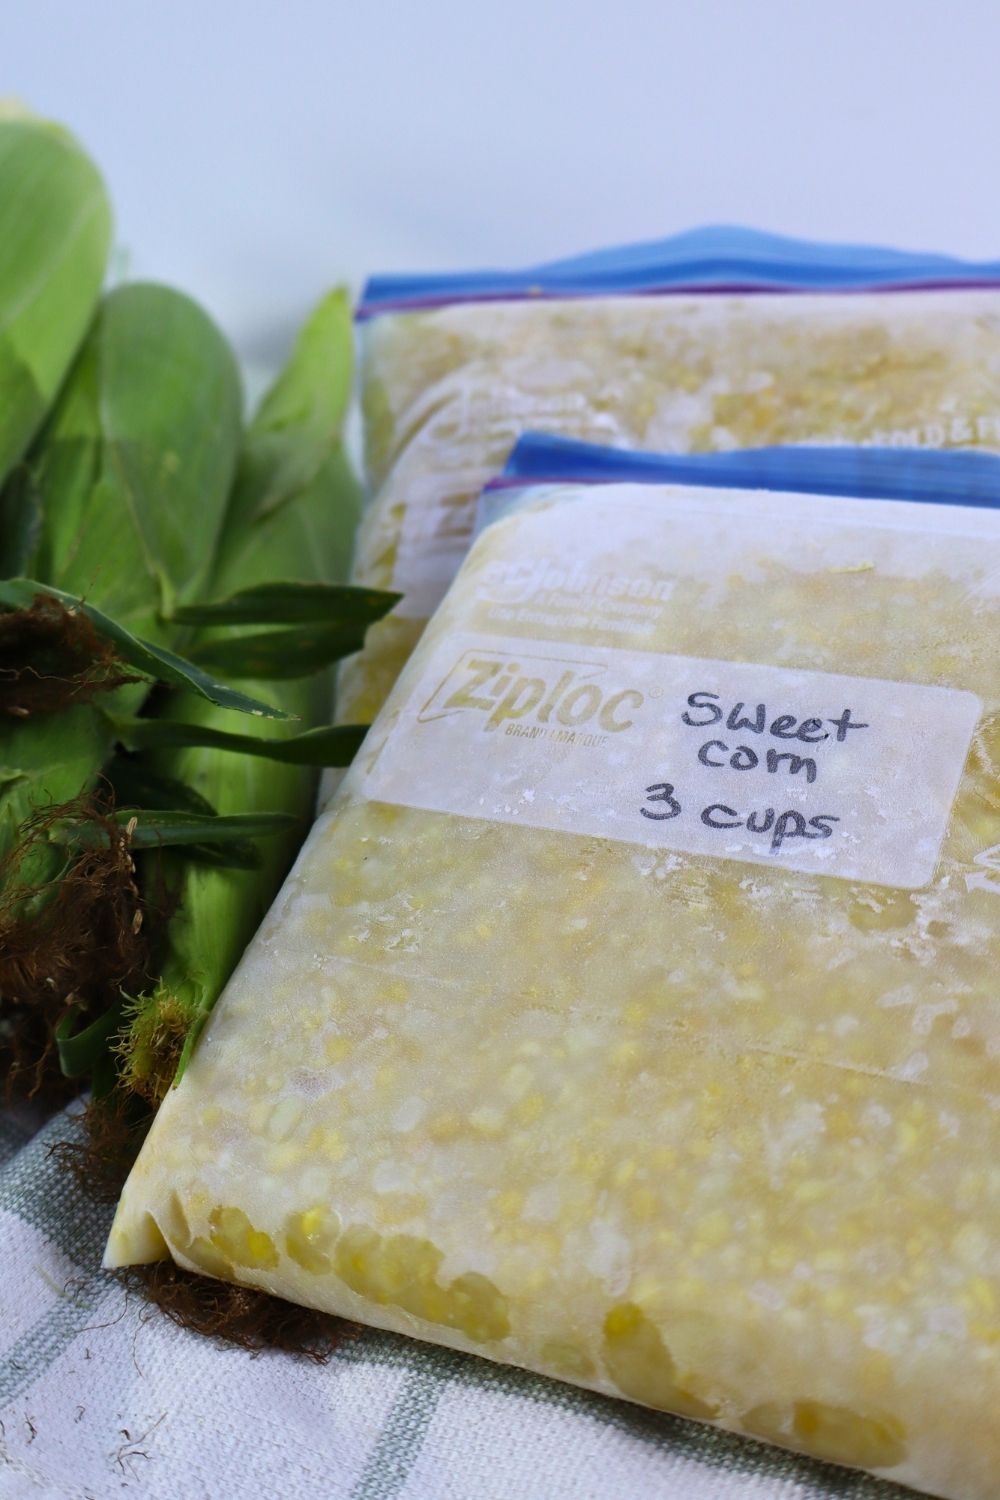
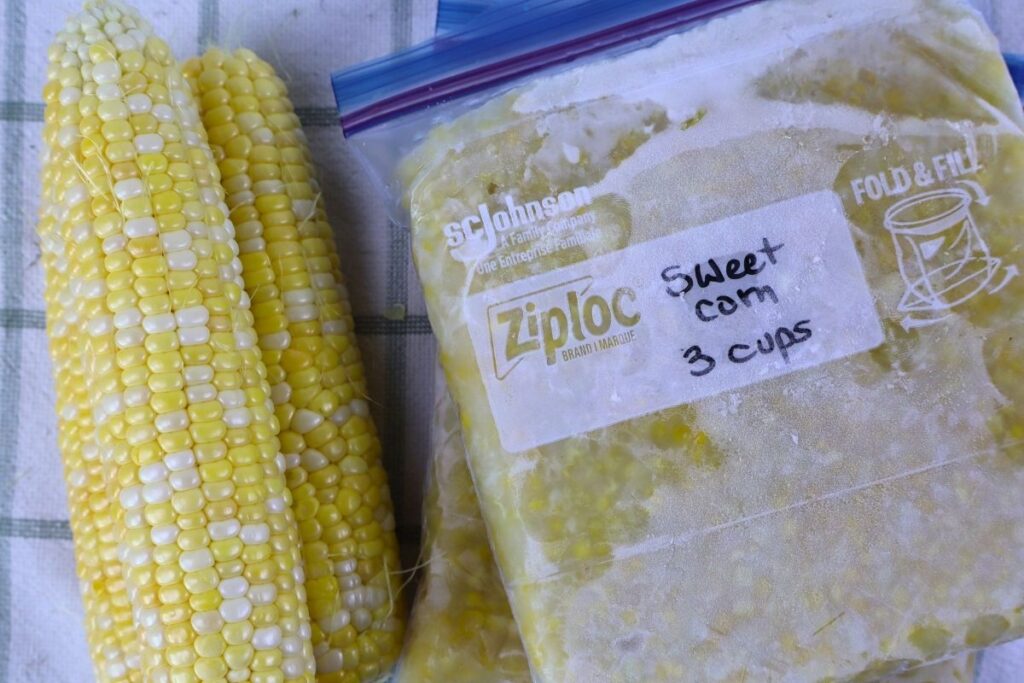
If you're using freezer bags, lay them flat, stacked on a baking sheet or another flat surface while they freeze. Once the bags are frozen you can stack them neatly in the freezer. This creates flat packages that are easy to store and helps save freezer space.
10. Clean Up Right Away
Processing sweet corn makes a big mess, and the longer the sticky kernels sit, the harder it is to wipe them up. So, plan to clean up everything right away.
Tips for Freezing Large Batches of Sweet Corn
Freezing a large batch of sweet corn takes a little time, but a few simple tricks can make the process much easier.
- Use multiple kettles. If you have more than one large kettle or stockpot, keep them boiling at the same time so you can blanch more corn without waiting for the water to reheat.
- Keep plenty of ice on hand. You'll need to refresh the ice water as it warms up. Having extra bags of ice nearby helps keep the corn cooling quickly.
- Use a large cooler for the ice bath. If you're preserving a lot of corn, a large cooler holds more ears and keeps the water cold longer than smaller bowls.
- Use a bowl to hold freezer bags open. Roll the top of the freezer bag down and place it inside a large bowl or measuring cup before filling. This keeps the bag standing upright and makes filling much easier.
- Freeze in meal-sized portions. Package the corn in the amounts you use most often so you can thaw only what you need for a recipe.
- Label bags before filling them. Write the date and the amount of corn on each freezer bag before you fill it. It's much easier than trying to write on a full bag later.
- Keep extra towels nearby. Freezing a large batch of sweet corn involves a lot of water, especially when moving hot corn into ice baths and transferring cooled ears back to your work area. Keeping an extra bath towel in the kitchen makes it easy to wipe up spills and helps keep your floors and workspace dry.
- Plan time to clean up as soon as you're finished. This process can make for a very sticky kitchen. It can take a while to clean up the mess. The longer everything sits—all those corn kernels, sticky juices, and yes, even the juice that somehow lands on the wall 😊—the harder it is to clean. Prepare enough time in your schedule to wipe everything down, mop, and get things back in order.
- Plan your meals for corn day ahead of time.If you're processing a lot of corn, it does take all day, so it's very helpful if lunch and dinner are at least decided, and better yet prepped ahead of time so you can focus on the corn.
Freezer Storage Tips
If you're using freezer bags, freeze them stacked flat on baking sheets or in an open, flat area of your freezer. Once they're frozen solid, you can stack them neatly to save freezer space and keep your freezer organized.
I recommend using high-quality freezer bags to help reduce the risk of freezer burn and keep your corn tasting its best.
For the best long-term storage, keep your sweet corn in a deep freezer set to 0°F (-18°C) or lower. If you're using an upright freezer, store the bags toward the back of the freezer instead of in the door. This helps keep the corn at a more consistent temperature since the door is opened and closed frequently.
While frozen sweet corn is best enjoyed within one year for the best flavor and texture, I've used corn that was several years old without any problems. That said, fresher is always better.
How to Use Frozen Sweet Corn
Once your sweet corn is frozen, you'll be surprised how many ways you can use it throughout the year. Here are some of my favorites:
- Corn fritters– Thaw and drain the corn before adding it to the fritter batter.
- Soups and chowders– Add frozen corn directly to vegetable soups, chicken soup, or a creamy corn chowder.
- Chili or chicken taco soup– Stir corn into chili or chicken taco soup for a little sweetness.
- Casseroles– Add it to chicken casseroles, enchiladas, pasta bakes, or other hearty casseroles.
- Side dishes– Warm the corn with butter, salt, and pepper for a simple side dish.
- Burrito bowls– Add warmed corn to burrito bowls or Mexican-inspired rice dishes.
- Skillet meals– Toss frozen corn into skillet dinners with chicken, beef, peppers, or other vegetables.
- Creamed corn– Use your frozen kernels to make a creamy corn side dish.
This printable how-to is a condensed version of the method. For more detailed instructions, helpful tips, and everything you need to know about freezing sweet corn, be sure to read the full instructions above.
How to Freeze Sweet Corn
Equipment
- Large kettles or stockpots
- Large bowls or basins or a clean cooler for the ice baths
- Cutting board
- Sharp paring knife
- Large mixing bowls
- Sheet pans or cookie sheets
- freezer bags or freezer containers
- Bucket for husks and cut off corn cobs
- Tongs
- Corn desilker optional
Materials
- Fresh sweet corn
- Water
- Ice
Instructions
Husk the Corn
- Remove the husks and all of the silk from the corn. Continue until all of the corn you plan to freeze has been husked and cleaned.
Prepare the Ice Baths
- Prepare two large containers or bowls with cold water and plenty of ice. A clean cooler can also be used when processing a large batch.
Blanch the Corn
- Bring water to a full rolling boil in one or more large kettles or stockpots. Add the corn, filling the kettle nearly full. Bring the water back to a good rolling boil, then remove the corn.
Cool the Corn
- Immediately transfer the hot corn to the first ice-water bath. Once the initial heat has been removed, transfer the corn to a second container of fresh ice water to finish cooling.
- Continue cooling until the corn is completely chilled and there is no remaining heat in the cob.
- Continue in batches, replacing ice water as needed.
- Remove the completely cooled corn and place it on clean tea towels or trays. Continue blanching and cooling the corn in batches until all of the corn has been cooked and completely chilled.
Cut the Kernels from the Cob
- Using a sharp paring knife, cut the kernels from each cob. Cut directly into a large bowl or onto a cutting board and transfer the kernels to a bowl.
Portion and Package
- Label freezer bags or freezer-safe containers with the date and amount of corn. Portion the corn into the amounts you will use later and remove as much air as possible before sealing.
Freeze
- Place the packaged corn in the freezer and freeze until completely solid. For freezer bags, stack them flat on a baking sheet or another flat surface while freezing to create compact, stackable packages.
Notes
Store continuously frozen at 0°F or below. For best quality, use within one year.Freezing Tip:
Freeze bags flat, then stack them once solid to save freezer space.
Frequently Asked Questions About Freezing Sweet Corn
Do you have to blanch sweet corn before freezing?
Yes, blanching sweet corn before freezing helps preserve the flavor, texture, and color of the corn. The boiling water stops enzymes that can continue breaking down the quality of the corn while it is frozen. The ice bath quickly cools the corn and stops the cooking process.
How long does frozen sweet corn last?
For the best flavor and texture, frozen sweet corn is best used within one year. However, when properly packaged and kept continuously frozen at 0°F or below, my family has eaten it well after a year with no problems, but over time the quality may slowly decrease.
How do you prevent freezer burn on frozen sweet corn?
To help prevent freezer burn, use high-quality freezer bags or freezer-safe containers and remove as much air as possible before sealing. Keeping the corn in a consistently cold freezer and avoiding repeated thawing and refreezing will also help maintain quality.
How much sweet corn should I put in each freezer bag?
The best amount depends on how you plan to use it. Many people find that portioning corn into 2 to 4 cup amounts works well for soups, casseroles, and side dishes. Freezing it in meal-sized portions makes it easier to grab exactly what you need later.
How long do you blanch sweet corn before freezing?
Blanching time can vary, but for this method, the corn is placed into boiling water and cooked until the water returns to a good rolling boil. Once the corn reaches a full boil, it is removed and immediately placed into ice water to cool.