Crispy Buckwheat Waffles (Gluten-Free, Dairy-Free, From Scratch)

These crispy buckwheat waffles are made completely from scratch with simple ingredients and no special gluten-free flour blends. Naturally gluten-free and dairy-free, they have a rich, nutty flavor with crispy golden edges and a tender center. Whether topped with maple syrup, fresh fruit, or homemade berry sauce, these buckwheat waffles make a delicious and satisfying breakfast.

Note: This post may contain affiliate links. Please see our disclosure policy.
After trying various gluten-free waffle recipes over the years, my family’s favorite gluten-free version is these crispy buckwheat waffles. They are fluffy and crispy, and I don’t even miss waffles made with wheat flour anymore!
A lot of gluten-free waffle recipes use flour blends that often contain a lot of starches and usually rice flour. I don’t personally think they are the healthiest, and while there’s a time and place for them, I personally don’t want to be consuming them all of the time. My body tends to respond poorly to eating a lot of rice flour, so I needed an alternative option.
Buckwheat flour is a great option for waffles. Buckwheat is an ancient superfood that, despite its name, does not contain any wheat. It is actually a seed, so it is naturally gluten-free. Buckwheat is packed with nutrients and antioxidants. It also provides a decent amount of protein and contains all nine essential amino acids. It is pretty impressive nutritionally, but just as important is that it tastes delicious in these gluten-free waffles!

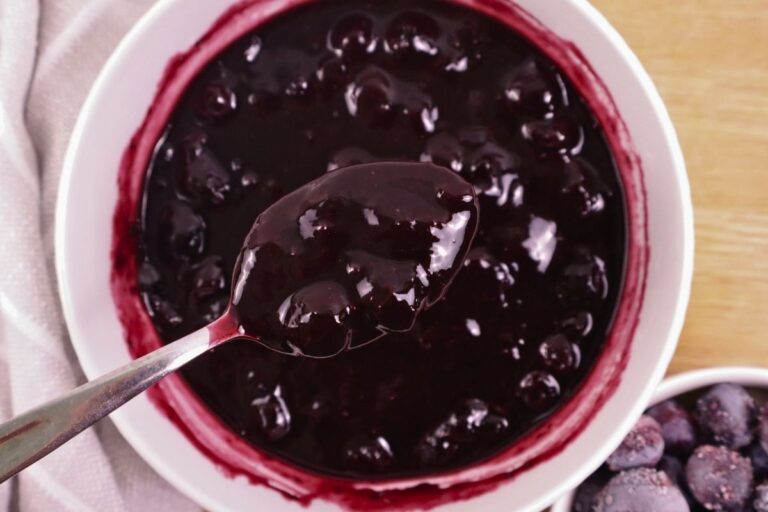
Waffles usually make an appearance at our house during special occasions such as birthdays and Christmas time. Actually, this crispy buckwheat waffle recipe is what I recently chose for my birthday breakfast, along with a homemade blueberry sauce topping. They are perfect for celebrating or for any ordinary day.
If you’re like me and you like to keep extra food in the freezer for busy times, go ahead and make a double batch, and stash them in the freezer! Either way, find yourself a reason to make some waffles!

Table of Contents
Why You’ll Love These Crispy Buckwheat Waffles
- Naturally Gluten-Free: Buckwheat is naturally gluten-free, making these waffles a great option for anyone avoiding gluten.
- Dairy-Free: No cow’s milk or butter is needed. Instead, we’ll use coconut oil and almond milk.
- Crispy and Golden:The combination of buckwheat flour and oil creates waffles that are crisp on the outside and tender in the center.
- Simple Pantry Ingredients: No special flour blends or hard-to-find ingredients are required.
- Freezer-Friendly: Make a batch ahead of time and freeze for a quick and easy breakfast throughout the week.
- Made Completely From Scratch: These homemade buckwheat waffles are made without boxed mixes or pre-made gluten-free flour blends.

What Are Buckwheat Waffles?
Buckwheat waffles are waffles made with buckwheat flour instead of traditional wheat flour. Despite its name, buckwheat is not actually wheat at all—it’s a naturally gluten-free seed with a rich, nutty flavor. When used in waffles, buckwheat flour creates a hearty texture with crispy edges and a tender center.
These homemade buckwheat waffles are made completely from scratch using simple ingredients and no special gluten-free flour blends. They are not loaded with starches and rice flour, like so many gluten-free recipes. They’re a delicious option for anyone looking for a wholesome breakfast that’s both gluten-free and dairy-free. Even if you’re not eating a gluten-free diet, I think you’ll enjoy this recipe!
Serve them with maple syrup, fresh fruit, or homemade berry sauce for a satisfying breakfast that’s packed with nutrients, protein, and great flavor!

What You’ll Need to Make These Buckwheat Waffles (Gluten-Free and Dairy-Free)
Equipment
- Waffle iron
Ingredients for Buckwheat Waffles

Buckwheat Flour: Buckwheat flour gives these waffles their hearty texture and rich, almost nutty flavor. Despite the name, buckwheat is actually a seed and does not contain wheat, and it is naturally gluten-free.
Arrowroot Flour/Powder: A small amount of arrowroot flour helps to lighten the overall texture of the waffles. You can leave it out if you’d like, but it does help keep the waffles from becoming too dense.
Baking Powder:Baking powder helps the waffles rise and creates a light, tender interior while still allowing the outside to crisp up.
Mineral Salt:Enhances the flavors and balances the sweetness.
Almond Milk:Adds moisture to the batter. Use an unsweetened and unflavored almond milk. You can also substitute with coconut milk.
Apple Cider Vinegar or Lemon Juice:Used to make a dairy-free “buttermilk” substitute.
Eggs:Eggs provide structure and help the waffles to hold together.
Refined Coconut Oil:Oil helps create crispy, golden waffles and helps keep them from drying out. I like using a refined coconut oil because it has no coconut flavor. You can substitute with avocado oil as well.
Maple Syrup:A touch of maple syrup adds subtle sweetness. You could use coconut sugar or honey instead if you’d like.
Pure Vanilla Extract:Adds a subtle touch of vanilla flavor that’s not overpowering.
How to Make Buckwheat Waffles From Scratch
Step 1: Make the Dairy-Free Buttermilk
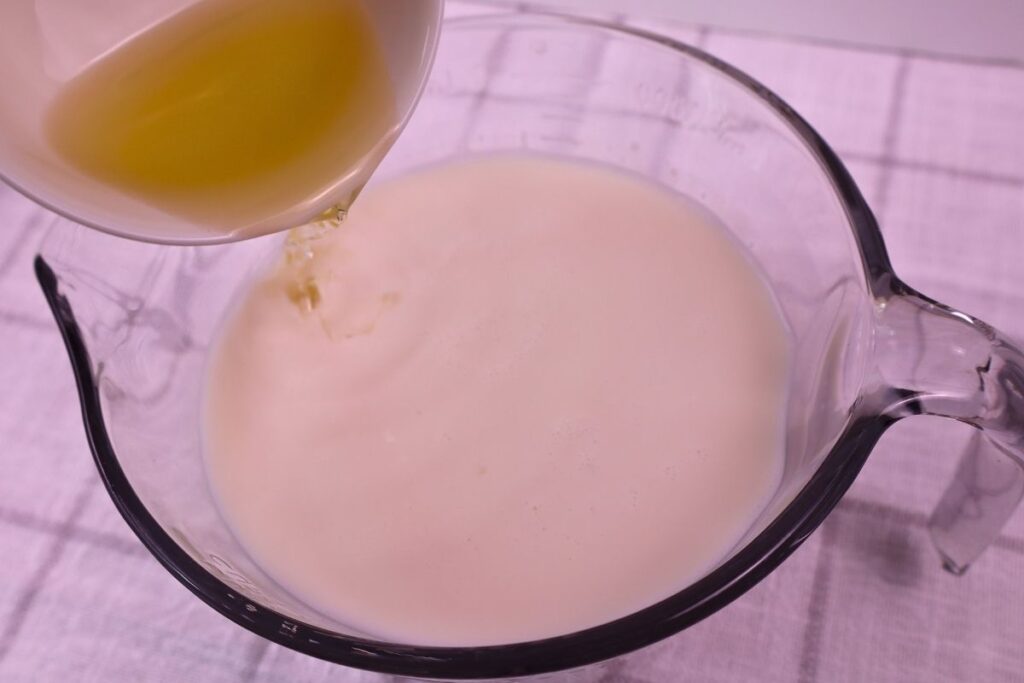
In a large measuring cup or bowl combine the almond milk and vinegar/lemon juice together and stir. Let this sit for about 5 minutes to make the “buttermilk” substitute.
Step 2: Mix the Dry Ingredients

In a large mixing bowl, whisk together the buckwheat flour, arrowroot flour, baking powder, and salt.
Step 3: Mix the Wet Ingredients
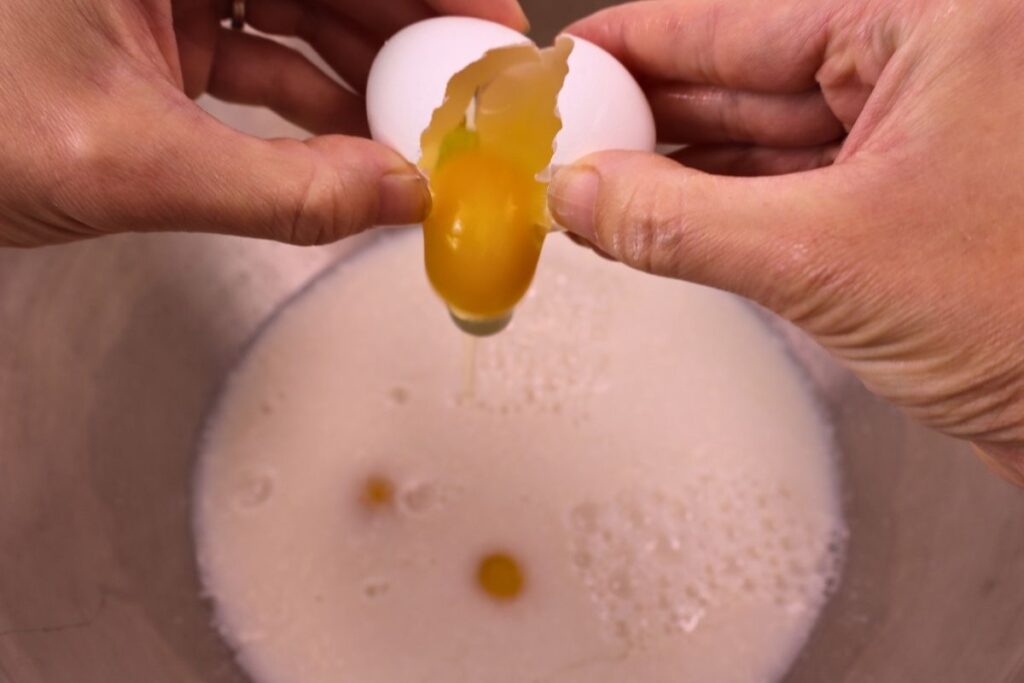
In a separate bowl whisk together the eggs, buttermilk mixture, maple syrup, and vanilla extract. Don’t add the coconut oil yet, or it may solidify as it mixes with the other wet ingredients. We’ll add that in a moment.
Step 4: Combine the Batter
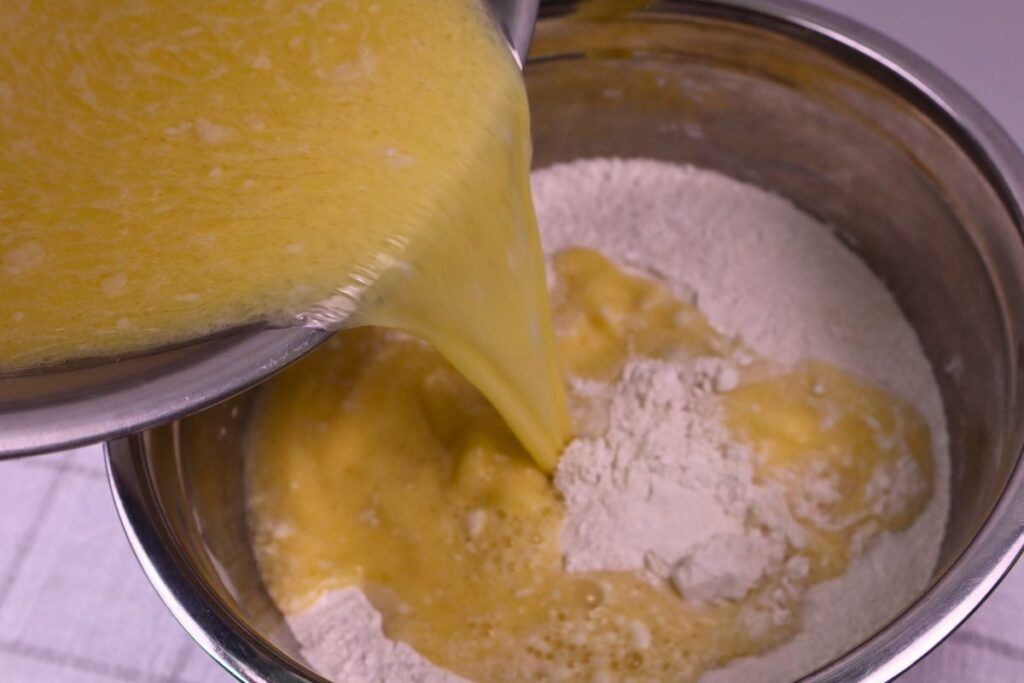
Add the wet ingredients to the dry ingredients and mix until combined.
While stirring the batter, drizzle in the coconut oil a little at a time to prevent it from forming coconut oil clumps.
Step 5: Let the Batter Rest
Let the batter rest for 5 to 10 minutes. This allows the buckwheat flour to absorb the liquid and hydrate.
Step 6: Cook the Waffles
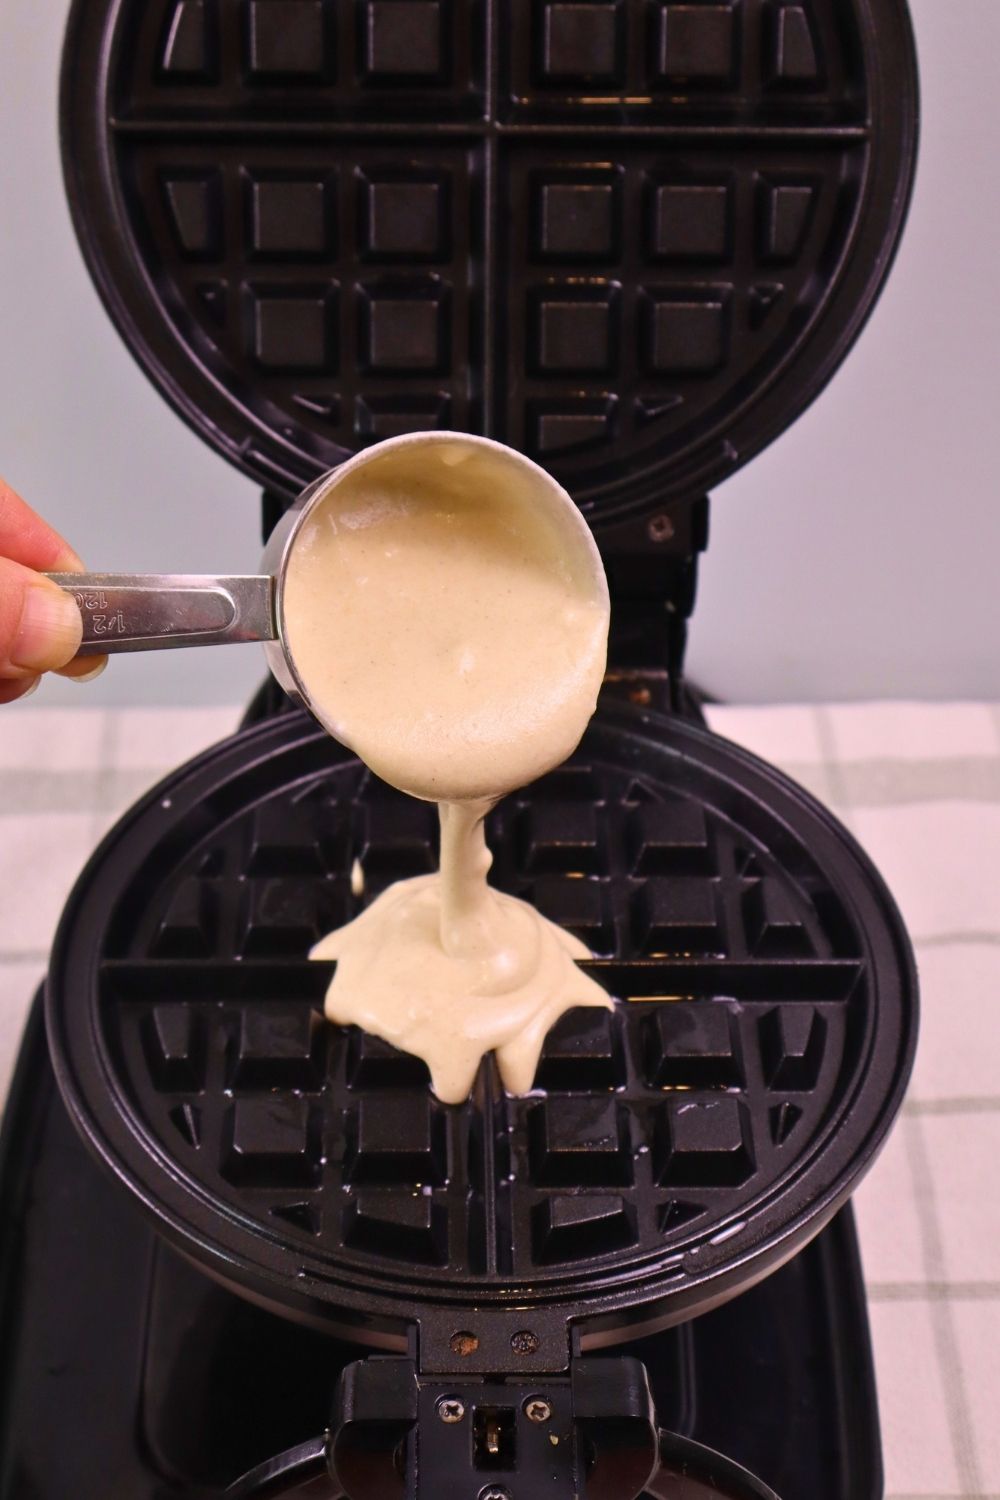
Preheat your waffle maker. You want the iron to be quite hot to get a nice crispy waffle. Brush the iron with some oil to prevent sticking.
Pour in the batter and cook until there is no more steam coming out of the waffle maker. Mine has a light that signals when it’s finished, but I usually need to cook the waffles a little bit longer. If yours has a light, use it only as a guide and instead go by the steam and open it to check it if you’re not sure.
Step 7: Serve and Enjoy
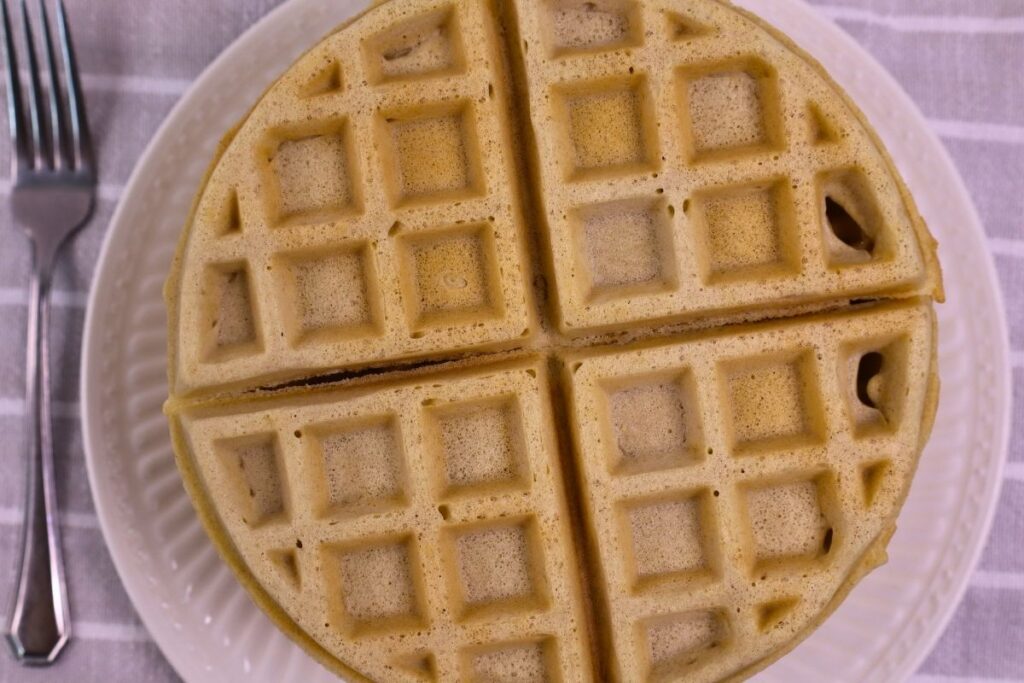
As you finish cooking the waffles, either serve right away hot off the iron or to keep them warm as you finish cooking the rest, place them on a rack in the oven set to 200°F. Avoid stacking them up on a plate, which traps steam and will result in soft, soggy waffles.
For ideas on how to serve them, check out below!
Tips for Crispy Waffles
- Fully preheat the waffle iron and use a higher heat setting, the waffle iron needs to be pretty hot
- Don’t skip the oil, it’s necessary for a crispy waffle
- Use arrowroot flour to help the outside crisp
- Cook until there is no more visible steam. For me, this is always a little after my waffle maker light comes on—I always leave it in the iron a little longer
- Use or invest in a Belgian waffle maker, I have two styles of waffle makers, and my Belgian waffle maker produces a crispier waffle
- Place them on a rack in the oven set to 200°F to keep warm and crisp in a single layer (stacking them will result in softer waffles as the steam escapes)

How to Store Buckwheat Waffles
Whether you’re meal prepping for the week or saving leftovers, these buckwheat waffles store well and can even be frozen for future use too!
Refrigerator
Allow the waffles to cool completely before storing. Place them in an airtight container or Ziploc bag and refrigerate for up to 4 to 5 days.
Cooling them first will help prevent excess moisture from building up in the container which can make them soft.
Freezer
Buckwheat waffles freeze great! Once completely cooled, arrange the waffles in a single layer on a baking sheet and freeze until firm. Transfer the frozen waffles to a freezer-safe container or Ziploc freezer bag and store for up to 3 months.
Freezing them individually first helps to prevent them from sticking together, but honestly when I’m in a hurry, I’ve skipped this step with success. I place the waffles into Ziploc gallon bags stacked on top of each other, and as long as they’re cool, I have not had any issues getting them apart.
How to Reheat Buckwheat Waffles
Reheat in the Toaster
Using a toaster is the easiest and fastest way to reheat buckwheat waffles. Simply place the refrigerated or frozen waffle in the toaster and heat until warm and crispy.
Reheat in the Oven
To reheat several waffles at once, place them right out of the freezer or fridge in a single layer on a baking sheet and bake at 350°F for 5 to 10 minutes until warm and crisp. Or if your oven has an air fryer setting, that works great too, just keep in mind that they will likely cook faster with the air fryer setting.
Reheat in the Air Fryer
Grab them right out of the fridge or freezer and place the waffles in a single layer in the air fryer basket and heat at 350°F for 2 to 4 minutes.
Can You Microwave Buckwheat Waffles?
Yes, they will not be crispy, but instead soft and moist. Still tasty but not crispy, the methods above work best for crispy waffles.
How to Serve Buckwheat Waffles
These crispy buckwheat waffles are delicious on their own, but they’re even better with some delicious toppings. There are so many great ways to enjoy these waffles!

Classic Toppings
- Pure maple syrup
- Butter or dairy-free butter
- Fresh berries
- Sliced bananas
- Peanut butter or almond butter
- Freshly whipped cream
Homemade Fruit Toppings
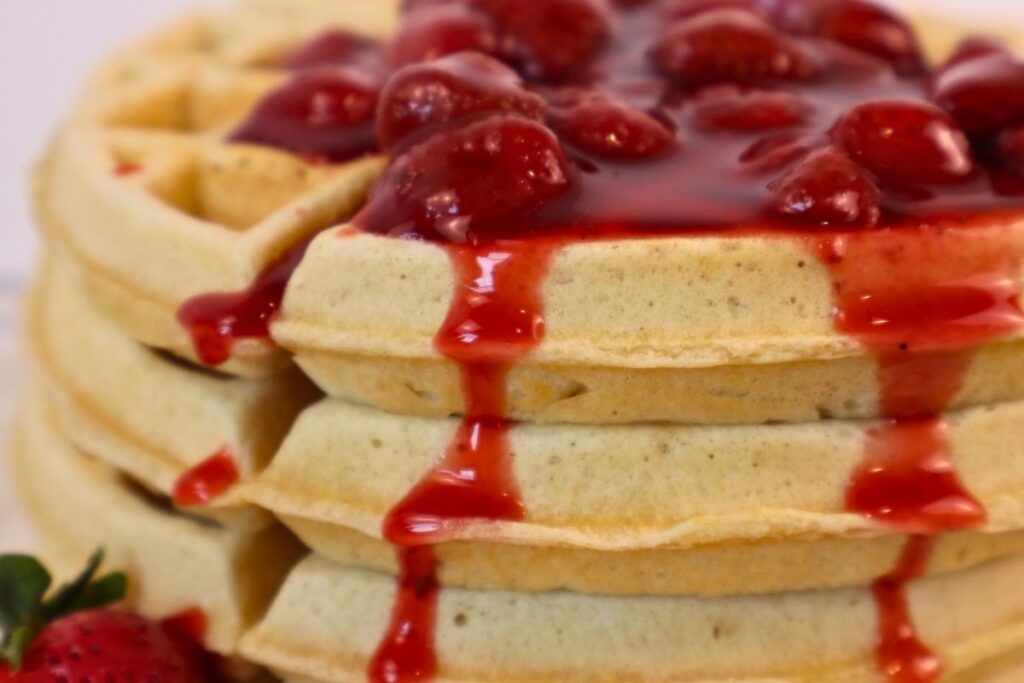
Try topping your waffles with these homemade berry sauces.
My hubby enjoys eating his waffles topped with peanut butter and one of these homemade berry sauce recipes. It gives the taste of a peanut butter and jelly waffle.
Dairy-Free Toppings
- Coconut whipped cream
- Dairy-free butter
- Almond butter or peanut butter
- Dairy-free yogurt
- Any of the homemade berry sauces listed above
Serve it like a Pennsylvania Classic: “Chicken and Waffles“
In Pennsylvania, a common dish served for dinner is chicken and waffles. It’s chopped/shredded cooked chicken in a thick pourable chicken gravy served over top of waffles. I grew up eating waffles topped with mashed potatoes and chicken gravy. Todd grew up eating waffles topped with chicken gravy and maple syrup. We’ve come to like eating it both ways. Give it a try for dinner some night, it’s actually quite delicious!
Serve Them as a Dessert
It’s definitely not the typical way to eat a waffle but when I was a kid, we ate waffles as a dessert sometimes! Try topping your waffle with a scoop of vanilla ice cream and homemade berry sauce spooned over the top, whipped cream, and a drizzle of maple syrup.
Protein-Packed Breakfast
For a more filling meal, serve your buckwheat waffles with:
- Scrambled eggs
- Fried eggs (make it sunny side up and place on top of the waffle)
- Breakfast sausage
- Bacon
- Ham
- Sausage gravy (spoon it over top of the waffle)

Crispy Buckwheat Waffles (Gluten-Free & Dairy-Free)
Equipment
- waffle maker
Ingredients
For the Dry Ingredients
- 3 1/2 cups buckwheat flour
- 1/2 cup arrowroot flour
- 1 tablespoon baking powder
- 1/2 teaspoon mineral salt
For the Dairy-Free Buttermilk
- 3 cups unsweetened plain almond milk
- 3 tablespoons lemon juice or vinegar
For the Wet Ingredients
- 4 large eggs room temperature
- 1/4 cup pure maple syrup
- 2 teaspoons pure vanilla extract look for gluten-free
- 1/2 cup refined coconut oil melted and slightly cooled
For the Waffle Maker
- oil for greasing the waffle maker
Instructions
Make the Dairy-Free Buttermilk
- In a measuring bowl or large measuring cup, combine the almond milk and lemon juice or vinegar. Stir gently and let the mixture sit for 5 minutes to curdle slightly.
Mix the Dry Ingredients
- In a large mixing bowl, whisk together the buckwheat flour, arrowroot flour, baking powder, and salt until evenly combined.
Mix the Wet Ingredients
- In a separate bowl, whisk together the eggs, dairy-free buttermilk, maple syrup, and vanilla extract.
Combine the Batter
- Pour the wet ingredients into the dry ingredients and stir until combined.
- While stirring gently, slowly drizzle in the melted coconut oil a little at a time. This helps prevent the oil from clumping and creates a smooth batter.
Let the Batter Rest
- Allow the batter to rest for 5 to 10 minutes. This gives the buckwheat flour time to absorb the liquid and helps improve the texture of the waffles.
Cook the Waffles
- Preheat your waffle maker according to the manufacturer’s instructions and lightly grease if needed.
- Pour the recommended amount of batter into the waffle iron and cook until the waffles are golden brown.
- For extra crispy waffles, continue cooking for about 1 minute after the steam has mostly stopped escaping from the waffle maker.
Serve
- Serve right away hot off the iron or to keep them warm as you finish cooking the rest, place them on a rack in the oven set to 200°F. Avoid stacking them up on a plate, which traps steam and will result in soft, soggy waffles.
- Serve warm with maple syrup, fresh fruit, homemade berry sauce, or your favorite toppings.
Notes
Frequently Asked Questions about Buckwheat Waffles
Are buckwheat waffles gluten-free?
Yes, buckwheat waffles are naturally gluten-free made with pure buckwheat flour and other gluten-free ingredients. Despite its name, buckwheat is not related to wheat, and it is a seed. If you have celiac or a severe gluten intolerance, be sure to use a certified gluten-free buckwheat flour.
What do buckwheat waffles taste like?
Buckwheat waffles have a rich, deep flavor. They have a heartier taste compared to waffles made with all-purpose flour.
Why aren’t my buckwheat waffles crispy?
Several factors can affect the texture of buckwheat waffles. For the crispiest waffles, make sure your waffle iron is fully pre-heated at a high heat setting before adding the batter. Cook the waffles until they are golden brown and for an extra minute after the steam stops. Don’t stack the hot waffles on top of each other, as the trapped steam will soften the waffles. Instead place them on a rack in a single layer in the oven to help keep them warm and crisp.
Can I make buckwheat waffles without arrowroot flour?
Yes. The waffles can be made without arrowroot flour, and you can make 100% buckwheat flour waffles, but the texture may be slightly denser. Arrowroot flour helps create a crispier edge. You could also use tapioca starch in equal amounts instead.
Can buckwheat waffles be frozen?
Yes! Buckwheat waffles freeze very well and are perfect for meal prep. Allow the waffles to cool completely before freezing. Freeze them in an airtight container or freezer bag. They can be stored in the freezer for up to 3 months.
What’s the best way to reheat buckwheat waffles?
The toaster is the best way to reheat a buckwheat waffle because it helps to restore its crispy texture. You can also use an air fryer or the oven. The microwave works in a pinch, but the waffles will be soft instead of crispy.